Install VMware Workstation Pro on Windows 11: A Step-by-Step Guide
VMware Workstation Pro installs virtual machines on your Windows 11 PC, letting you run other operating systems side-by-side.
This program is desktop virtualization software. It means you can run different operating systems, like Linux or older Windows versions, as separate “guest” computers right on your main Windows 11 “host” computer.
This is super helpful for trying out new software, building apps, or just playing around with different computer systems without needing to buy extra hardware. For instance, you could set up a Linux virtual machine next to your Windows 11 to check out new versions of Linux.
VMware Workstation Pro supports powerful setups, allowing up to 16 virtual CPUs and 8TB of virtual disk space for each virtual machine.
Download the installer from VMware’s website and run it. Follow the wizard prompts, accepting the license agreement and choosing installation options. Click “Install” to begin, then “Finish” when the setup is complete.
How to Install and enable VMware Workstation in 🪟 Windows 11
To install VMware Workstation Pro on Windows 11, first make sure your computer’s hardware virtualization is turned on. Once that’s set up, download the VMware Workstation Pro installer from the official VMware website. Running the installer is the next step to get VMware Workstation Pro working on your Windows 11 machine.
Once you enable hardware virtualization, log back into Windows and head to the link below to download the latest VMware Workstation Pro for Windows.
https://www.vmware.com/go/getworkstation-win
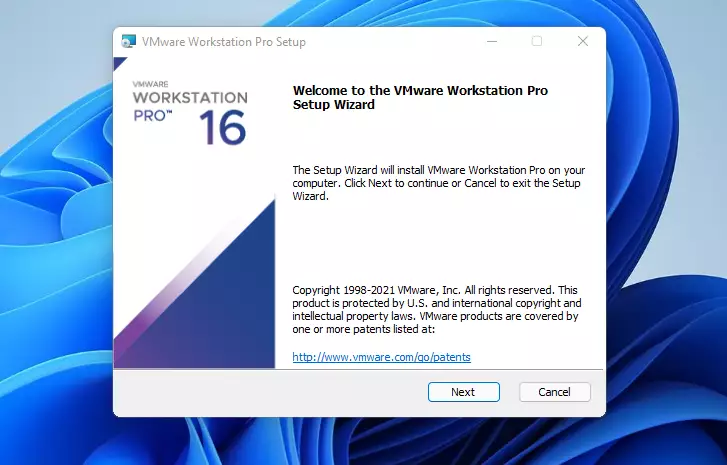
Double-clicking the downloaded file opens the VMware Workstation Pro installer. The installation wizard’s welcome screen appears. Click Next to begin the process, which includes accepting the license agreement and choosing installation options.
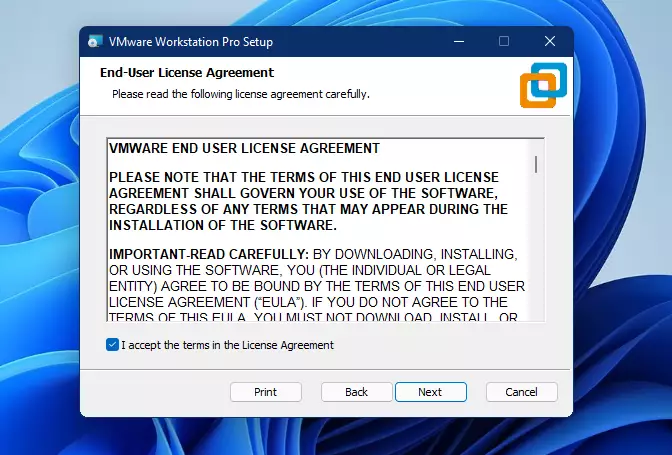
The End-User License Agreement appears on the next screen. You must accept the terms in the License Agreement before continuing with the installation.
Once accepted, click Next to go to the next screen.
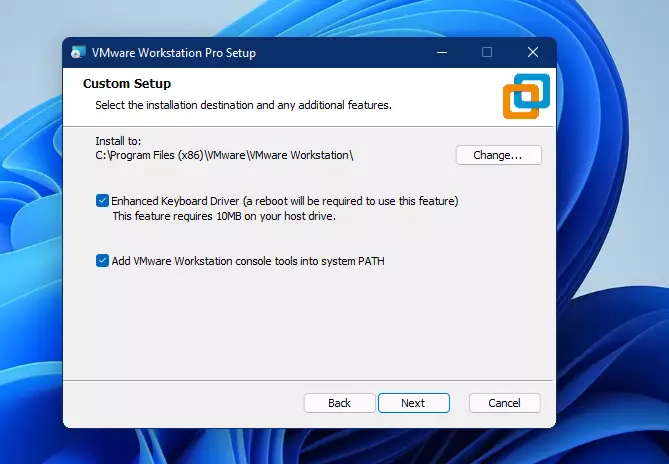
On the next screen, you can accept the default installation path, typically in `📁C:\Program Files (x86)\VMware`, or choose a custom location.
Click Next to continue.
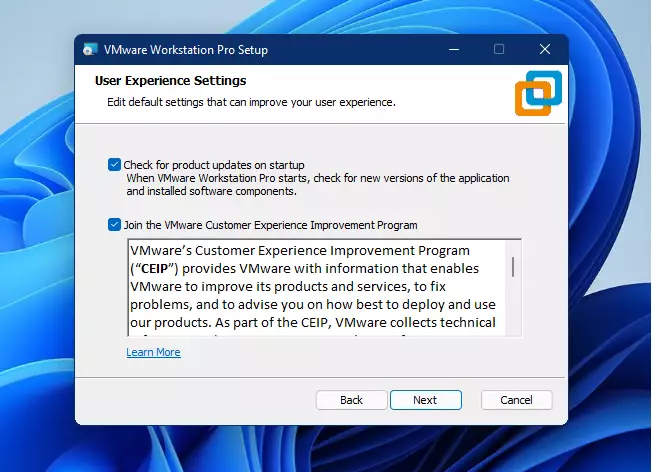
On the next screen, check both boxes to enable product updates on startup and the customer experience improvement program.
When you’re done, click Next.
On the screen, click the Install button to begin the installation.

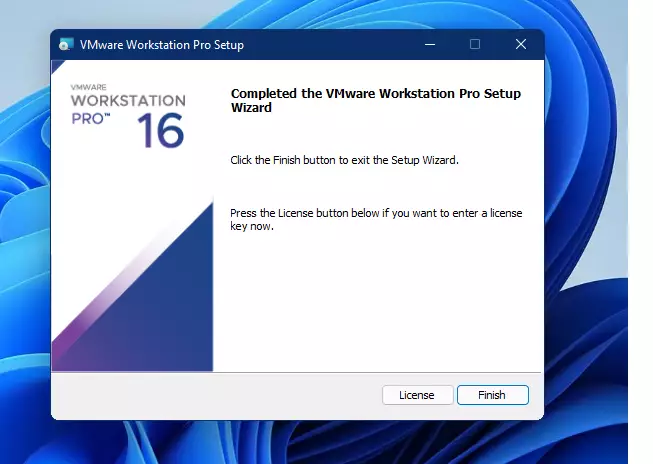
After a brief moment, the VMware Workstation Pro setup wizard should complete. Click on the Finish button to finalize the setup.
If you have a license for your copy of VMware Workstation Pro, click the License button to add your license key.
After installing VMware Workstation Pro, the installer may prompt you to reboot your Windows 11 machine to finalize the installation. You should reboot your machine and then log back in to ensure all new system components are loaded correctly.
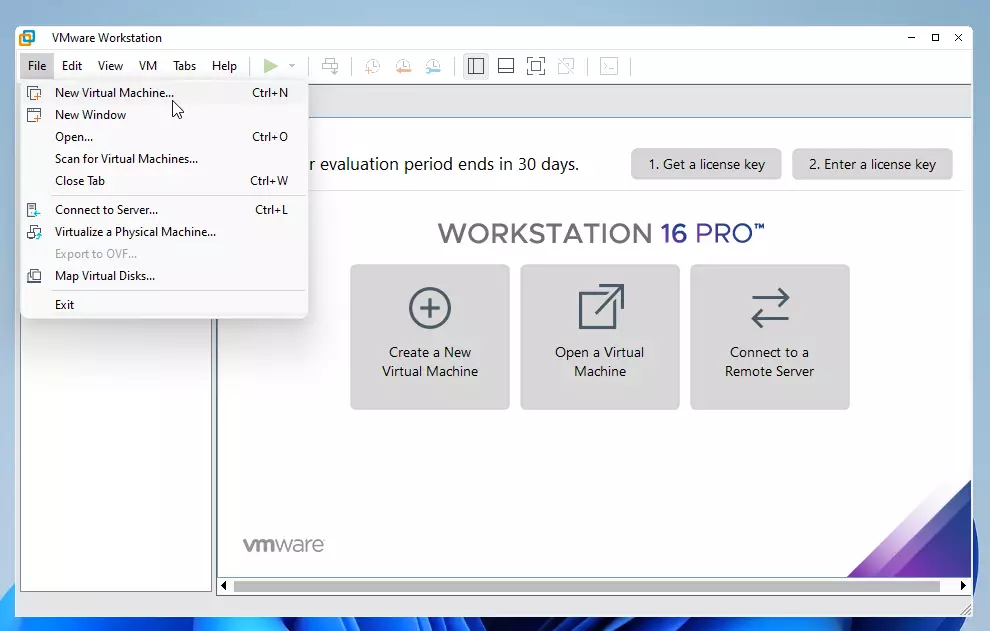
Once you log back in, open the VMware Workstation Pro icon on your desktop. The software is now ready to create new virtual machines.
And that’s it!
Conclusion:
- VMware Workstation Pro is a powerful tool for running multiple operating systems on a single machine.
- It is user-friendly and suitable for both home and business environments.
- Installation is straightforward, requiring hardware virtualization to be enabled.
- Users can easily manage and create virtual machines for various operating systems.
- Ensuring proper installation and configuration will enhance the virtual computing experience.
- With VMware Workstation Pro, you can maximize your system’s capabilities and improve productivity by seamlessly running different OS environments.
Was this guide helpful?

About the Author
Richard
Tech Writer, IT Professional
Richard, a writer for Geek Rewind, is a tech enthusiast who loves breaking down complex IT topics into simple, easy-to-understand ideas. With years of hands-on experience in system administration and enterprise IT operations, he’s developed a knack for offering practical tips and solutions. Richard aims to make technology more accessible and actionable. He's deeply committed to the Geek Rewind community, always ready to answer questions and engage in discussions.

cannot install vmplayer workstation. install hangs up while Installing Virtual Network drivers. Is there any work around to fix this?
[…] previously discussed using VMware Workstation Pro and VirtualBox virtualization software to run multiple operating systems from a single computer and […]