How to Install Drupal with Nginx and Cloudflare on Ubuntu


Installing Drupal with Nginx and Cloudflare on Ubuntu connects the Drupal 9 (or newer) content management system with a fast web server and Cloudflare security tools to build a protected website. Drupal handles your site pages, Nginx loads them quickly, and Cloudflare blocks online threats while giving you a free security certificate on Ubuntu servers.
This setup keeps your site safe and fast for visitors by combining a reliable database, web server, and proxy service.
Setting up Cloudflare
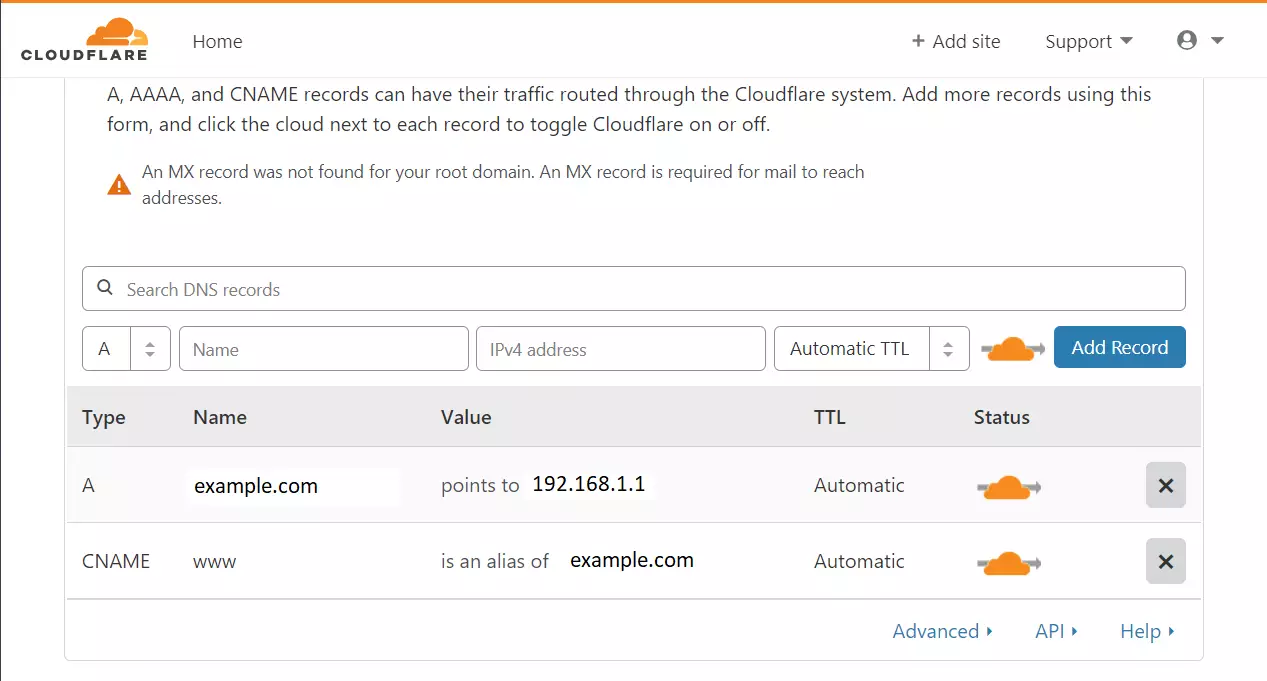
Setting up Cloudflare for your Drupal site protects your website from attacks and speeds up page loading times. Log into your Cloudflare dashboard, add your domain name, select the free plan, and let Cloudflare scan your existing DNS records to route your traffic securely.
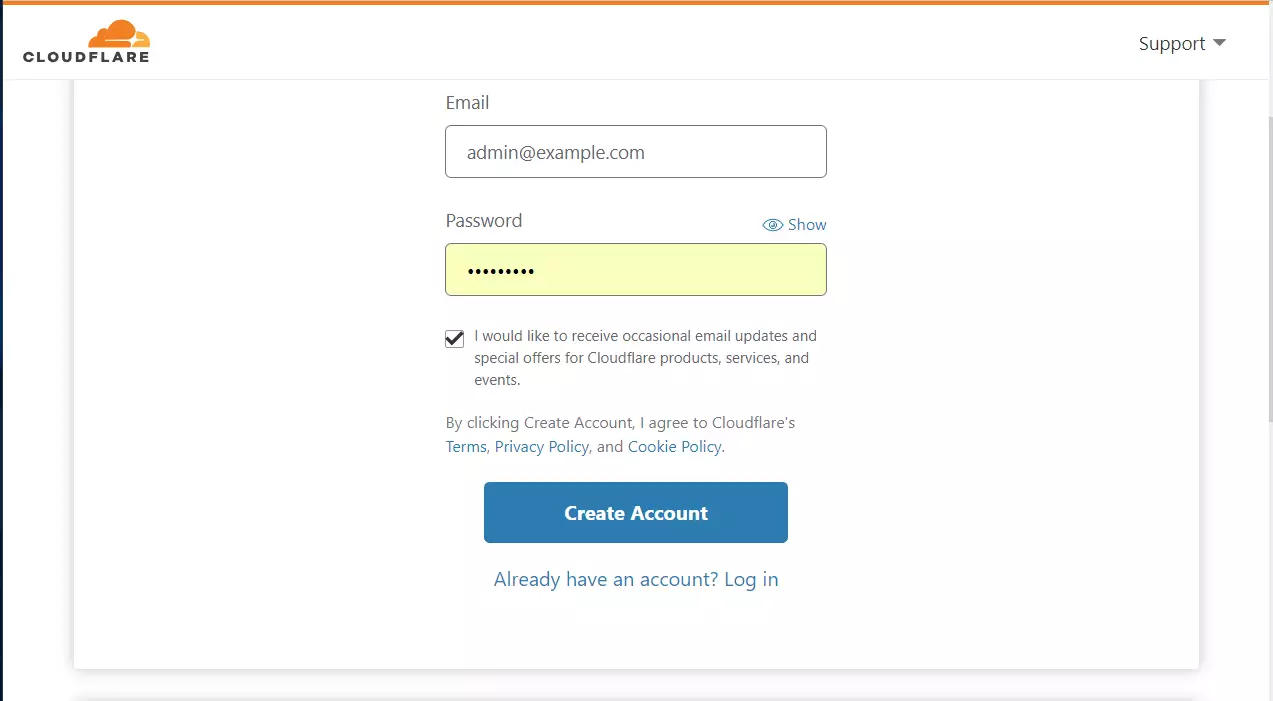
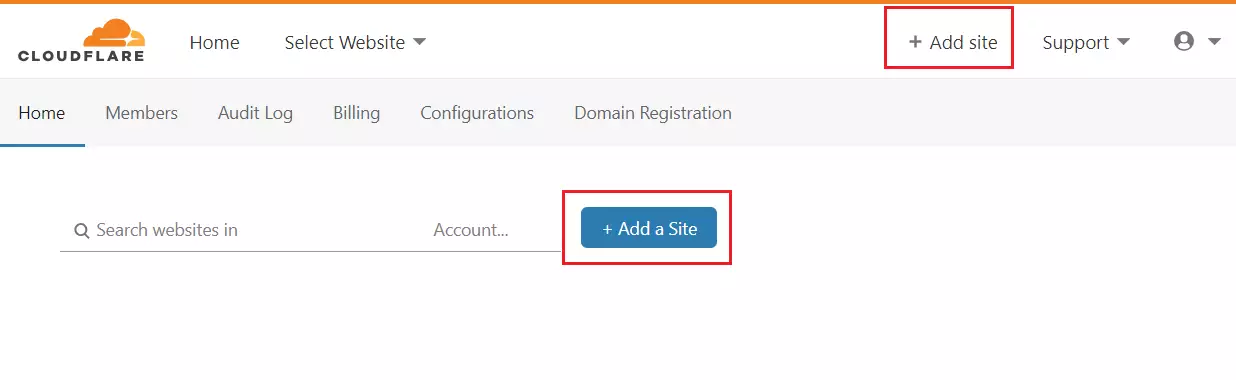
If you already have an account, log in. Click the button to add a new site. https://dash.cloudflare.com/sign-up
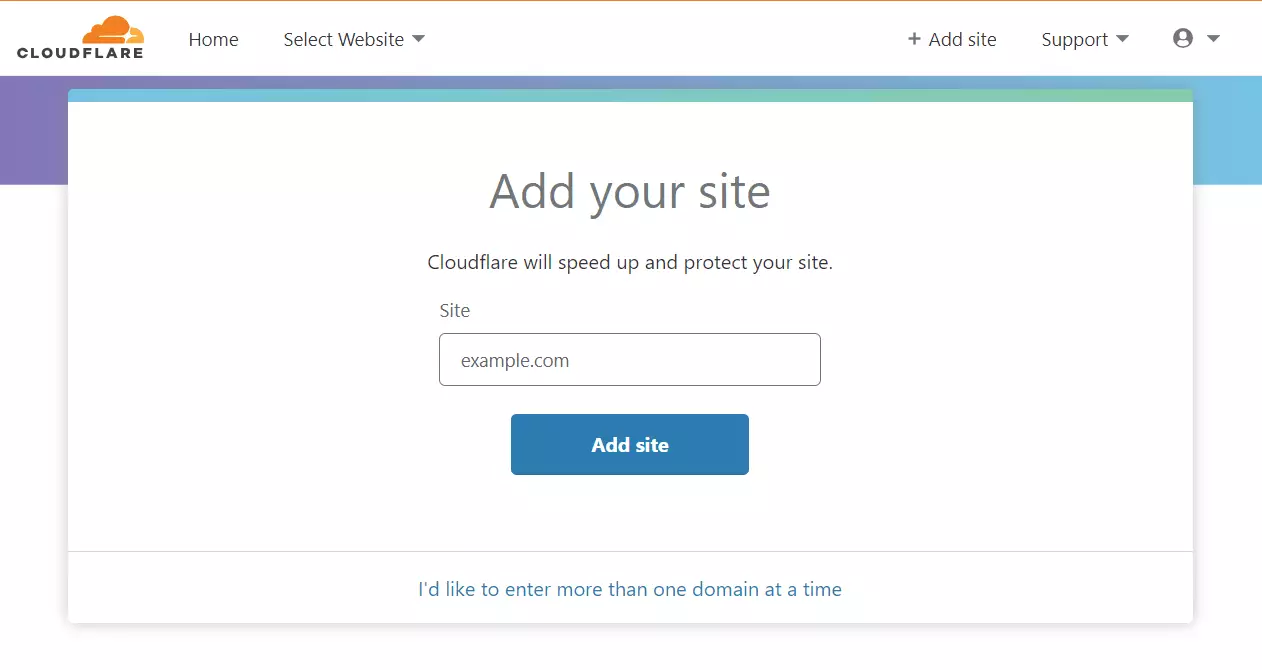
Type in your domain name.
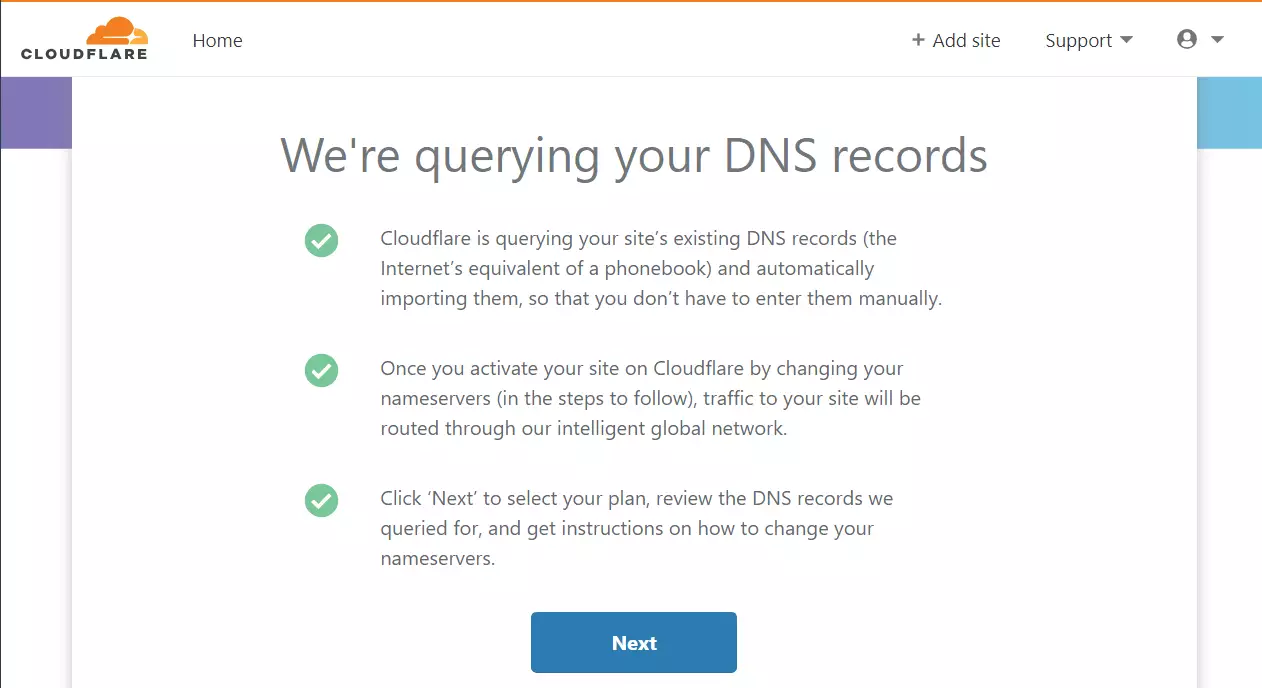
Cloudflare will look for your domain settings.
Select the free plan option.
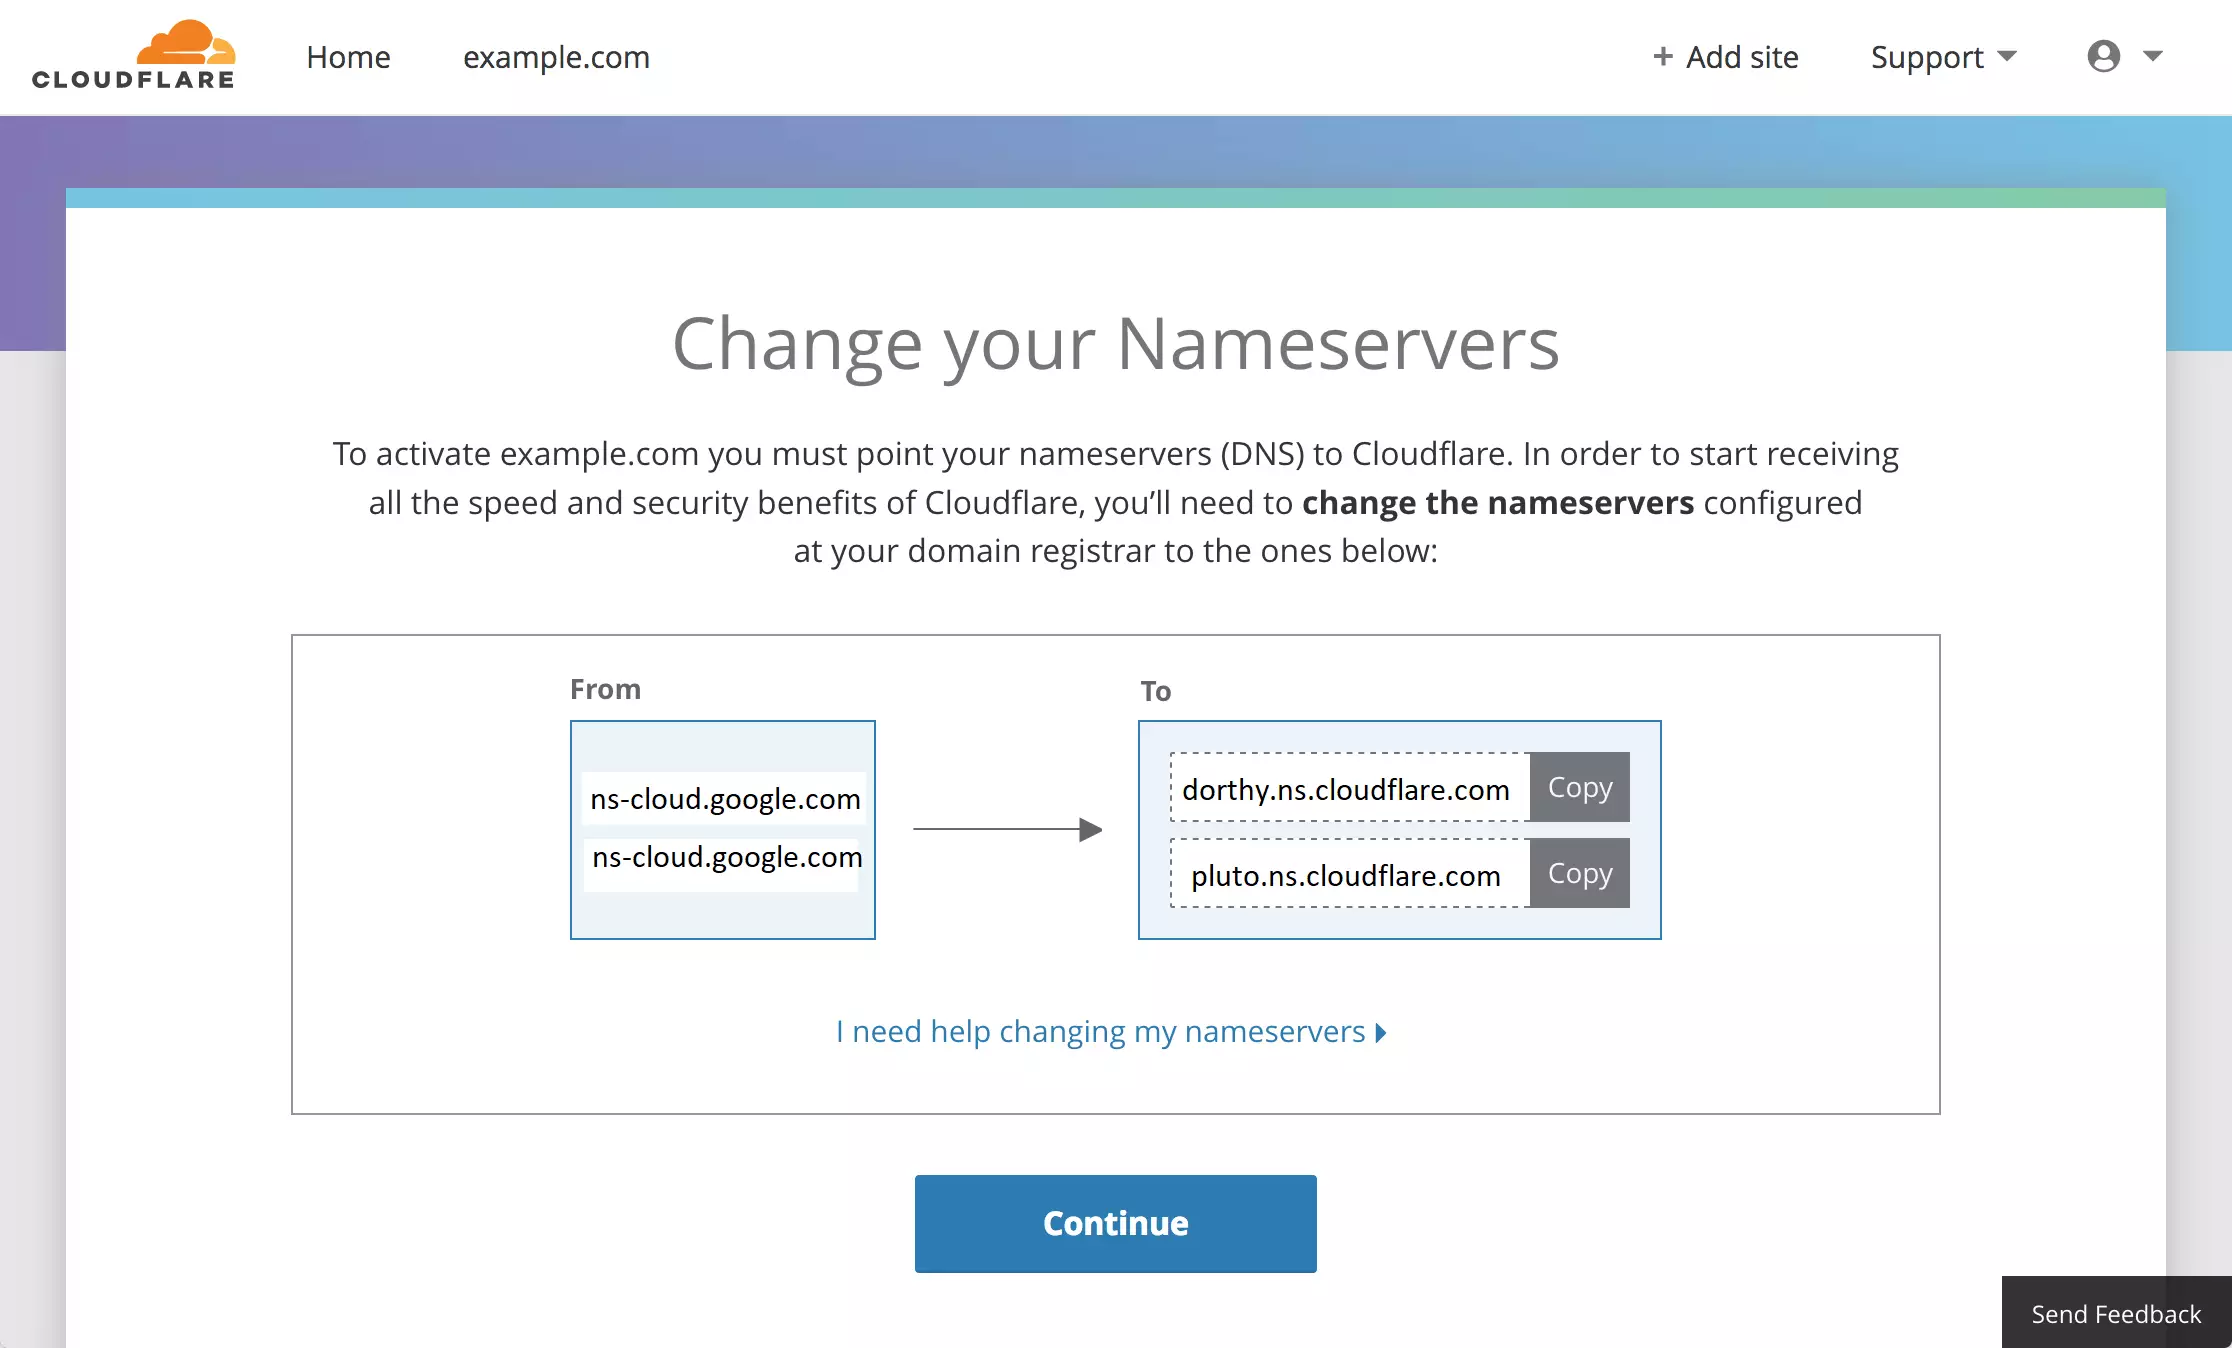
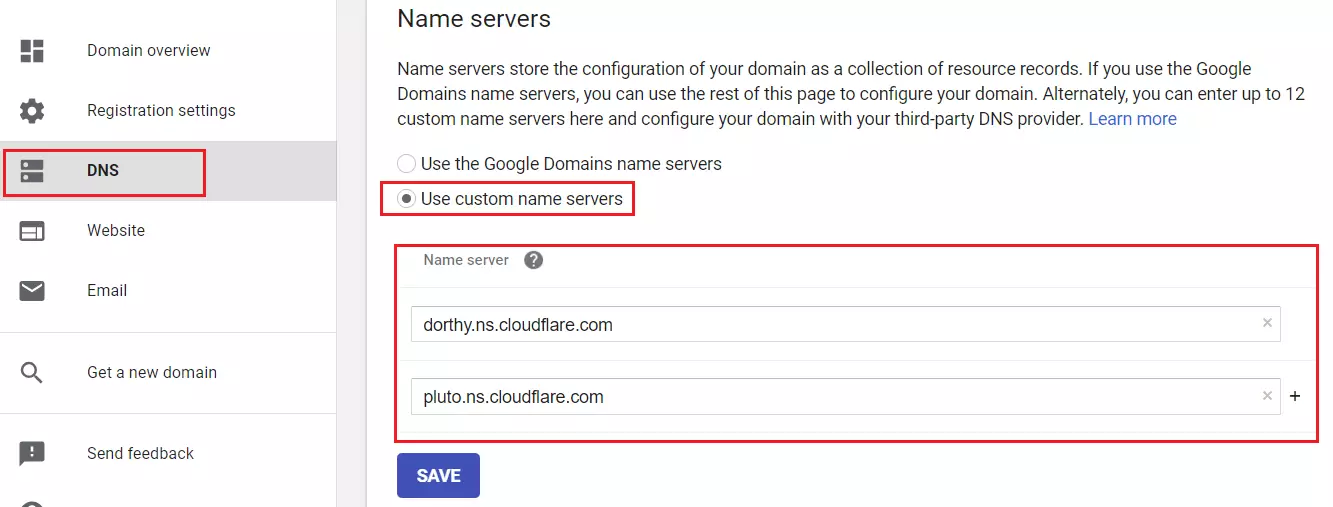
Cloudflare will give you two "nameservers." You must go to the website where you bought your domain name (like Google Domains) and replace their current nameservers with the ones Cloudflare provided.
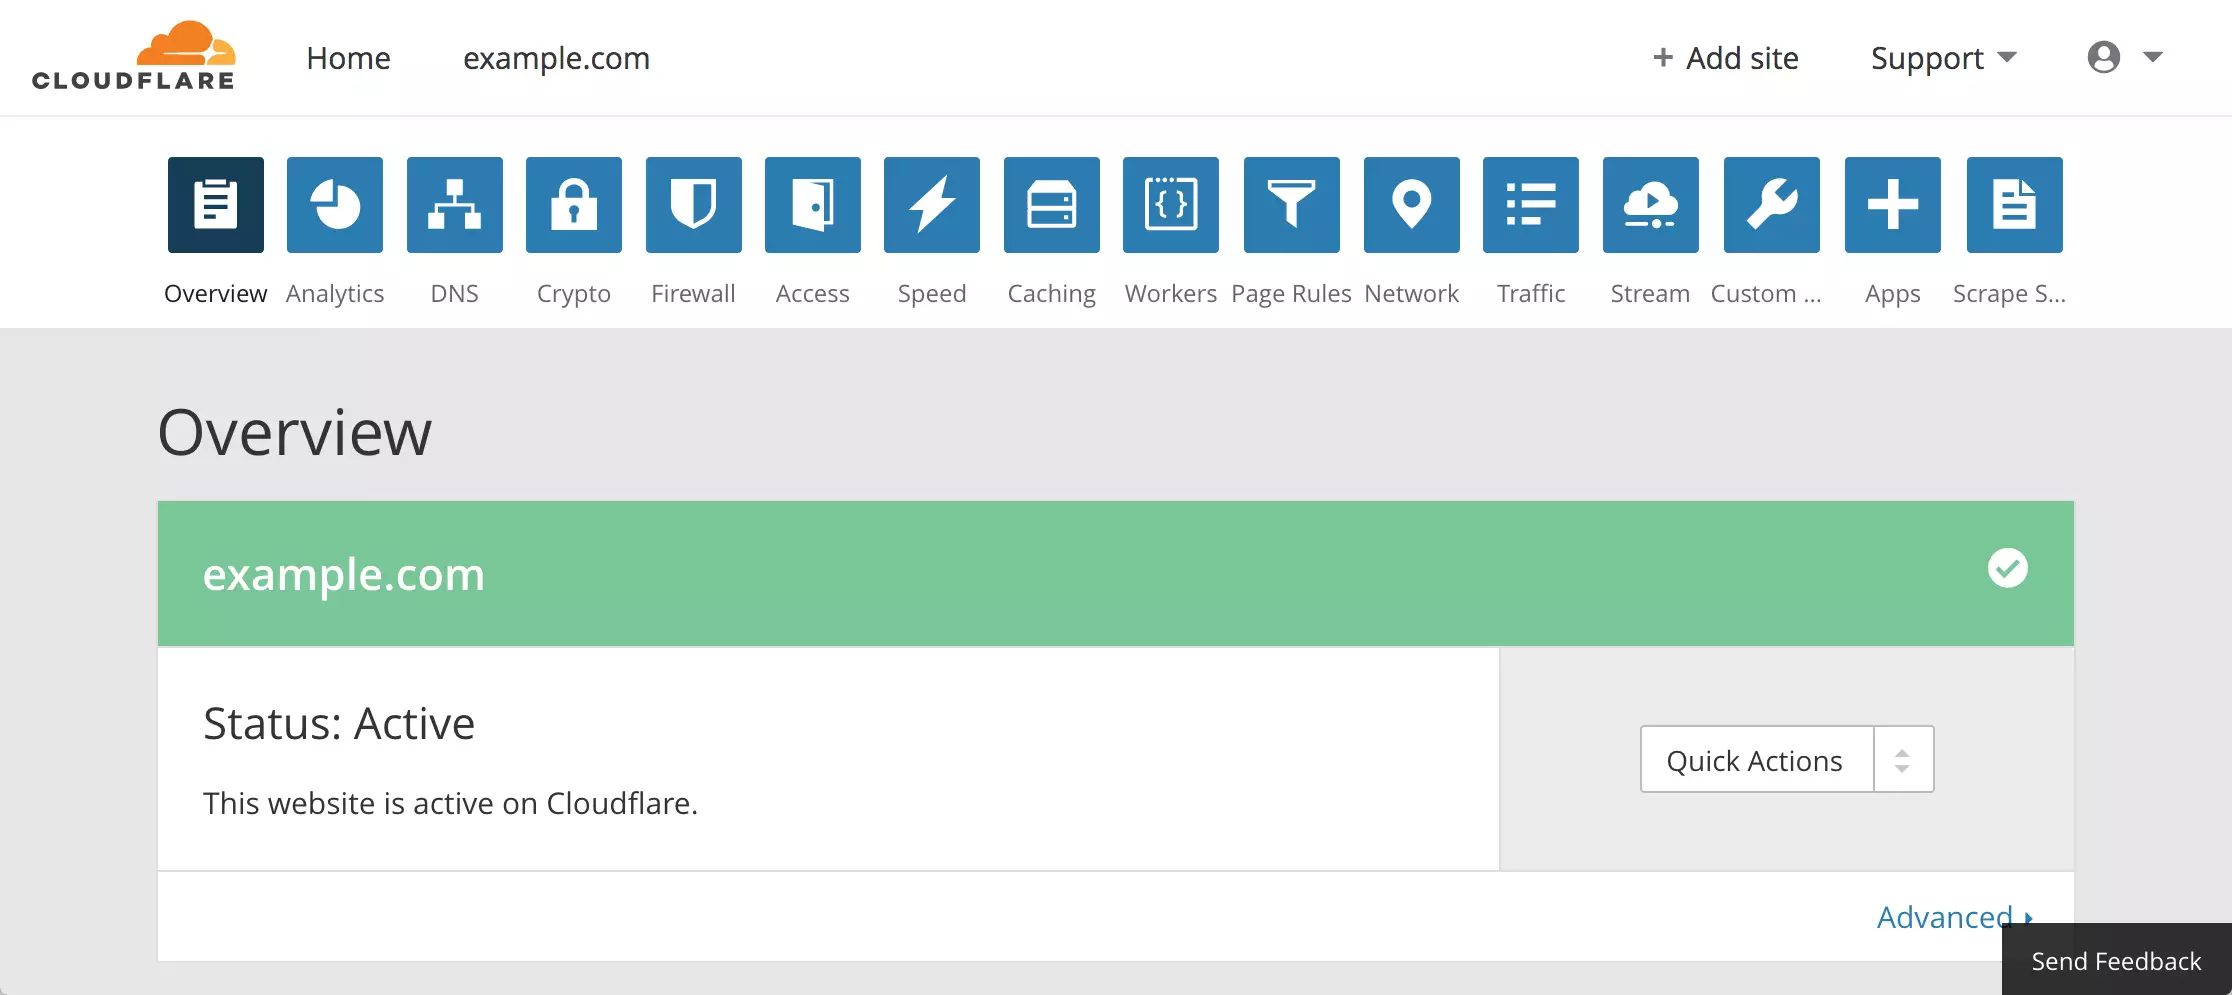
Wait for the changes to take effect. This can take up to an hour.

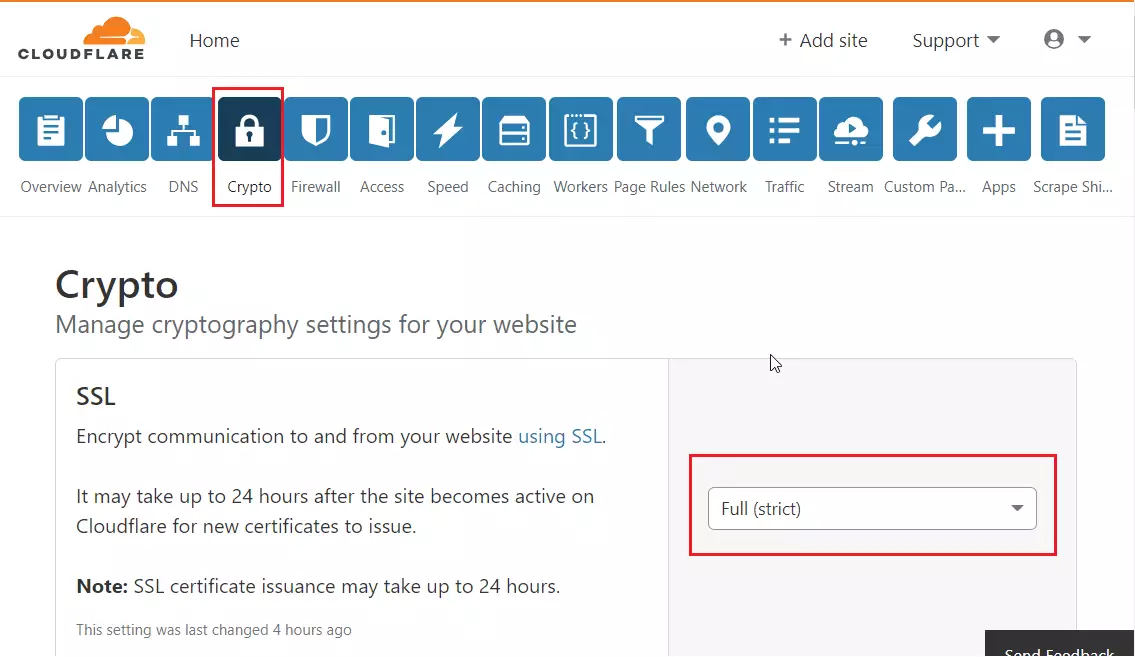
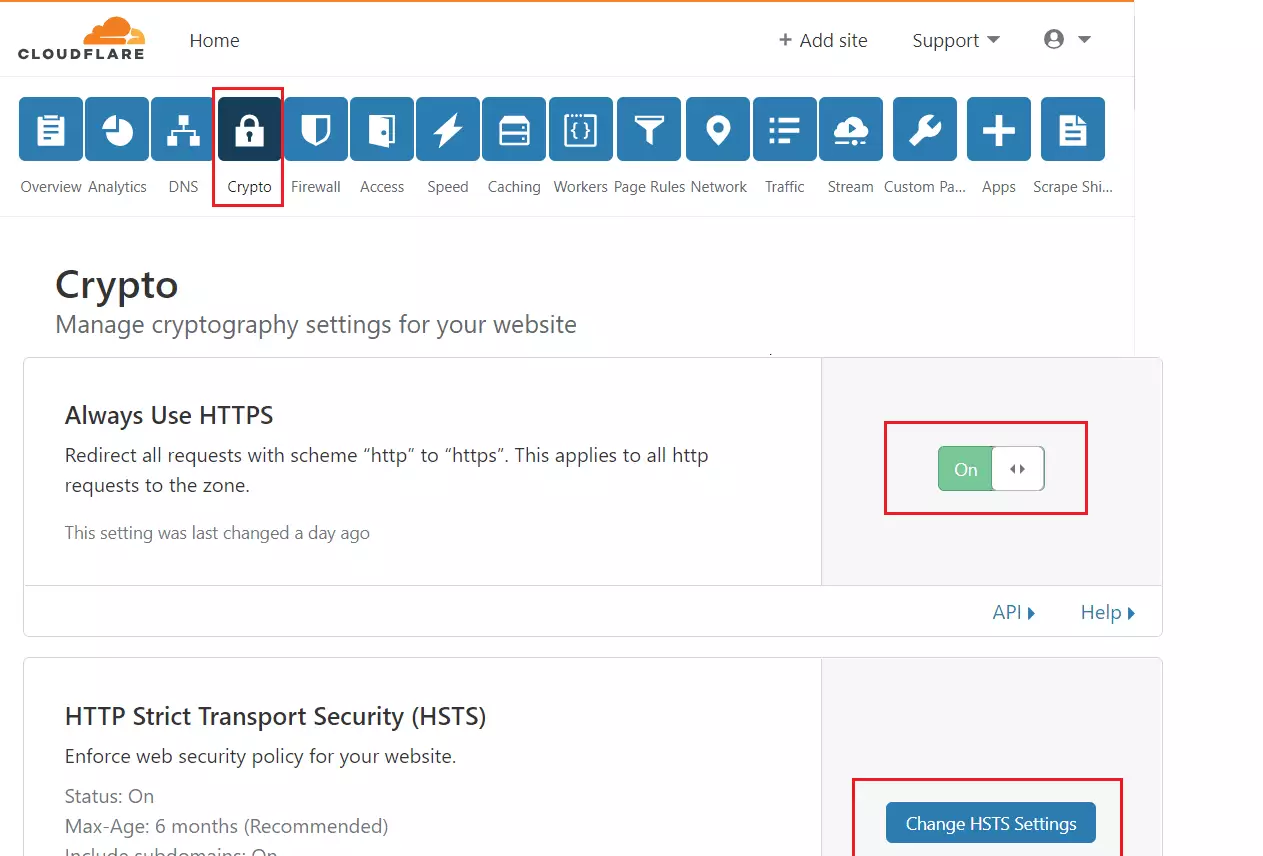
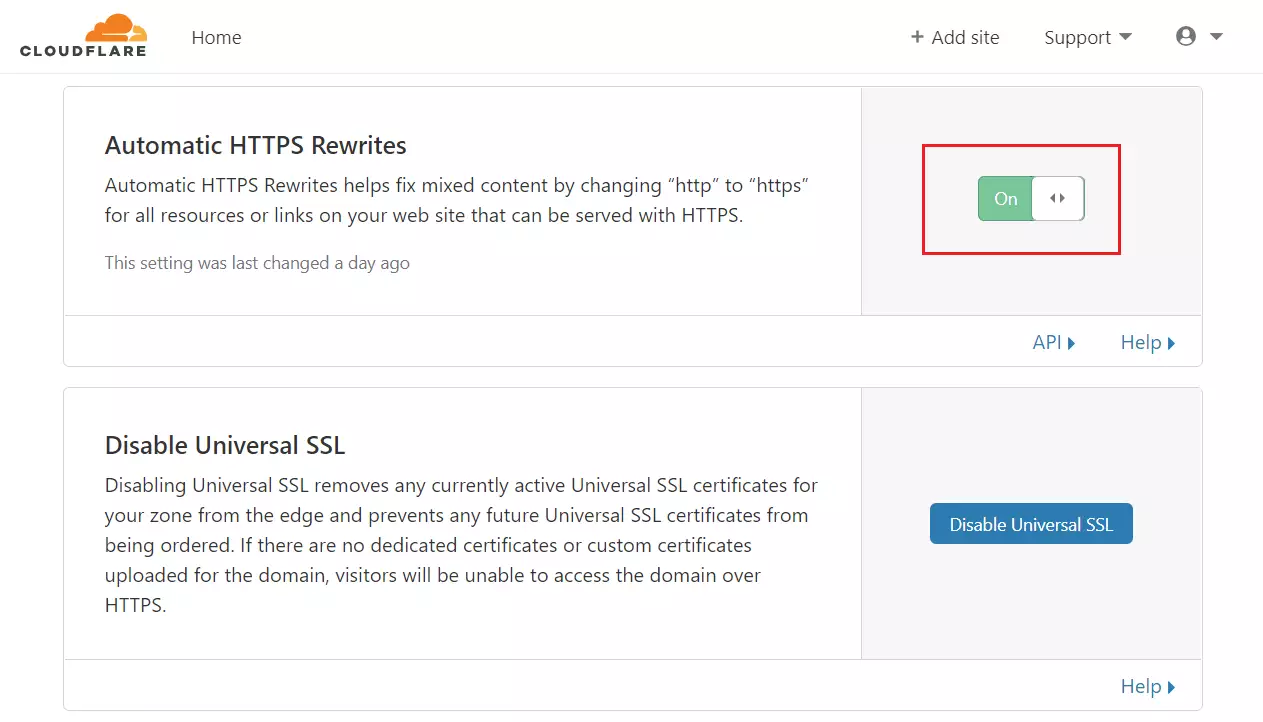
Once your status says "Active," go to the "Crypto" tab. Turn on "Full (strict) SSL" to keep your connection secure.
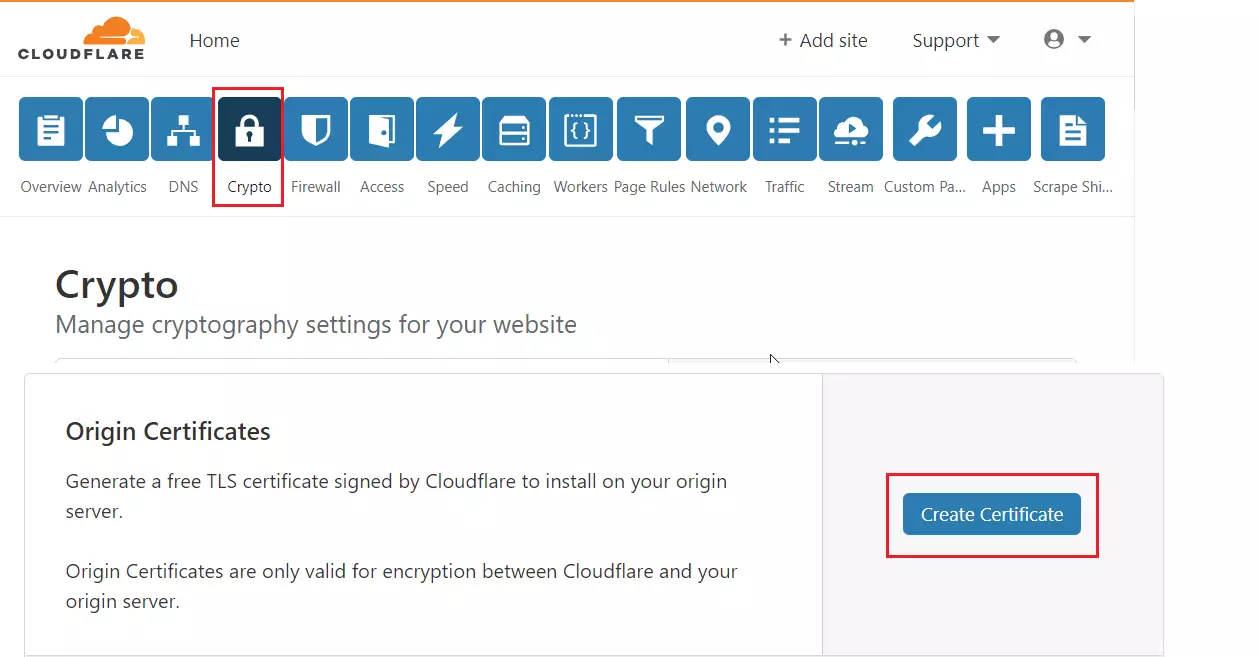
Scroll down to "Origin Certificates" and create a certificate.
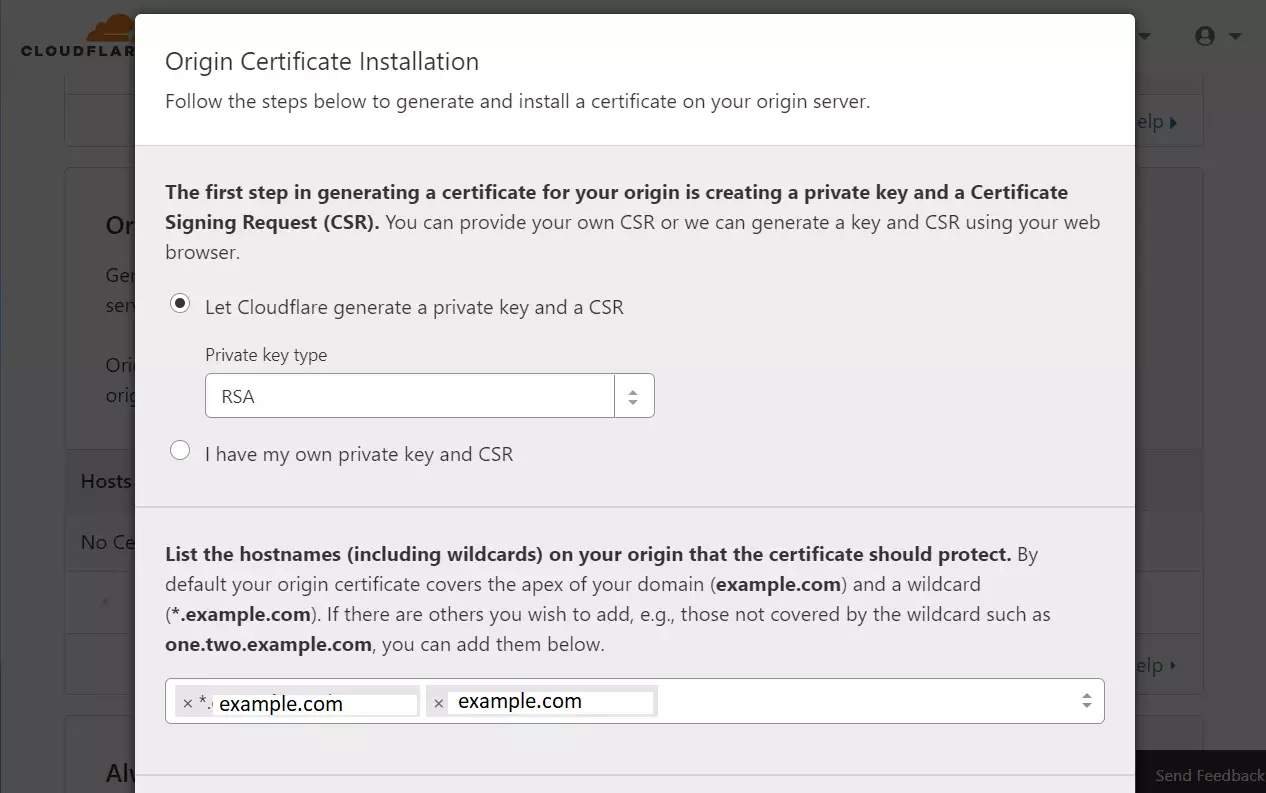
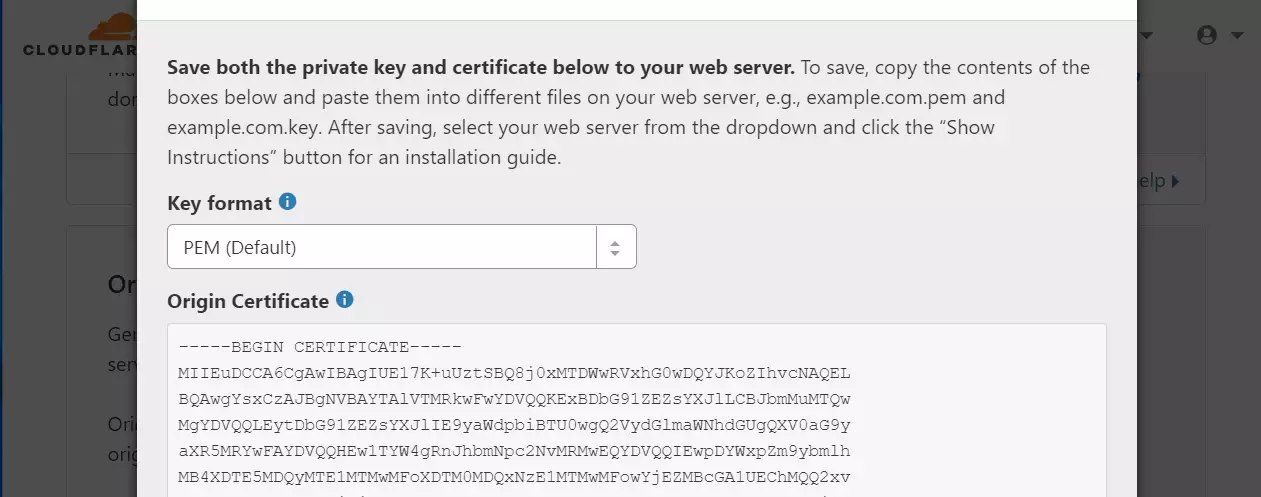
Follow the steps to generate a private key and certificate.
You will need admin privileges to create these files on your server. Run these commands on your Ubuntu server to create the files:
sudo nano /etc/ssl/private/cloudflare_key_example.com.pem
sudo nano /etc/ssl/certs/cloudflare_example.com.pem
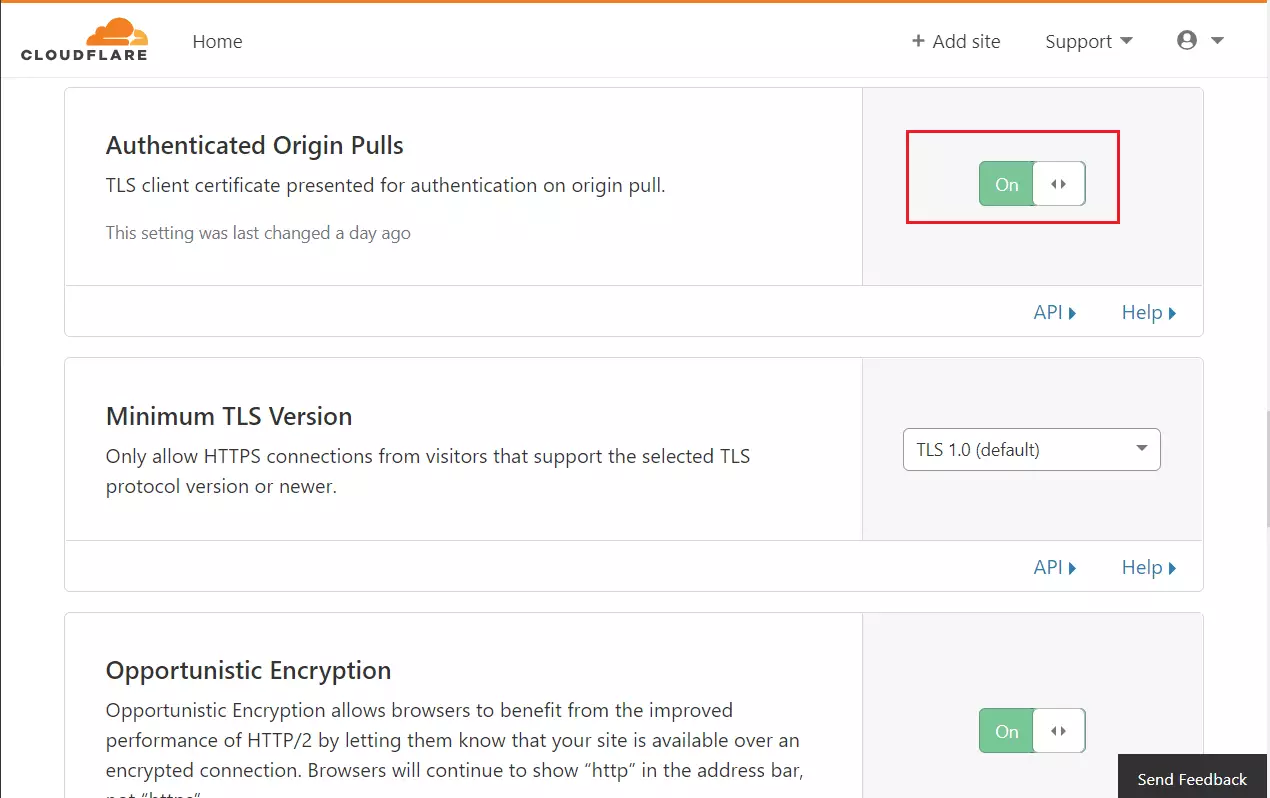
Download the Cloudflare Origin Pull certificate from this link: Set up authenticated Origin pulls · Cloudflare SSL docs
Run these commands to create the final security file:
sudo nano /etc/ssl/certs/origin-pull-ca.pem
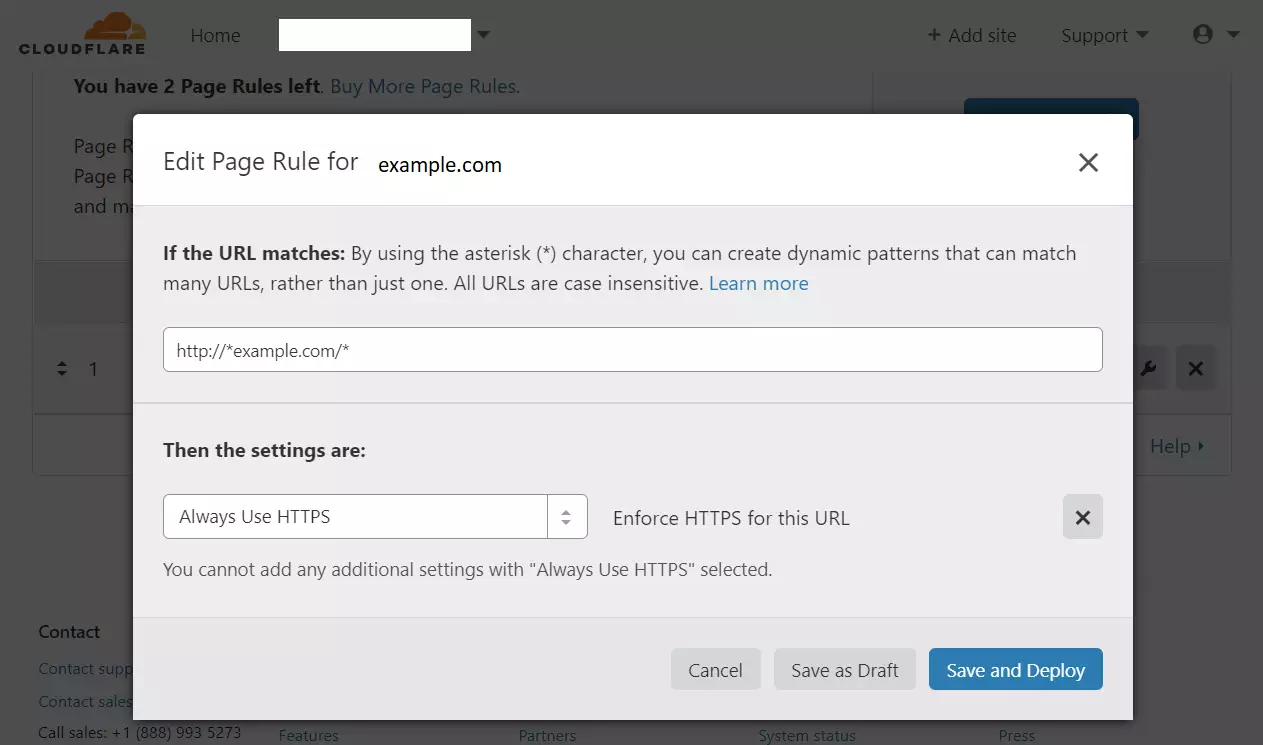
You should now have three files on your server. Make sure "Always Use HTTPS" is turned on in your Cloudflare settings.
Installing Drupal and Nginx
Installing Nginx on your Ubuntu server provides the web server environment needed to run Drupal with Nginx and Cloudflare. You can install the Nginx web server using the Ubuntu package manager in your terminal, then set it to start automatically when your server boots.
First, install the Nginx web server:
sudo apt update
sudo apt install nginx
Use these commands to manage the service:
sudo systemctl stop nginx.service
sudo systemctl start nginx.service
sudo systemctl enable nginx.service
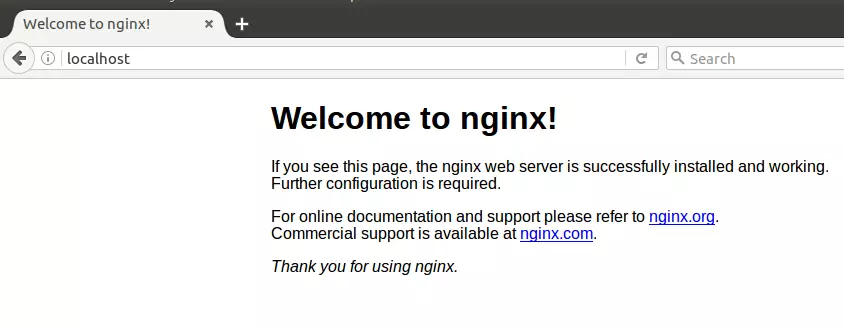
Test if it works by visiting your server's address in a web browser.
Installing the Database
Installing the MariaDB database gives your Drupal site a secure place to store user accounts, content, and settings. You can install the database server package through your Ubuntu terminal and enable the service to run continuously in the background.
sudo apt-get install mariadb-server mariadb-client
Enable the service:
sudo systemctl stop mysql.service
sudo systemctl start mysql.service
sudo systemctl enable mysql.service
sudo systemctl stop mariadb.service
sudo systemctl start mariadb.service
sudo systemctl enable mariadb.service
Secure the database with a password:
sudo mysql_secure_installation
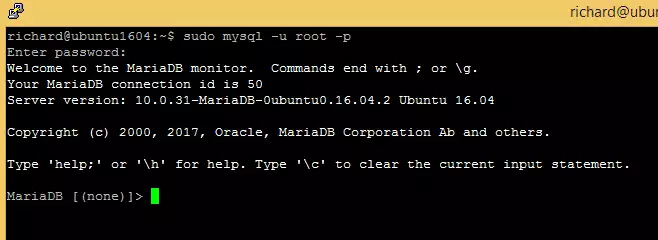
Follow the prompts to set a password and remove test settings. Test the connection:
sudo mysql -u root -p
Installing PHP
Installing PHP and its required modules allows your Ubuntu server to process Drupal Nginx Cloudflare requests properly. You need to add a specialized software repository to your system sources and install the specific PHP version that Drupal requires to function.
sudo apt-get install software-properties-common
sudo add-apt-repository ppa:ondrej/php
sudo apt update
sudo apt install php7.2-fpm php7.2-common php7.2-gmp php7.2-curl php7.2-intl php7.2-mbstring php7.2-xmlrpc php7.2-mysql php7.2-gd php7.2-xml php7.2-cli php7.2-zip
Open the configuration file to make sure it works well with Drupal:
sudo nano /etc/php/7.2/fpm/php.ini
file_uploads = On
allow_url_fopen = On
short_open_tag = On
memory_limit = 256M
cgi.fix_pathinfo = 0
upload_max_filesize = 100M
max_execution_time = 360
date.timezone = America/Chicago
Restart Nginx to apply changes:
sudo systemctl restart nginx.service
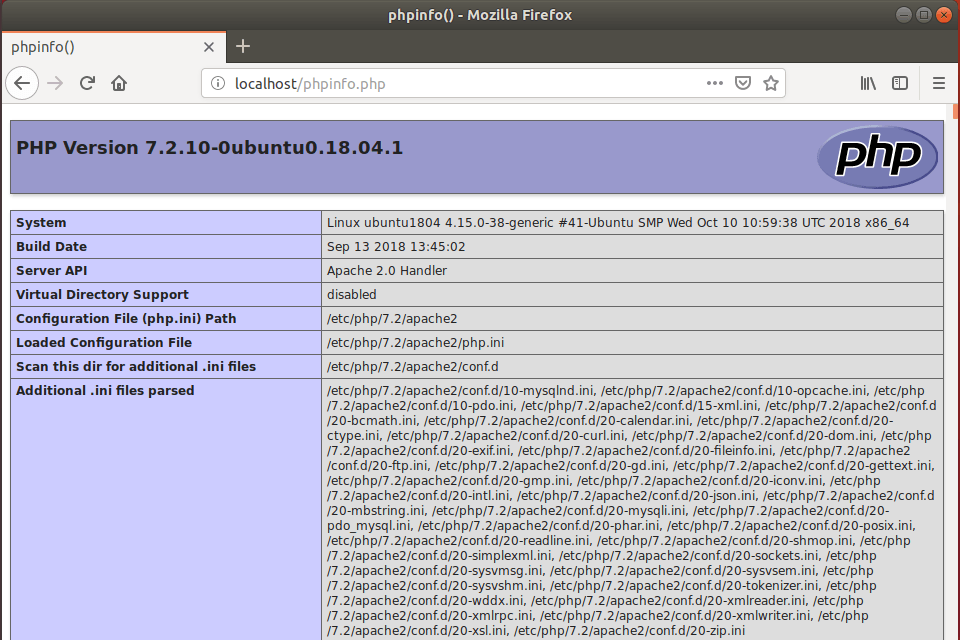
Create a test file to verify PHP is working:
sudo nano /var/www/html/phpinfo.php
Visit your site in a browser to see the test page.
Creating the Drupal Database
Log into your database and create a space for Drupal:
sudo mysql -u root -p
CREATE DATABASE drupal;
CREATE USER 'drupaluser'@'localhost' IDENTIFIED BY 'new_password_here';
GRANT ALL ON drupal.* TO 'drupaluser'@'localhost' IDENTIFIED BY 'user_password_here' WITH GRANT OPTION;
FLUSH PRIVILEGES;
EXIT;
Downloading Drupal
Downloading Drupal using Composer lets you automatically manage all necessary project files and dependencies. You install the Composer dependency manager on your Ubuntu server first, and then run its commands to pull the latest version of Drupal directly into your web directory.
sudo apt install curl git
curl -sS https://getcomposer.org/installer | sudo php -- --install-dir=/usr/local/bin --filename=composer
Download the latest version and set file permissions:
cd /var/www/html
sudo git clone --branch 8.6.0 https://git.drupal.org/project/drupal.git example.com
cd /var/www/html/example.com
sudo composer install
sudo chown -R www-data:www-data /var/www/html/example.com/
sudo chmod -R 755 /var/www/html/example.com/
Configuring Nginx and Finishing Up
Configuring Nginx for your Drupal Nginx Cloudflare setup tells the web server how to handle incoming visitor requests, locate your website files, and process secure HTTPS connections. You create a custom server block configuration file in your Nginx sites-available directory to finish launching your site.
sudo nano /etc/nginx/sites-available/example.com
server {
    listen 80;
    listen [::]:80;
    listen 443 ssl http2;
    listen [::]:443 ssl http2;

    server_name  example.com www.example.com;
    root   /var/www/html/example.com;
    index  index.php;

    ssl_certificate /etc/ssl/certs/cloudflare_example.com.pem;
    ssl_certificate_key /etc/ssl/private/cloudflare_key_example.com.pem;
    ssl_client_certificate /etc/ssl/certs/origin-pull-ca.pem;
    ssl_verify_client on;

    client_max_body_size 100M;

    autoindex off;

    location / {
    try_files $uri /index.php?$query_string;
    }

    location @rewrite {
               rewrite ^/(.*)$ /index.php?q=$1;
        }

    location ~ [^/].php(/|$) {
         include snippets/fastcgi-php.conf;
         fastcgi_pass unix:/var/run/php/php7.2-fpm.sock;
         fastcgi_param SCRIPT_FILENAME $document_root$fastcgi_script_name;
         include fastcgi_params;
    }

    location ~ ^/sites/.*/files/styles/ {
               try_files $uri @rewrite;
        }

    location ~ ^(/+)?/system/files/ {
        try_files $uri /index.php?$query_string;
        }
}
Enable the site and restart Nginx:
sudo ln -s /etc/nginx/sites-available/example.com /etc/nginx/sites-enabled/
sudo systemctl restart nginx.service
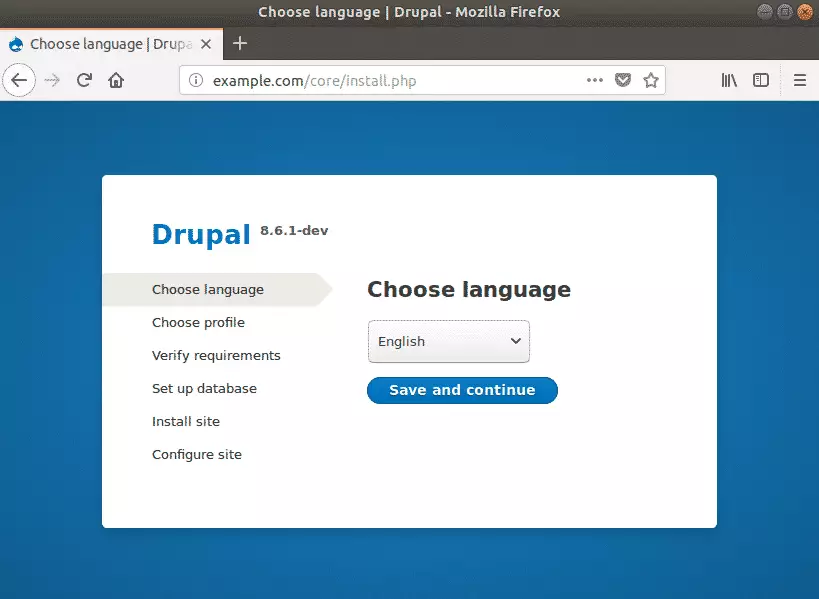
Visit your domain in your browser to start the Drupal setup wizard. Follow the on-screen instructions to finish.
Don't forget to install the Cloudflare module: https://www.drupal.org/project/cloudflare
To upgrade in the future, use this command:
sudo composer update /var/www/html/example.com/core --with-dependencies
cd /var/www/html/example.com
sudo composer require drush/example.com
cd /var/www/html/example.com/vendor/drush/drush
./drush updatedb
./drush cr
Summary
This guide has walked you through installing Drupal with Nginx and Cloudflare on Ubuntu, covering everything from securing your site with Cloudflare to setting up Nginx, MariaDB, and PHP. Your Drupal site is now ready to go live.
[Y/n]
[Y/n]
[Y/n]
[Y/n]
[Y/n]
[a-z-]
Does Drupal run on Apache?
The majority of Drupal development and deployment is done on Apache, so there is more community experience and testing performed on Apache than on other web servers.
Which is OS for Drupal?
It is recommended to use Linux or a similar operating system for hosting Drupal websites. Windows is only supported for development environments. Running Drupal directly on Windows in a production environment is not supported.
Was this guide helpful?

About the Author
Richard
Tech Writer, IT Professional
Richard, a writer for Geek Rewind, is a tech enthusiast who loves breaking down complex IT topics into simple, easy-to-understand ideas. With years of hands-on experience in system administration and enterprise IT operations, he’s developed a knack for offering practical tips and solutions. Richard aims to make technology more accessible and actionable. He's deeply committed to the Geek Rewind community, always ready to answer questions and engage in discussions.




No comments yet — be the first to share your thoughts!