How to Enable Non-Native Accent Recognition in Windows 11
Non-native accent recognition in Windows 11 helps your computer understand you better, especially if your English accent differs from the standard one.
This setting adjusts how Windows listens to your voice. It means the program that turns your speech into text can learn to recognize more ways of speaking.
Windows 11’s basic speech recognition is tuned for native English speakers. Turning on this feature helps it understand different pronunciations, leading to fewer mistakes when it writes down what you say.
Enabling this makes Windows 11 more reliable at changing your spoken words into text, which is a big help if English isn’t your first language.
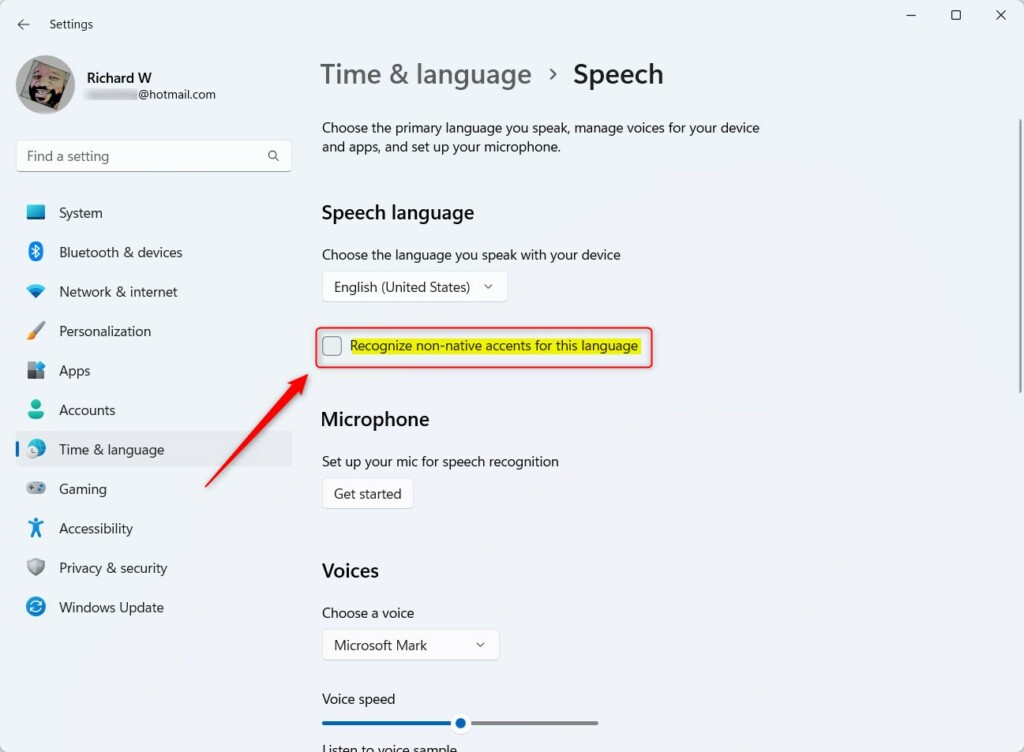
Go to Settings > Time & language > Speech and check the box for “Recognize non-native accents for this language.” This helps Windows 11’s speech recognition better understand your pronunciation.
How to Enable Non-Native Accent Recognition
You can turn on non-native accent recognition in Windows 11 through your computer’s speech settings. This feature helps Windows better understand your voice if you speak with an accent that isn’t the primary language of your system. It’s an adjustment you can make in a few clicks to improve voice command accuracy.
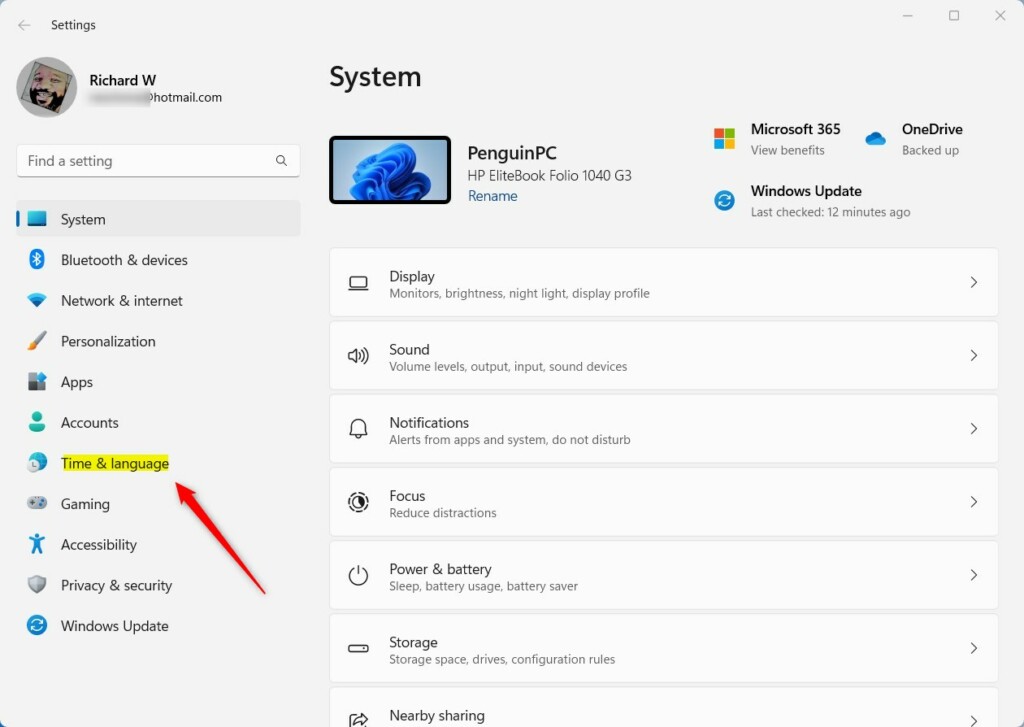
- Open the Settings app. Press the Windows key + I on your keyboard.
- Click on Time & language in the left menu.
- Click on the Speech tile.
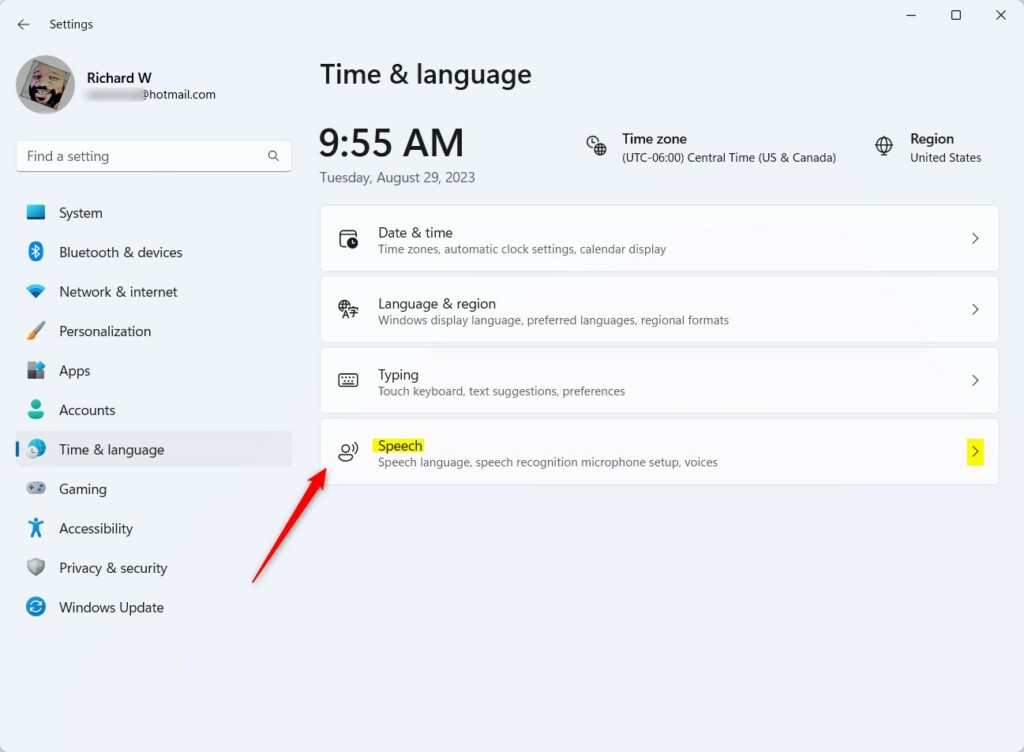
- Find the Speech language section.
- Check the box for Recognize non-native accents for this language.
AI Accent Identification Technology and Limitations
Windows 11’s feature for non-native accent recognition uses basic AI (artificial intelligence), but it’s not perfect, as many systems struggle with different accents.
Improving Your Setup
Related Tools for Accent Testing
If you need more than what Windows offers, consider these diagnostic tools:
- ELSA Speak: Uses AI to analyze your pronunciation.
- Speechace: Provides detailed feedback on your speech patterns.
- Google Cloud Speech-to-Text: Offers advanced API options for developers to handle diverse accents.
Summary
Turning on non-native accent recognition in Windows 11 helps your computer understand you better, making it more inclusive, though it has limits.
Why do voice assistants struggle with non-native accents?
Voice assistants often struggle with non-native accents because they’re trained on limited voice data, meaning they don’t recognize different speech patterns well.
Is there a difference between accent recognition and speech-to-text accuracy?
Yes. Accent recognition is the system’s ability to identify and adapt to your specific pronunciation style. Speech-to-text accuracy is the final result of how well the computer transcribes your words. Better accent recognition directly improves your overall transcription accuracy by reducing errors caused by phonetic variability.
Was this guide helpful?

About the Author
Richard
Tech Writer, IT Professional
Richard, a writer for Geek Rewind, is a tech enthusiast who loves breaking down complex IT topics into simple, easy-to-understand ideas. With years of hands-on experience in system administration and enterprise IT operations, he’s developed a knack for offering practical tips and solutions. Richard aims to make technology more accessible and actionable. He's deeply committed to the Geek Rewind community, always ready to answer questions and engage in discussions.


No comments yet — be the first to share your thoughts!