How to Hide WiFi Networks in Windows 11
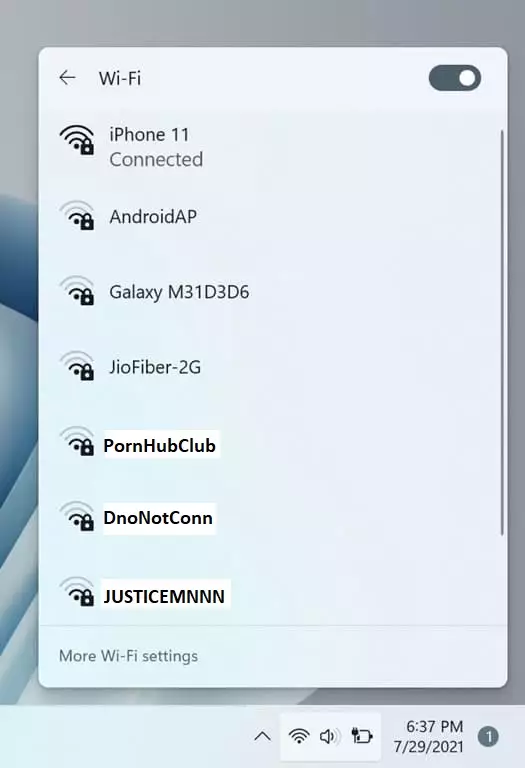
Hiding a WiFi network in Windows 11 stops its name, also called an SSID, from being broadcast. This makes the network invisible on your computer’s list of available connections.
When you hide a WiFi network, your PC won’t automatically connect to it. Other devices also won’t easily see the network’s name. People often hide their WiFi to improve security or to clean up the list of networks they see.
For example, hiding your home WiFi is a good idea if you’re worried about others seeing its name when you take your laptop to a public place.
You can hide WiFi networks in Windows 11 by opening Command Prompt as administrator and using netsh wlan add filter commands. Use ssid=YYYYYYYY to block specific networks or ssid=ZZZZZZZZ with permission=allow after permission=denyall to show only your network.
Why hide WiFi networks?
Hiding WiFi networks in Windows 11 helps clean up your list of available connections, making it easier to find and connect to your own network faster.
What happens when you are done?
Hiding Wi-Fi networks removes them from the Wi-Fi menu and network icon list. This SSID filtering method helps keep the Windows 11 network interface tidy. The blocked networks will no longer appear for users after completing the necessary steps.
Warning: Administrative Privileges

How to block specific networks
You can block specific WiFi networks in Windows 11 by using the Command Prompt. This tells your computer which network names, also known as SSIDs, to ignore so they don’t show up in your list of available connections.
- Click the Start button and type cmd.
- Right-click ‘Command Prompt’ and select ‘Run as administrator’.
- Run these commands to block specific network names (SSIDs):
How to block everything except your own
To block all WiFi networks except your own in Windows 11, you can use the Command Prompt. This method sets up a filter that stops all networks from appearing except for the one you choose to connect to.
- Open the Command Prompt as an administrator.
- Run this command to block all networks:
netsh wlan add filter permission=denyall networktype=infrastructure
3. Next, run this command to allow only your specific network to show:
The network name placeholder "ZZZZZZZZ" requires replacement with your WiFi network's actual name. This specific change instructs your computer to connect only to your trusted WiFi network. Hiding a WiFi network prevents the network name from being broadcast, which makes it more difficult for unknown devices to locate your network.
How to verify your changes
You can check if your WiFi network filter changes worked in Windows 11 by opening the Command Prompt. Typing the command ‘netsh wlan show filters’ will show you all the active filters, confirming if your hidden networks are correctly listed under the ‘Deny’ section.
netsh wlan show filters
This will display a list of all currently active network filters. If you see your hidden networks listed under the ‘Deny’ section, your changes were successful.
How to revert your changes
If you decide you want to see those networks again, you can easily remove the filters. Use the following command to delete a specific block:
netsh wlan delete filter permission=deny ssid="NetworkName" networktype=infrastructure
This command removes the block and restores the network to your visible list.
Summary
Managing your WiFi network list in Windows 11 is simple using Command Prompt commands to block specific networks or allow only your own connection.
Does hiding a network prevent it from being seen by other devices?
No. Using these commands only hides the network on your specific computer. Other devices in your home or office will still be able to see and connect to those networks. This is a local setting that does not affect the actual broadcast signal of the router.
Will these changes persist after a Windows update?
Yes. These filters are stored in the Windows network configuration settings. They will typically remain active even after you restart your computer or install standard Windows updates. You do not need to re-apply these commands unless you perform a major system reset or network settings refresh.
Is there a GUI option to hide networks in 🪟 Windows 11?
No, Windows 11 does not provide a simple graphical user interface (GUI) button to hide specific WiFi networks. You must use the Command Prompt or PowerShell with administrative rights to manage these network filters. This is a technical feature intended for advanced users who need more control.
Was this guide helpful?

About the Author
Richard
Tech Writer, IT Professional
Richard, a writer for Geek Rewind, is a tech enthusiast who loves breaking down complex IT topics into simple, easy-to-understand ideas. With years of hands-on experience in system administration and enterprise IT operations, he’s developed a knack for offering practical tips and solutions. Richard aims to make technology more accessible and actionable. He's deeply committed to the Geek Rewind community, always ready to answer questions and engage in discussions.


No comments yet — be the first to share your thoughts!