Enable Enhanced Search Indexing in Windows 11
This article explains how to enable or disable Enhanced Search Indexer in Windows 11.
By default, Windows uses Classic indexing to index and return search results. The Classic indexing option will index content in the user profile folders, including Documents, Pictures, Music, and the Desktop.
Users can add additional locations using the Classic indexing option to include additional content.
By default, the Enhanced indexing option indexes your computer’s entire contents, all hard drives, and partitions, including your libraries and desktop. Choosing the Enhanced indexing options may reduce your battery life and increase CPU consumption. That’s why the PC must be plugged in for initial indexing.
After you change the setting to Enhanced, the search indexer begins indexing the additional files. The indexing status is updated on the Settings page.
Below, we will show you how to switch to the Enhanced indexing option in Windows 11.
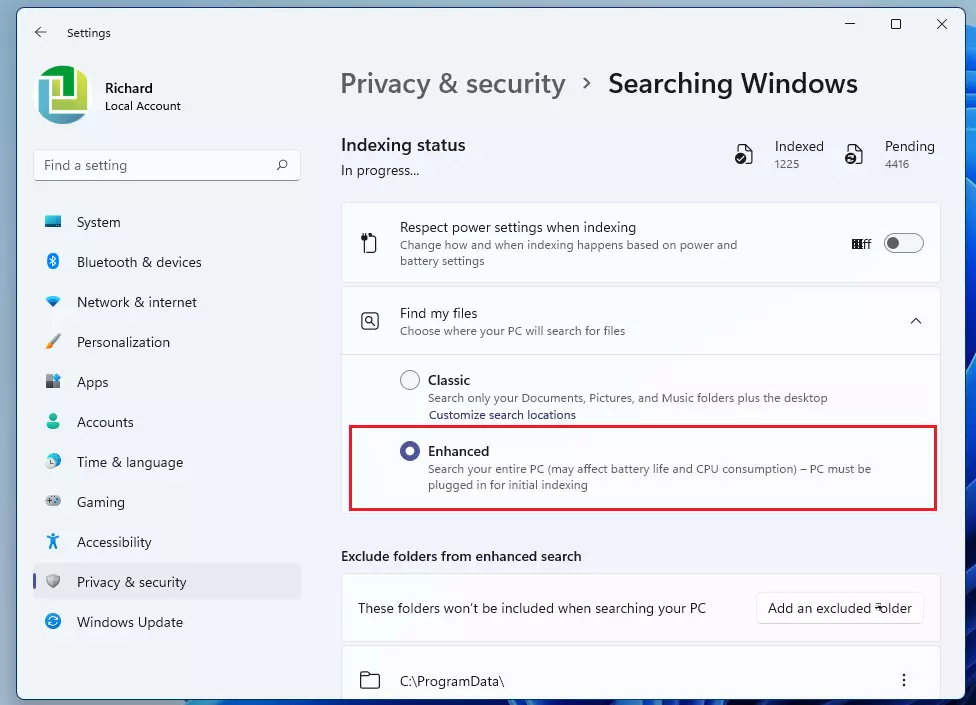
In Windows 11, enable Enhanced Mode for faster file searches by going to Settings > Privacy & security > Search > Find my files, and selecting Enhanced. To disable it, choose Classic. Alternatively, use the Registry Editor with specific commands to set the EnableFindMyFiles value to 1 for Enhanced or 0 for Classic.
How to switch to enhanced indexing mode in 🪟 Windows 11
As mentioned above, users can use the Windows-enhanced indexing option to include additional content to index and return for users for user searches.
To switch to enhanced indexing mode, follow the steps below.
Windows 11 has a centralized location for the majority of its settings. Everything can be done, from system configurations to creating new users and updating Windows from its System Settings pane.
To get to System Settings, you can use the Windows key + I shortcut or click on Start ==> Settings, as shown in the image below:

Alternatively, you can use the search box on the taskbar to search for Settings. Then select to open it.
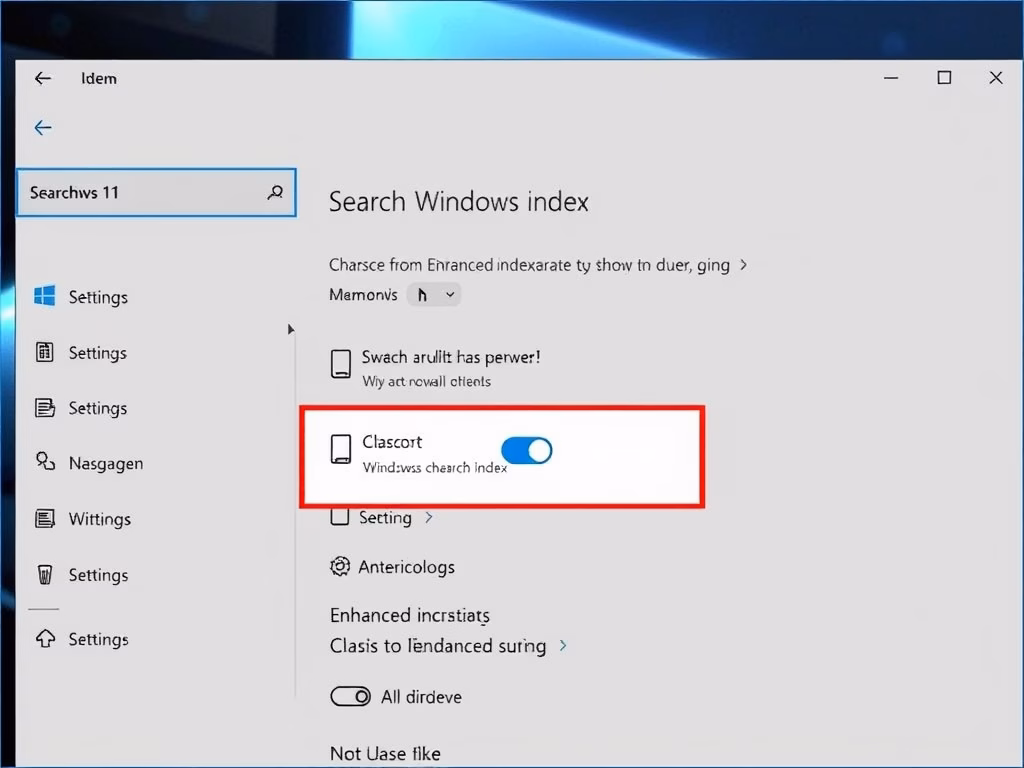
In Windows Settings, click Privacy & security, and select Searching Windows tile on the right pane, as shown in the image below.

Select Enhanced on the Searching Windows settings pane under Find my files.
You can now close the Settings app if you like.
How to switch to Classic Search indexing mode in 🪟 Windows 11
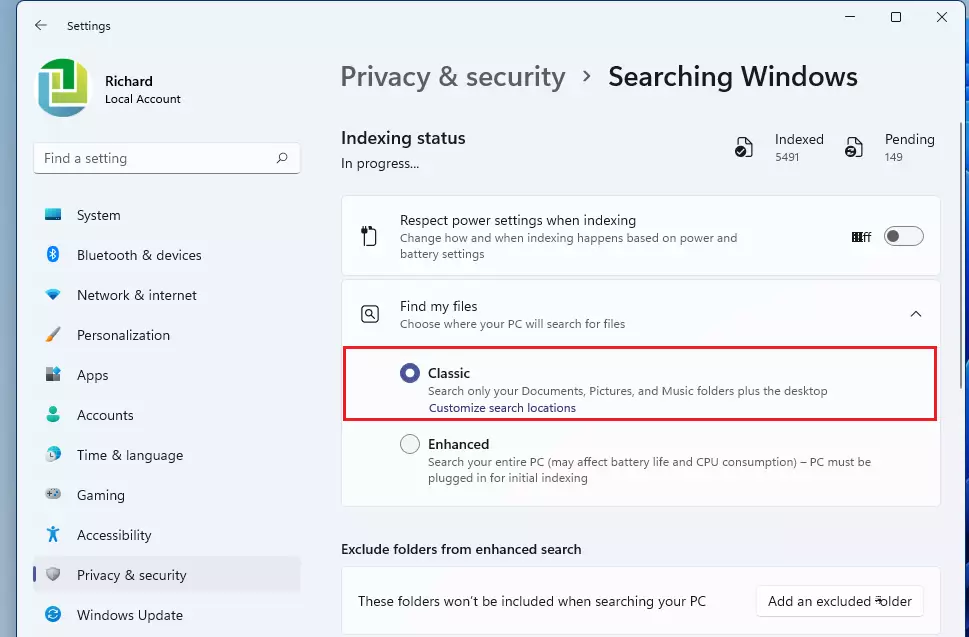
If you don’t like the enhanced Search Indexing experience, you can return to the Classic mode by reversing the steps above.
Go to the Start menu ==> Windows Settings ==> Privacy & security ==> Searching Windows ==>, under Find my files, choose Classic.
That should do it!
Conclusion:
- Enhanced Search Indexing in Windows 11 allows for comprehensive indexing of the entire system, improving search results.
- It is important to ensure that your PC is plugged in during the initial indexing to prevent excessive battery drain and CPU usage.
- Users can easily switch between Enhanced and Classic modes to suit their preferences for search indexing.
- Accessing and modifying these settings is straightforward via the System Settings menu.
- Regularly check your indexing status to ensure optimal search performance.
Was this guide helpful?

About the Author
Richard
Tech Writer, IT Professional
Richard, a writer for Geek Rewind, is a tech enthusiast who loves breaking down complex IT topics into simple, easy-to-understand ideas. With years of hands-on experience in system administration and enterprise IT operations, he’s developed a knack for offering practical tips and solutions. Richard aims to make technology more accessible and actionable. He's deeply committed to the Geek Rewind community, always ready to answer questions and engage in discussions.


No comments yet — be the first to share your thoughts!