How to Check DirectX Version in Windows 11
DirectX version in Windows 11 confirms your PC’s readiness for games and demanding software.
DirectX is a group of Microsoft technologies that help your computer’s hardware, like your graphics card, work smoothly with software, especially for gaming.
Knowing your DirectX version, for example, if you have DirectX 12 which is common on newer PCs, helps you fix problems where software might not work correctly. It checks if your system can handle the features needed by the programs you want to run.
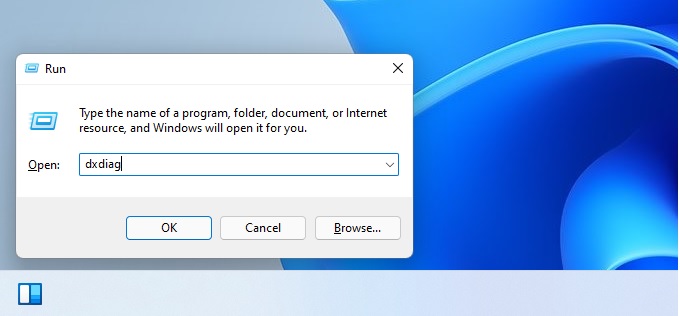
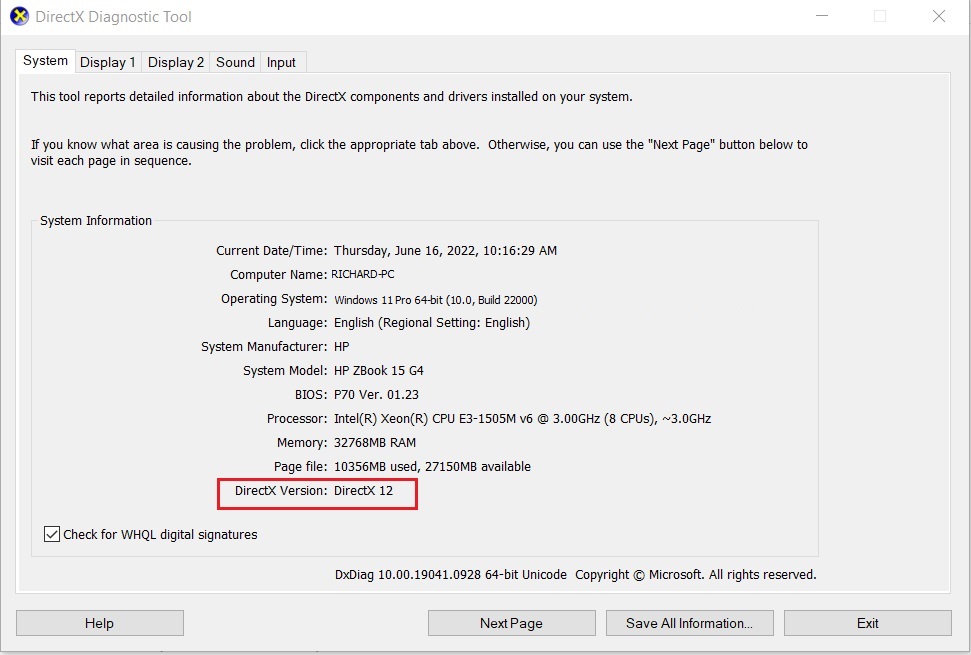
Press Windows key + R, type dxdiag, and press Enter. The DirectX Version is displayed on the System tab of the DirectX Diagnostic Tool.
Prerequisites
Before you begin, make sure your system is connected to the internet. You should also update your graphics card driver to the latest version from your manufacturer. Checking the version doesn’t require special permissions, but installing updates might need administrator rights.
How to find your DirectX version
Checking your DirectX version in Windows 11 is possible using a built-in tool. Type ‘dxdiag’ in the Windows search bar, press Enter, and then look for the ‘DirectX Version’ line on the System tab. This quick check tells you which version you currently have installed.
- Click the Search icon on your taskbar.
- Type
dxdiagand press Enter. - Look at the System tab.
- Find the line that says DirectX Version to see your current number.
Alternatively, you can use the Run command:
- Press the Windows key + R on your keyboard.
- Type
dxdiaginto the box and press Enter.
Understanding DirectX Feature Levels
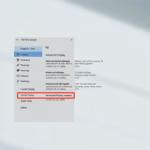
The DirectX version is not the only thing that matters. Your graphics card (GPU) also needs to support a specific DirectX feature level. This determines which advanced graphics effects your card can handle. You can check this in the Display tab within the dxdiag tool under the Drivers section.
Updating DirectX
Windows 11 updates DirectX automatically through Windows Update. If you are having issues, you can download the DirectX End-User Runtime Web Installer from the official Microsoft website to repair missing files.
Troubleshooting
If you’re running into errors while playing games, the most common solution involves updating your graphics drivers and ensuring Windows is fully updated. Keeping these components current can resolve many DirectX-related issues and improve game performance.
- Update your graphics driver via Device Manager.
- Run the Windows Update tool to ensure your Windows Display Driver Model (WDDM) is current.
- Check if your game requires legacy components. You may need to enable them in Turn Windows features on or off.
Summary
Checking your DirectX version helps you fix game problems and improve your computer’s performance.
Does 🪟 Windows 11 support DirectX 9?
Yes, Windows 11 supports DirectX 9. While it is an older technology, Windows includes legacy components to ensure that older games and applications continue to run correctly. If a game fails to launch, you may need to manually enable the Legacy Components feature in the Windows Control Panel settings.
How do I reinstall DirectX?
You cannot uninstall DirectX because it is a core part of Windows. However, you can reinstall or repair it by downloading the DirectX End-User Runtime Web Installer from Microsoft. This tool scans your system for missing or corrupted files and replaces them with the correct versions automatically.
Why does dxdiag show a different version than my game requires?
The DirectX version shown in the tool is the highest version your Windows installation supports. If a game asks for a different version, it usually refers to the specific feature level of your graphics card. Ensure your GPU drivers are up to date to support the required feature level.
Was this guide helpful?

About the Author
Richard
Tech Writer, IT Professional
Richard, a writer for Geek Rewind, is a tech enthusiast who loves breaking down complex IT topics into simple, easy-to-understand ideas. With years of hands-on experience in system administration and enterprise IT operations, he’s developed a knack for offering practical tips and solutions. Richard aims to make technology more accessible and actionable. He's deeply committed to the Geek Rewind community, always ready to answer questions and engage in discussions.

No comments yet — be the first to share your thoughts!