How to Check Graphics Card Details on Windows 11
Graphics card details on Windows 11 tell you exactly what display hardware your PC uses. Your graphics card, also called a GPU, is what makes everything appear on your screen, from simple text to complex video games. Knowing your specific model, like an NVIDIA GeForce RTX 3070, helps you check if new software will work or fix display problems.
This hardware information is key for understanding if your computer can run the latest games or demanding creative programs. It also helps you decide if updating your graphics drivers might improve speed or if you need to think about buying new hardware.
Open Settings, go to System, then Display, and click Advanced display. Select Display adapter properties for Display 1 to see your graphics card name and memory. Alternatively, press Windows key + R, type dxdiag, and press Enter, then click the Display tab.
Methods to check your GPU
Method 1Using Windows Settings
Here’s how to find your display adapter details.
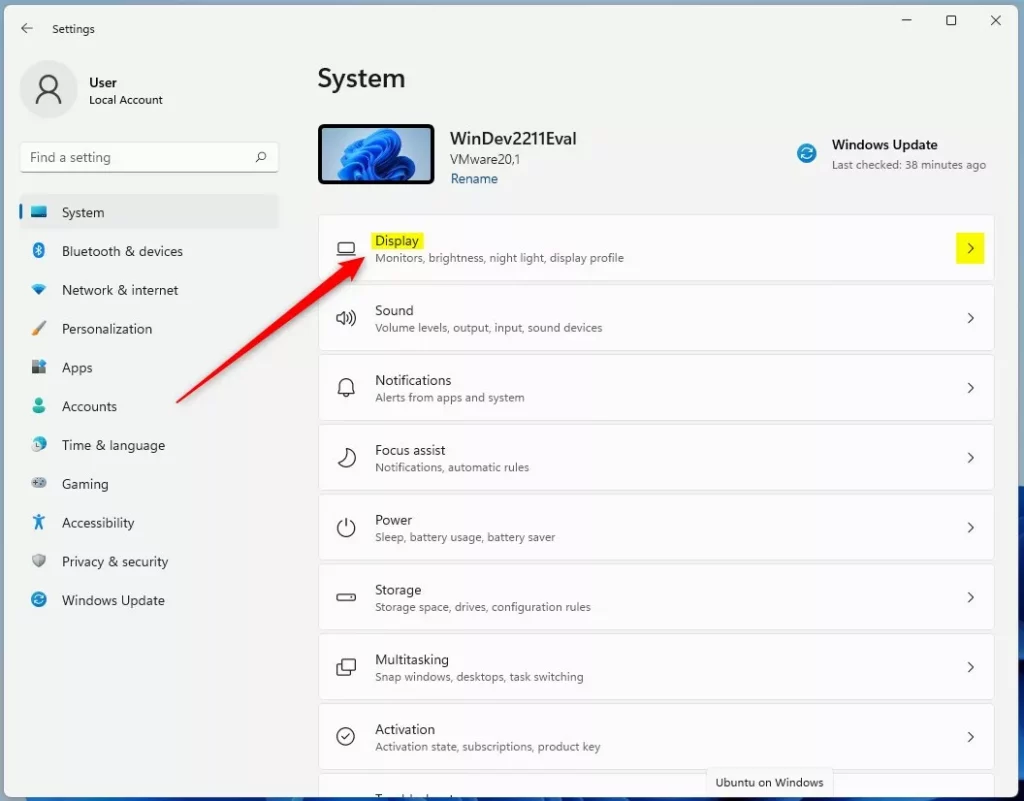
- Press Windows key + I to open Settings .
- Select System, then click Display.

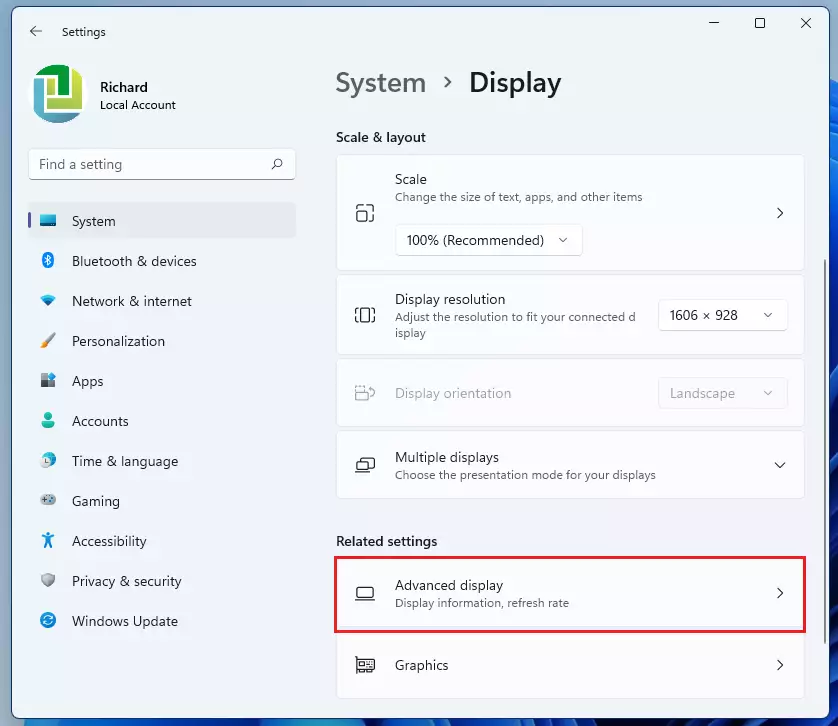
3. Scroll down and click Advanced display.
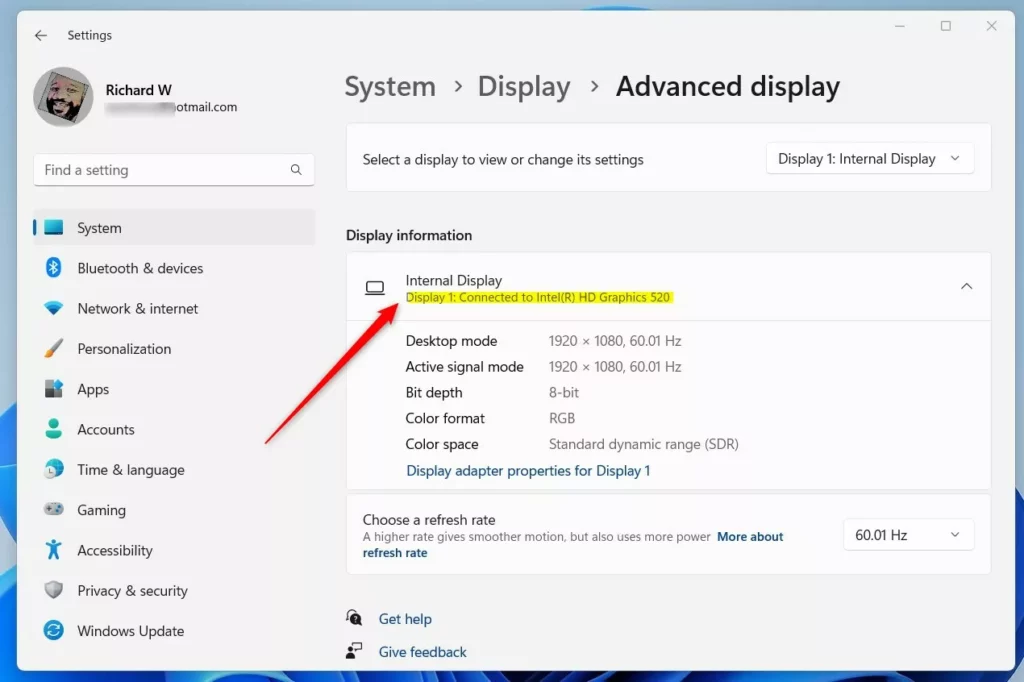
4. Click Display adapter properties for Display 1.
This window will show your adapter type and dedicated video memory (VRAM).
Pro Tip: Quick Search
Method 2DirectX Diagnostic Tool (dxdiag)
The DirectX Diagnostic Tool offers a detailed view of your graphics driver version and hardware status.
- Press Windows key + R, type dxdiag, and press Enter.
- Click the Display tab at the top.
- You will see your card name, manufacturer, and current driver version.
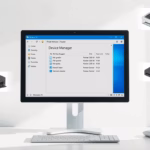
Method 3Device Manager
Windows 11’s Device Manager lets you check your graphics card details. Device Manager shows information about your computer’s hardware and confirms if your graphics driver is working correctly. This tool lets you quickly see your graphics card model and check its status.
- Right-click the Start button and select Device Manager.
- Expand the Display adapters section.
- Right-click your card and select Properties to see if the device is working properly.
Method 4Command Line
The command line can also quickly check your hardware name, without needing admin privileges.
wmic path win32_VideoController get nameDriver Management and Performance
Keeping your graphics card drivers up-to-date is key for optimal performance and a stable computer.
Summary
Checking your graphics card details in Windows 11 helps manage your PC’s performance and ensures games and apps run smoothly.
How do I know if my graphics card is good enough for gaming?
Compare your GPU model and VRAM capacity to the minimum system requirements listed on the game’s store page. If your card falls below the recommended specs, you might experience low frame rates or visual lag during gameplay. Checking your hardware ensures your PC can handle the game’s graphical demands.
Why does my computer show two graphics cards?
A computer might show two graphics cards because many laptops use a basic chip for everyday tasks and a more powerful one for demanding apps.
Was this guide helpful?

About the Author
Richard
Tech Writer, IT Professional
Richard, a writer for Geek Rewind, is a tech enthusiast who loves breaking down complex IT topics into simple, easy-to-understand ideas. With years of hands-on experience in system administration and enterprise IT operations, he’s developed a knack for offering practical tips and solutions. Richard aims to make technology more accessible and actionable. He's deeply committed to the Geek Rewind community, always ready to answer questions and engage in discussions.

Great site first off but I would suggest moving this article to “Windows” section.
[…] How to check graphics card details in Windows 11. […]
[…] First, find out which video card your computer has. You can learn how here: How to check graphics card details in Windows 11. […]