How to Change AutoPlay Settings in Windows 11
You change AutoPlay settings in Windows 11 to control what happens when you connect removable media like USB drives or DVDs.
AutoPlay is a Windows feature that detects newly inserted media and offers to perform actions, such as opening files or running an application. This allows you to customize your PC’s response to external devices.
For example, you can set Windows 11 to always open a specific folder when you plug in a USB drive or to do nothing automatically. This setting is vital for security, helping to prevent malicious software from running immediately upon device connection.
Open Settings, go to Bluetooth & devices, then select AutoPlay to change or disable these settings. You can also use Control Panel for more detailed options.
Change AutoPlay Settings Using System Settings
Here’s the most accessible way to change AutoPlay settings: use Windows Settings. Follow these steps:
- Press Windows key + I on your keyboard to open Settings.
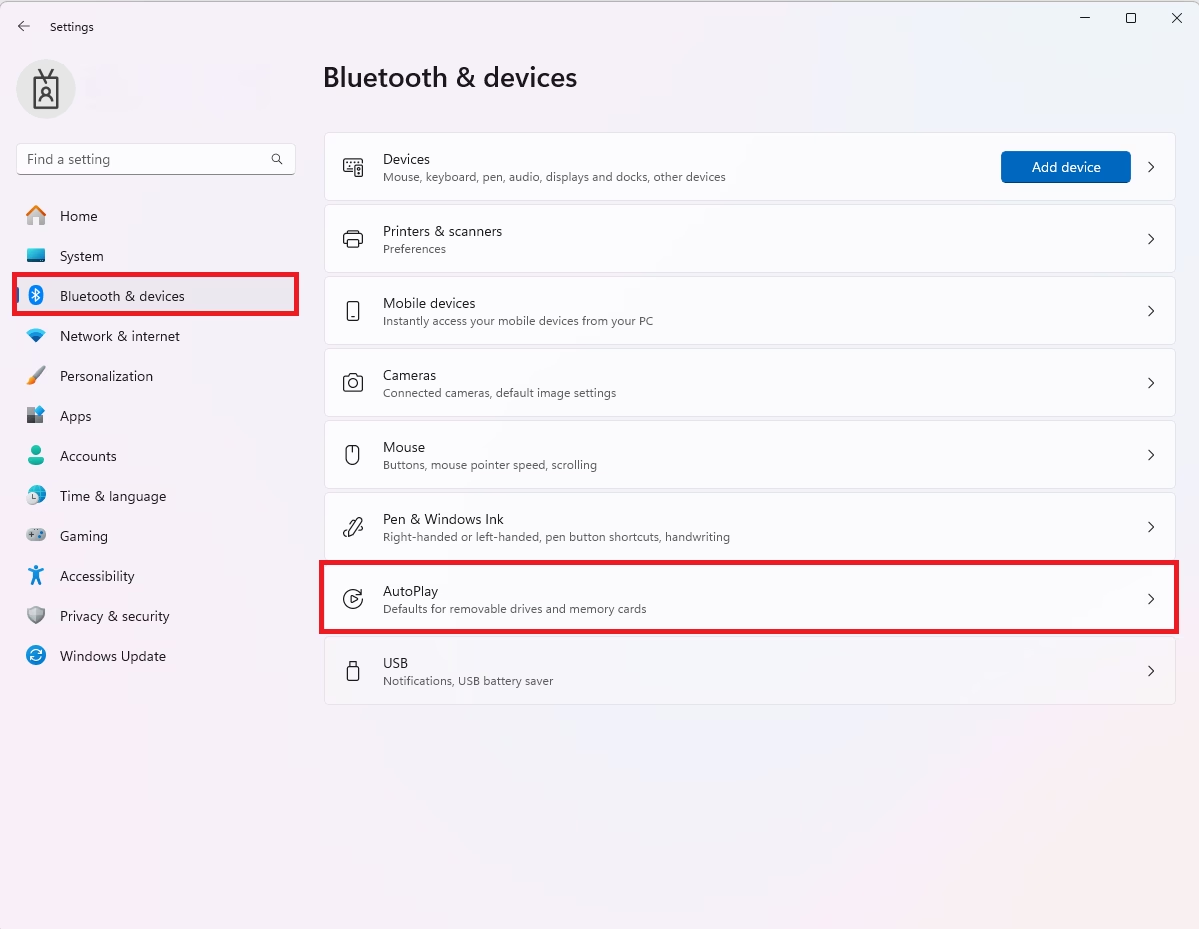
- In Settings, click on Bluetooth & devices in the left menu.
- On the right side, select AutoPlay.
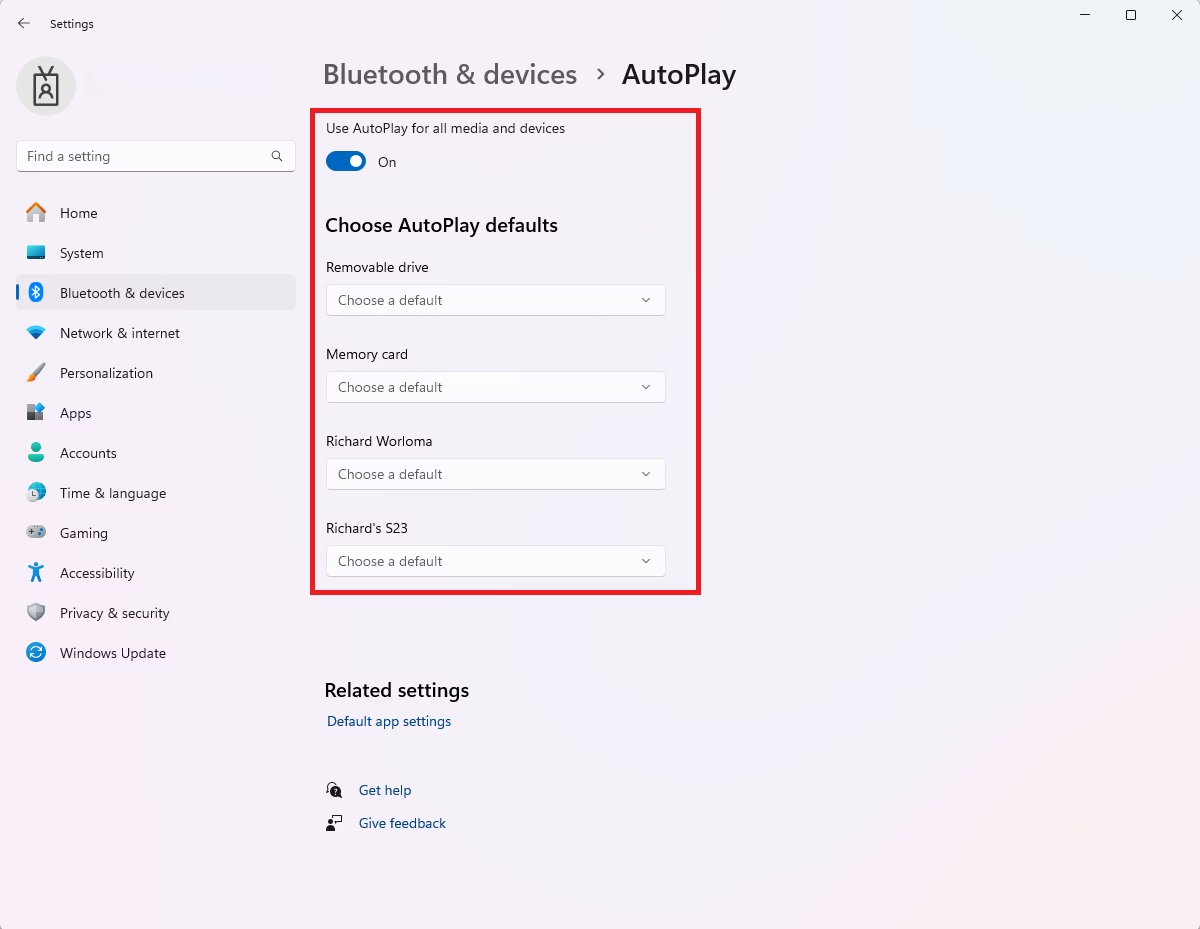
Turn Off AutoPlay Completely
To disable AutoPlay entirely, toggle the button under Use AutoPlay for all media and devices to the Off position. What happens? Windows will no longer react to plugged-in media, and you’ll need to open your files manually using File Explorer.
Change AutoPlay Settings Using Control Panel
You can change AutoPlay settings in Windows 11 using the Control Panel to decide what happens when you connect devices like USB drives or insert DVDs.
- Click the Start button and search for Control Panel.
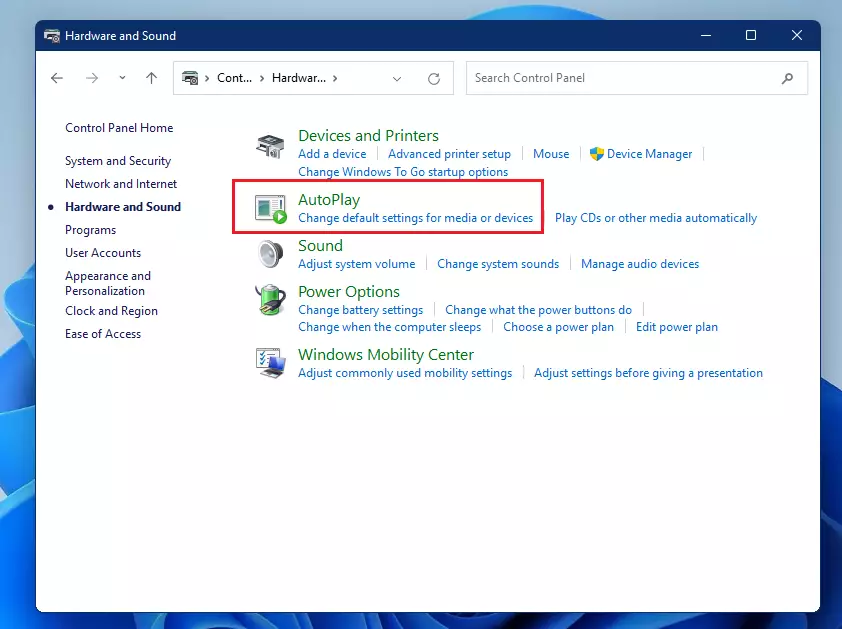
- Click on Hardware and Sound.
- Select AutoPlay.
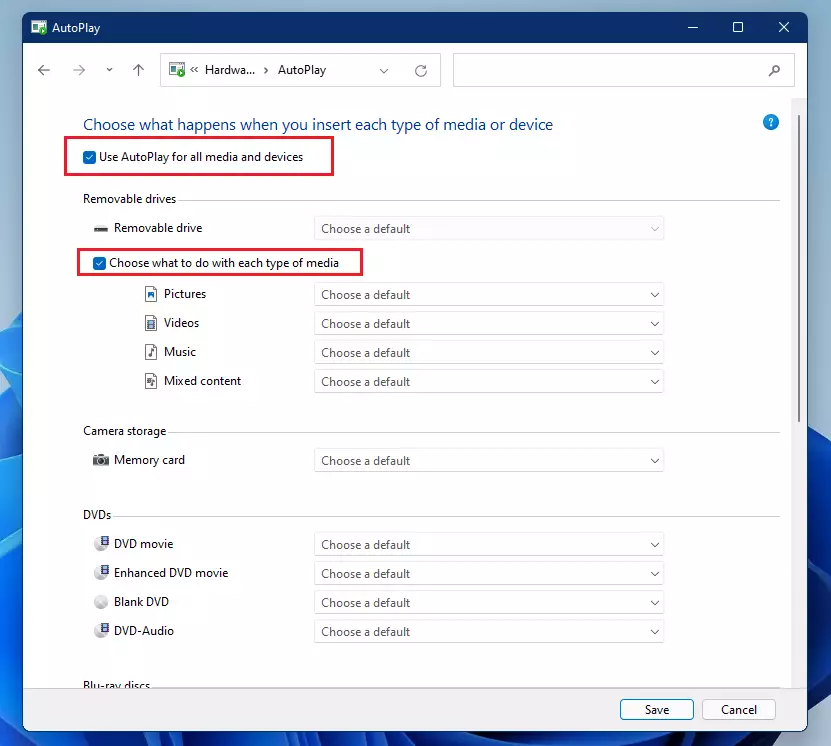
Here, you can set specific actions for various media and device types. Choose what should happen for each one, then click Apply and OK to save your changes.
Advanced: Disable AutoPlay via Registry Editor
Disabling AutoPlay in Windows 11 using the Registry Editor is an advanced option that stops devices from automatically starting actions, but it requires caution.
- Press Windows key + R, type regedit, and press Enter.
- Navigate to: 🗝️HKEY_CURRENT_USER\Software\Microsoft\Windows\CurrentVersion\Policies\Explorer
- If the key NoDriveTypeAutoRun does not exist, right-click in the right pane, select New > DWORD (32-bit) Value, and name it NoDriveTypeAutoRun.
- Double-click it and set the value to ff to disable all AutoPlay features.
Advanced: Disable AutoPlay via Group Policy
Note: This is only available for Windows 11 Pro and Enterprise editions. It requires admin privileges.
- Press Windows key + R, type gpedit.msc, and press Enter.
- Go to Computer Configuration > Administrative Templates > Windows Components > AutoPlay Policies.
- Double-click Turn off AutoPlay and select Enabled.
- Click Apply and OK.
Troubleshooting Common Issues
If your Windows 11 device isn’t showing AutoPlay options, the most common fix is to check if the ‘Shell Hardware Detection’ service is running and set to start automatically.
Summary
Changing AutoPlay settings in Windows 11 helps you control how your computer reacts to USB drives, DVDs, and other media, which is important for security and convenience.
Was this guide helpful?

About the Author
Richard
Tech Writer, IT Professional
Richard, a writer for Geek Rewind, is a tech enthusiast who loves breaking down complex IT topics into simple, easy-to-understand ideas. With years of hands-on experience in system administration and enterprise IT operations, he’s developed a knack for offering practical tips and solutions. Richard aims to make technology more accessible and actionable. He's deeply committed to the Geek Rewind community, always ready to answer questions and engage in discussions.


Tried this, and it still does not work.
[…] This post shows students and new users steps to mount and unmount a removable USB or thumb drive in the Windows Systems for Linux (WSL) environment. Windows 11 allows users to mount removable drives with ease. Simply insert a removable drive, and Windows will recognize and mount it. […]
[…] choose to upload your photos and videos from your camera to Dropbox automatically by configuring Windows’ AutoPlay settings. By default, AutoPlay prompts what to do with the camera or device you insert when you connect a […]
[…] default, Windows will automatically initiate when you insert a blank recordable CD or DVD into your optical drive. When you do that, a “Burn a Disc” window will […]
[…] AutoPlay settings in Windows allow users to choose different actions when devices are inserted or attached to a Windows […]
[…] If you want to learn more about AutoPlay, click here. […]
[…] Learn more about AutoPlay settings […]