Enable Nginx FastCGI on Ubuntu 24.04


FastCGI is a protocol that lets Nginx hand requests to a separate background program instead of running scripts itself. The program stays running between requests, so nothing has to be started again for every click. That keeps your server responsive when many people visit at once. PHP-FPM is one program that speaks FastCGI. In this tutorial you set up fcgiwrap, a small FastCGI service that lets Nginx run CGI scripts on Ubuntu 24.04.
You need root access (or a user with sudo) and a basic text editor such as nano. The steps assume Nginx is already installed and serving your site.
Enable Nginx FastCGI on Ubuntu 24.04 by installing the fcgiwrap package with sudo apt install fcgiwrap, which runs CGI scripts for Nginx. Then create the /var/www/cgi-bin folder, add a location block for /cgi-bin/ in /etc/nginx/fcgiwrap.conf, include that file in your server block, and reload Nginx.
Install FastCGI
Nginx cannot run CGI scripts on its own. The fcgiwrap package sits between Nginx and your scripts and runs them for it. To install it :
- Open your terminal.
- Run sudo apt install fcgiwrap and confirm with Y if apt asks.
- Wait for apt to finish. You should be back at the shell prompt with no error messages.
On Ubuntu the package normally starts the service for you after installation. Once it finishes, you can set up a dedicated folder for your scripts.
sudo apt install fcgiwrap
After installing the FastCGI package, we’ll define a location to store our CGI scripts. We’ll create a new /cgi-bin folder in the Nginx root directory for this post. Keeping scripts in one folder makes it easy to tell Nginx which URLs should be executed and which should be served as plain files.
If your site uses a different document root, adjust the path here and in the configuration later so the two match.
Then, adjust the directory permissions as needed. The Nginx and fcgiwrap processes run as the www-data user on Ubuntu by default. That user must be able to read and enter the folder. Do not make it writable by everyone, since anything placed here can be executed.
sudo mkdir /var/www/cgi-bin
sudo chmod 755 /var/www/cgi-bin
Next, run the command below to create an Nginx configuration file and define our CGI script location and other settings. The command opens a new, empty file in your editor. Because the file lives under /etc/nginx, you need root rights to save it.
sudo nano /etc/nginx/fcgiwrap.conf
Then, copy the block below, paste it into the file, and save. In nano, press Ctrl+O, then Enter to write the file. Press Ctrl+X to exit. If your scripts are not in /var/www/cgi-bin/, change the path in the pasted block before you save.
location /cgi-bin/ {
    gzip off;
    root  /var/www;
    fastcgi_pass  unix:/var/run/fcgiwrap.socket;
    include /etc/nginx/fastcgi_params;
    fastcgi_param SCRIPT_FILENAME  $document_root$fastcgi_script_name;
}
After creating the FastCGI config above, include it in your Nginx server block. The config file does nothing until a server block pulls it in. We’ll use the default server block for this post, but you can create new ones. The same include line works in any of them.
Open the Nginx default server block in your editor with the command below. You should see the existing server {} section with its listen and root settings.
sudo nano /etc/nginx/sites-available/default
Then, include the configuration file created above in the server {} section. Put the include line inside the braces, not outside them. A line outside the server block will make Nginx reject the configuration. To undo this later, delete the include line and reload Nginx.
server {
        listen 80 default_server;
        listen [::]:80 default_server;

        root /var/www/html;
        index index.html index.htm index.nginx-debian.html;

        server_name example.com;

        include fcgiwrap.conf;

        location / {
                # First attempt to serve request as file, then
                # as directory, then fall back to displaying a 404.
                try_files $uri $uri/ =404;
        }
............
............
Save and exit the file. In nano, press Ctrl+O, then Enter, then Ctrl+X.
Next, enable FastCGI and reload Nginx services by running the command below. A reload applies the new settings without dropping active connections, so you do not need to restart the server or reboot. If the command prints an error, read it closely. Nginx normally names the file and line number with the problem, and it keeps running with the old settings until you fix it.
sudo  systemctl enable fcgiwrap
sudo systemctl reload nginx
Test Apache CGI execution
Testing script execution for Nginx FastCGI on Ubuntu 24.04 involves creating a simple test script to confirm your server reads CGI files correctly. Create a new file named index.cgi inside your cgi-bin folder using a text editor, add a basic print statement, and load it in your browser. The steps below walk through it.
Run the command below to create a blank CGI index file. The file opens in your editor with nothing in it.
sudo nano /var/www/cgi-bin/index.cgi
Copy the script below, paste it into the file, and save. If you later write your own CGI scripts, remember that they must print a Content-Type header and a blank line before any output. Without that, Nginx returns an error page instead of your content.
#!/usr/bin/python3
print("Content-type: text/html\n")
print("<html>\n<body>")
print("<p style='width: 100%; font-size: 60px; font-weight: bold; text-align: center;'>")
print("CGI is Enabled!!!")
print("</p>")
print("</body>\n</html>")
Make the file executable by running the command below. CGI scripts are run, not just read, so a file without the execute permission will fail. The usual symptoms are a 403 or 502 error in the browser.
sudo chmod 705 /var/www/cgi-bin/index.cgi
Now, open your browser and browse the script. Replace example.com with your own domain name or your server’s IP address.
http://example.com/cgi-bin/index.cgi
The page should show the output of your script. If it does not, these are the usual causes:
- The browser downloads the file or shows its source code. Nginx is not applying the CGI location, so check that the include line is inside the server block and that you reloaded Nginx.
- You get a 404 error. The path in the configuration does not match the real folder, or the file name is wrong.
- You get a 502 Bad Gateway error. Nginx cannot reach fcgiwrap, or the script itself failed. Check that the fcgiwrap service is running and that the script is executable.
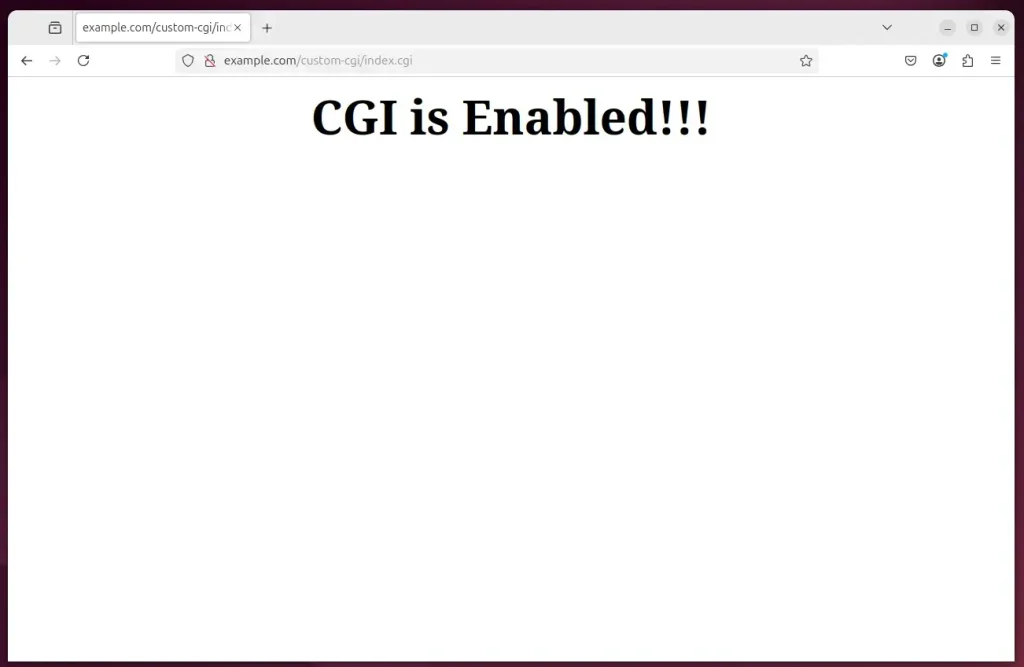
That should do it! Nginx now passes requests under /cgi-bin/ to fcgiwrap, which runs your scripts and returns the output.
Conclusion:
- Configuring Nginx to run CGI scripts on Ubuntu 24.04 enhances the server’s capability to deliver dynamic web content.
- FastCGI plays a crucial role in handling CGI requests efficiently and effectively, because the handler stays running between requests.
- Setting up the
/cgi-bindirectory allows for organized management of your CGI scripts. - Testing the configuration through a simple Python script ensures the setup works correctly.
- Overall, this configuration opens up possibilities for interactive web features, improving user experience on your website.
Have a question about this guide?
Answered by AI from this guide. Good questions may be added to this page — please don't include personal details.
Did this guide fix your problem?

About the Author
Richard
Tech Writer, IT Professional
Richard is a writer at Geek Rewind who turns complex IT tasks into clear, step-by-step guides. He draws on years of hands-on experience in system administration and enterprise IT operations, focusing on Windows, Linux and WordPress: the problems people actually run into, and the fixes that work. His server and WordPress guides come from systems he runs himself. Richard builds and maintains the platform behind Geek Rewind, from its Ubuntu servers and Nginx configuration to its custom WordPress plugins. Many new tutorials start with readers' questions, and he's always glad to answer them in the comments.
No comments yet — be the first to share your thoughts!