Enable Nginx FastCGI on Ubuntu 24.04

You enable Nginx FastCGI on Ubuntu 24.04 by configuring Nginx to communicate directly with a FastCGI process manager, most commonly PHP-FPM for PHP applications.
FastCGI is a protocol enabling web servers like Nginx to efficiently execute dynamic content via external application servers, offering a significant performance upgrade over older CGI methods.
This setup is vital for optimizing your web server’s performance on Ubuntu 24.04. By keeping application processes ready, it dramatically reduces latency and improves how quickly your website responds to user requests.
For instance, integrating PHP-FPM as your FastCGI manager allows Nginx to serve dynamic PHP pages much faster, a key step for any high-traffic website.
Install fcgiwrap with `sudo apt install fcgiwrap`. Configure Nginx by creating `/etc/nginx/fcgiwrap.conf` and including it in your server block. Reload Nginx with `sudo systemctl reload nginx`.
Install FastCGI
Installing the FastCGI package on Ubuntu 24.04 lets you run CGI scripts with Nginx. You can install it using the command `sudo apt install fcgiwrap`.
sudo apt install fcgiwrap
After installing the FastCGI package, we’ll define a location to store our CGI scripts. We’ll create a new /cgi-bin folder in the Nginx root directory for this post.
The URL to the CGI scripts directory will be [/var/www/cgi-bin/].
First, create the CGI directory by running the command below. Then, adjust the directory permissions as needed.
sudo mkdir /var/www/cgi-bin
sudo chmod 755 /var/www/cgi-bin
Next, run the command below to create an Nginx configuration file and define our CGI script location and other settings.
sudo nano /etc/nginx/fcgiwrap.conf
Then, copy the block below, paste it into the file, and save.
location /cgi-bin/ {
    gzip off;
    root  /var/www;
    fastcgi_pass  unix:/var/run/fcgiwrap.socket;
    include /etc/nginx/fastcgi_params;
    fastcgi_param SCRIPT_FILENAME  $document_root$fastcgi_script_name;
}
After creating the FastCGI config above, include it in your Nginx server block. We’ll use the default server block for this post, but you can create new ones.
Open Nginx default server block.
sudo nano /etc/nginx/sites-available/default
Then, include the configuration file created above in the server {} section.
server {
        listen 80 default_server;
        listen [::]:80 default_server;

        root /var/www/html;
        index index.html index.htm index.nginx-debian.html;

        server_name example.com;

        include fcgiwrap.conf;

        location / {
                # First attempt to serve request as file, then
                # as directory, then fall back to displaying a 404.
                try_files $uri $uri/ =404;
        }
............
............
Save and exit the file.
Next, enable FastCGI and reload Nginx services by running the command below.
sudo  systemctl enable fcgiwrap
sudo systemctl reload nginx
Test Apache CGI execution
Testing your CGI script execution on Ubuntu confirms FastCGI is working correctly. Create a simple test file to check if your scripts run as expected.
Run the command below to create a blank CGI index file.
sudo nano /var/www/cgi-bin/index.cgi
Copy the script below, paste it into the file, and save.
#!/usr/bin/python3

print("Content-type: text/htmln")
print("<html>n<body>")
print("<p style="width: 100%; font-size: 60px; font-weight: bold; text-align: center;">")
print("CGI is Enabled!!!")
print("</p>")
print("</body>n</html>")
Make the file executable by running the command below.
sudo chmod 705 /var/www/cgi-bin/index.cgi
Now, open your browser and browse the script.
http://example.com/cgi-bin/index.cgi
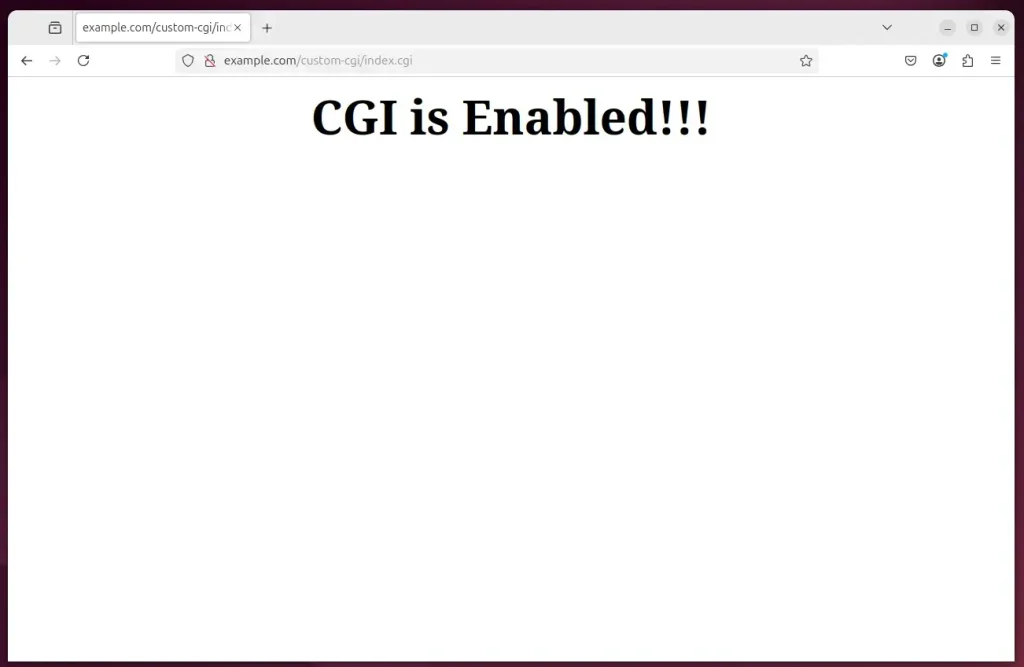
That should do it!
Conclusion:
- Configuring Nginx to run CGI scripts on Ubuntu 24.04 enhances the server’s capability to deliver dynamic web content.
- FastCGI plays a crucial role in handling CGI requests efficiently and effectively.
- Setting up the
/cgi-bindirectory allows for organized management of your CGI scripts. - Testing the configuration through a simple Python script ensures the setup works correctly.
- Overall, this configuration opens up possibilities for interactive web features, improving user experience on your website.
Does nginx support FastCGI?
Yes, Nginx fully supports FastCGI, allowing it to efficiently process dynamic content by communicating with FastCGI applications.
Does nginx work on Ubuntu?
Nginx is available in Ubuntu's default repositories. Install it using the apt packaging system. First, update the local package index to access the most recent package listings, then install nginx : sudo apt update.
Was this guide helpful?

About the Author
Richard
Tech Writer, IT Professional
Richard, a writer for Geek Rewind, is a tech enthusiast who loves breaking down complex IT topics into simple, easy-to-understand ideas. With years of hands-on experience in system administration and enterprise IT operations, he’s developed a knack for offering practical tips and solutions. Richard aims to make technology more accessible and actionable. He's deeply committed to the Geek Rewind community, always ready to answer questions and engage in discussions.


No comments yet — be the first to share your thoughts!