Install Zabbix with Nginx on Ubuntu 24.04

You can install Zabbix with Nginx on Ubuntu 24.04 to create a robust and efficient IT monitoring system.
Zabbix is an open-source enterprise-class monitoring solution designed for real-time data collection and analysis of IT infrastructure components. Nginx acts as a high-performance web server that efficiently serves the Zabbix web interface, especially crucial for handling large volumes of monitoring data.
This guide specifically focuses on Ubuntu 24.04 LTS, ensuring you leverage the latest stability and security features for your Zabbix deployment.
Implementing Zabbix with Nginx on Ubuntu 24.04 allows you to optimize monitoring performance and better manage your server resources.
Install Zabbix with Nginx on Ubuntu 24.04 by first installing PostgreSQL, then the Zabbix repository and packages using `apt`. Configure Zabbix server with your PostgreSQL details and set up Nginx by editing its configuration file.
Install PostgreSQL server
Zabbix uses databases to store its content and supports SQL databases like MySQL and PostgreSQL.
For this post, we’re going to be using the PostgreSQL database to use with Zabbix.
Run the command below to install PostgreSQL.
sudo apt update
sudo apt install postgresql postgresql-contrib
After the installation, run the command below to enable PostgreSQL services to start up automatically and check the PostgreSQL service status.
sudo systemctl is-enabled postgresql
sudo systemctl status postgresql
Please read the post below for more information about installing PostgreSQL and using it on Ubuntu.
Install Zabbix packages
With Nginx support, you must install some required packages to install Zabbix on Ubuntu.
First, download and install the Zabbix repository for Ubuntu by running the command below.
wget https://repo.zabbix.com/zabbix/7.0/ubuntu/pool/main/z/zabbix-release/zabbix-release_latest+ubuntu24.04_all.deb
Next, run the command below to install the Zabbix repository.
sudo dpkg -i zabbix-release_latest+ubuntu24.04_all.deb
After adding a new repository, you need to refresh your package index (this updates the list of available software) by running the command below.
sudo apt update
Now that the Zabbix repository is set up on your Ubuntu system, you can install the necessary packages with the following command.
sudo apt install zabbix-server-pgsql zabbix-frontend-php php8.3-pgsql zabbix-nginx-conf zabbix-sql-scripts zabbix-agent
This command installs several key components:
- Zabbix with PostgreSQL database support
- Zabbix web application or frontend
- PHP and modules, including the ‘pgsql’ module for the PostgreSQL driver
- Nginx and configuration for Zabbix
- Zabbix SQL scripts
- Zabbix agent for monitoring the Zabbix system
Configure Zabbix
With all the packages to support Zabbix installed, you can continue configuring the Zabbix environment.
First, create a new database and account to use with Zabbix.
Run the two commands below to create a new PostgreSQL user and database called ‘zabbix‘.
When prompted, create a password for the account.
sudo -u postgres createuser --pwprompt zabbix
sudo -u postgres createdb -O zabbix zabbix
After creating the database and user, run the following command to import the database schema to the database created.
Confirm the password created above.
zcat /usr/share/zabbix-sql-scripts/postgresql/server.sql.gz | sudo -u zabbix psql zabbix
You’ll see a success message if everything works.
Next, run the command below to open Zabbix configuration ‘/etc/zabbix/zabbix_server.conf‘.
sudo nano /etc/zabbix/zabbix_server.conf
Change the default configuration of ‘DBName‘, ‘DBUser‘, and ‘DBPassword‘ with your PostgreSQL database details.
### Option: DBName
# Database Name
# Mandatory: yes
# Default:
# DBName=

DBName=zabbix

### Option: DBUser
#Database user.
# Mandatory: no
# Default:
# DBUser=

DBUser=zabbix

### Option: DBPassword
#Database password.
# Mandatory: no
# Default:
 DBPassword=Type_DBuser_password
Save the file and exit the editor when finished.
Set up Nginx
After setting up the Zabbix database configuration, continue with setting up Nginx.
Run the command below to open the Nginx configuration for Zabbix ‘/etc/zabbix/nginx.conf‘.
sudo nano /etc/zabbix/nginx.conf
Change the highlighted lines to match the ones below.
server {
        listen          8080;
        server_name     zabbix.example.com;

        root    /usr/share/zabbix;

        index   index.php;

............................................
When done, save the file and exit the editor.
Restart Zabbix services
PostgreSQL and Nginx should be configured and ready. However, you must restart Zabbix services.
Run the commands below to restart the services.
sudo systemctl restart zabbix-server zabbix-agent nginx php8.3-fpm
sudo systemctl enable zabbix-server zabbix-agent nginx php8.3-fpm
You can check the status when the services are restarted by running the command below.
sudo systemctl status zabbix-server zabbix-agent nginx php8.3-fpm
Access Zabbix
Zabbix services should be configured and running. Now, open your browser and go to your server’s hostname (or IP address) to access the installation wizard.
http://zabbix.example.com:8080
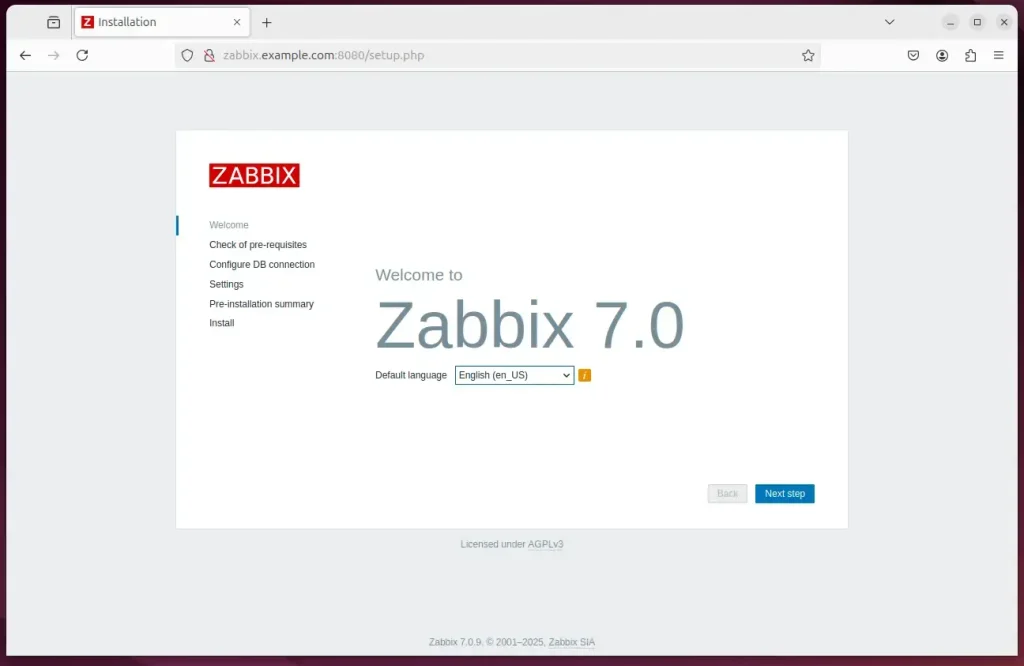
Select the installation language and continue.
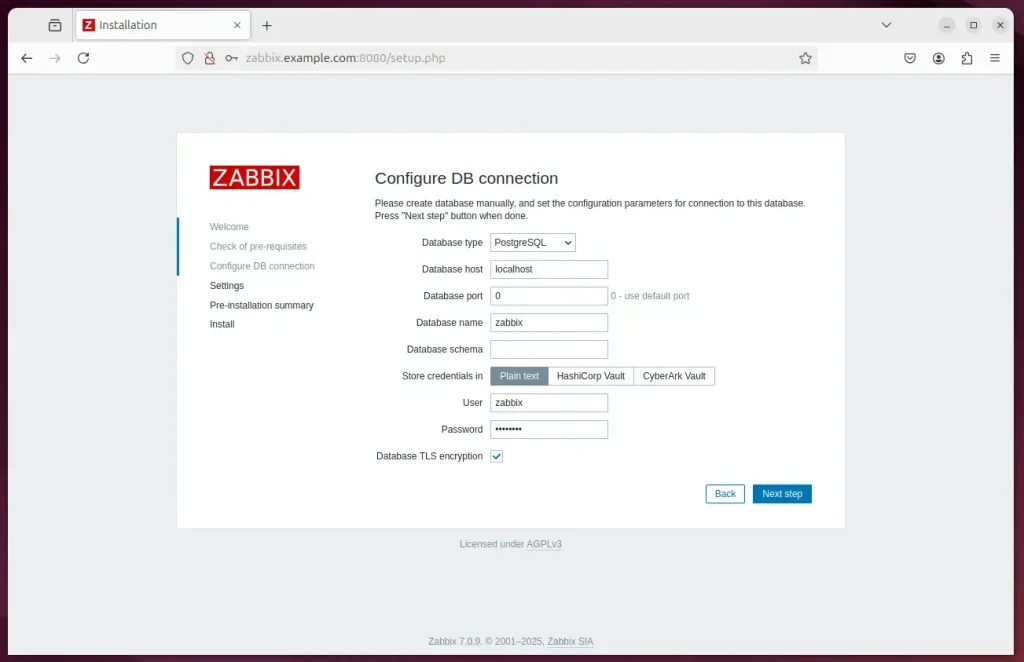
Configure the database
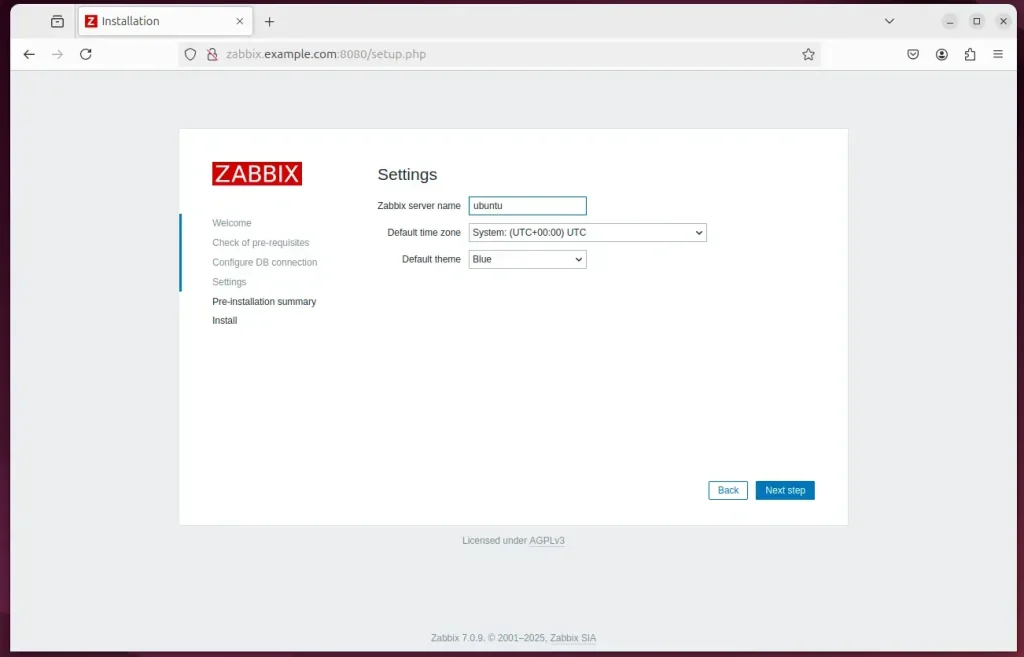
Type in the server name and continue.
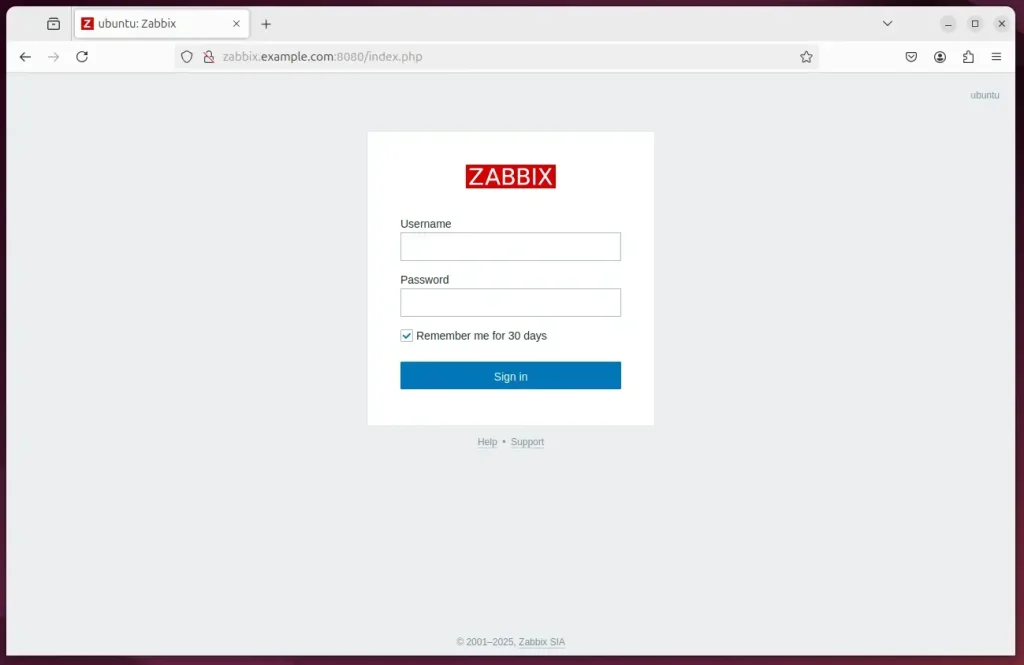
Zabbix should be installed and ready to use.
Enter the default account below and sign in.
- Username: Admin
- Password zabbix
That should do it!
Conclusion:
Installing Zabbix with Nginx support on Ubuntu 24.04 is a manageable process that significantly enhances monitoring capabilities. Key takeaways include:
- Comprehensive Monitoring: Zabbix offers robust monitoring for various network services, servers, and hardware.
- Enhanced Performance: Utilizing Nginx allows for high performance and low resource consumption, which is beneficial for handling large traffic volumes.
- Database Flexibility: PostgreSQL is reliable for Zabbix, ensuring efficient data management and storage.
- User-Friendly Interface: The web front of Zabbix makes it accessible and easy to configure.
- Security Improvements: Nginx contributes to better security measures when managing the Zabbix environment.
- Community Support: As an open-source solution, Zabbix has strong community backing, providing abundant resources and documentation.
Following the outlined steps, you can set up a robust monitoring solution tailored to your IT infrastructure needs.
What is the URL for Zabbix UI when using nginx?
If you have installed Zabbix from packages, the URL is: for Apache: http:///zabbix. for Nginx: http://
Was this guide helpful?

About the Author
Richard
Tech Writer, IT Professional
Richard, a writer for Geek Rewind, is a tech enthusiast who loves breaking down complex IT topics into simple, easy-to-understand ideas. With years of hands-on experience in system administration and enterprise IT operations, he’s developed a knack for offering practical tips and solutions. Richard aims to make technology more accessible and actionable. He's deeply committed to the Geek Rewind community, always ready to answer questions and engage in discussions.


No comments yet — be the first to share your thoughts!