How to Install I-Doit on Ubuntu with Apache (Free IT Asset)


i-doit is a free, open-source program that helps you track all your computers, software, and office hardware in one central place. It runs as a website on your Ubuntu server using the Apache web server and PHP to keep your tech records organized.
You can set up this asset management tool on Ubuntu 22.04 or 20.04 to build a complete inventory list of every device on your network.
Install Apache2 via `sudo apt install apache2`. Then install MariaDB using `sudo apt install mariadb-server`. Finally, install PHP 7.2 and its modules with `sudo apt install php7.2 libapache2-mod-php7.2 php7.2-mysql`.
Install Apache2 HTTP
Apache2 serves as the web server for i-doit on your Ubuntu system. You can install Apache2 HTTP by updating your local package list and running the standard package installation command in your terminal. This sets up the core web server environment needed to host your IT asset management software.
To install Apache2 HTTP on the Ubuntu server, run the commands below.
sudo apt update
sudo apt install apache2
After installing Apache2, the commands below can be used to stop, start, and enable the Apache2 service to always start up with the server boots.
sudo systemctl stop apache2.service
sudo systemctl start apache2.service
sudo systemctl enable apache2.service
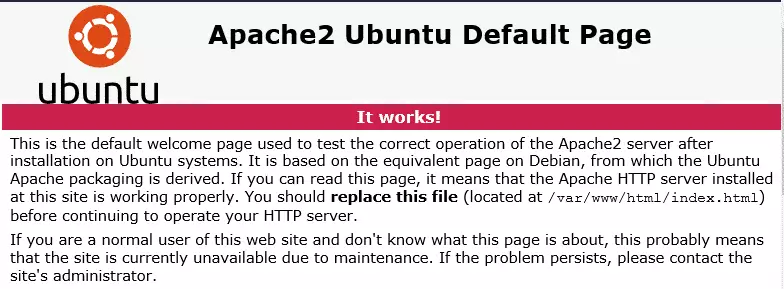
To determine if the Apache2 HTTP server is installed, simply open your web browser and type in the server’s IP or hostname.
When you see a page similar to the one below, Apache2 is installed and working.
http://localhost
Install MariaDB Database Server
MariaDB provides the backend database required to store all your i-doit asset records. You can install MariaDB database server and its client tools on Ubuntu by running a single command in your terminal. This downloads and sets up the relational database system that saves your application data.
To install MariaDB run the commands below.
sudo apt install mariadb-server mariadb-client
After installing MariaDB, the commands below can stop, start and enable the MariaDB service to start up when the server boots.
Run these on Ubuntu
sudo systemctl stop mariadb.service
sudo systemctl start mariadb.service
sudo systemctl enable mariadb.service
sudo mysql_secure_installation
When prompted, answer the questions below by following the guide.
- Enter current password for root (enter for none): Press the Enter
- Set root password? [Y/n]: Y
- New password: Enter password
- Re-enter new password: Repeat password
- Remove anonymous users? [Y/n]: Y
- Disallow root login remotely? [Y/n]: Y
- Remove test database and access to it? [Y/n]: Y
- Reload privilege tables now? [Y/n]: Y
Restart MariaDB server
To test if MariaDB is installed, type the commands below to log into the MariaDB server.
sudo mysql -u root -p
Then type the password you created above to sign on. If successful, you should see MariaDB welcome message.
Install PHP 7.2 and Related Modules
PHP 7.2 runs the application code for i-doit and must be added to your system. Because this specific version is not always available in default Ubuntu repositories, you need to add a third-party software source before running the installation commands.
Run the commands below to add the below third party repository to upgrade to PHP 7.2
sudo apt-get install software-properties-common
sudo add-apt-repository ppa:ondrej/php
Then update and upgrade to PHP 7.2
sudo apt update
Next, run the commands below to install PHP 7.2 and related modules.
sudo apt install php7.2 libapache2-mod-php7.2 php7.2-common php7.2-gmp php7.2-curl php7.2-intl php7.2-mbstring php7.2-xmlrpc php7.2-mysql php7.2-gd php7.2-bcmath php7.2-xml php7.2-cli php7.2-zip php7.2-sqlite3
After installing PHP 7.2, run the commands below to open the PHP default config file for Apache2.
sudo nano /etc/php/7.2/apache2/php.ini
Then save the changes on the following lines below in the file. The value below is an ideal setting to apply in your environment.
file_uploads = On
allow_url_fopen = On
short_open_tag = On
memory_limit = 256M
upload_max_filesize = 100M
max_execution_time = 360
post_max_size = 128M
max_input_vars = 10000
default_charset = "UTF-8"
date.timezone = America/Chicago
After making the change above, please save the file and close it.
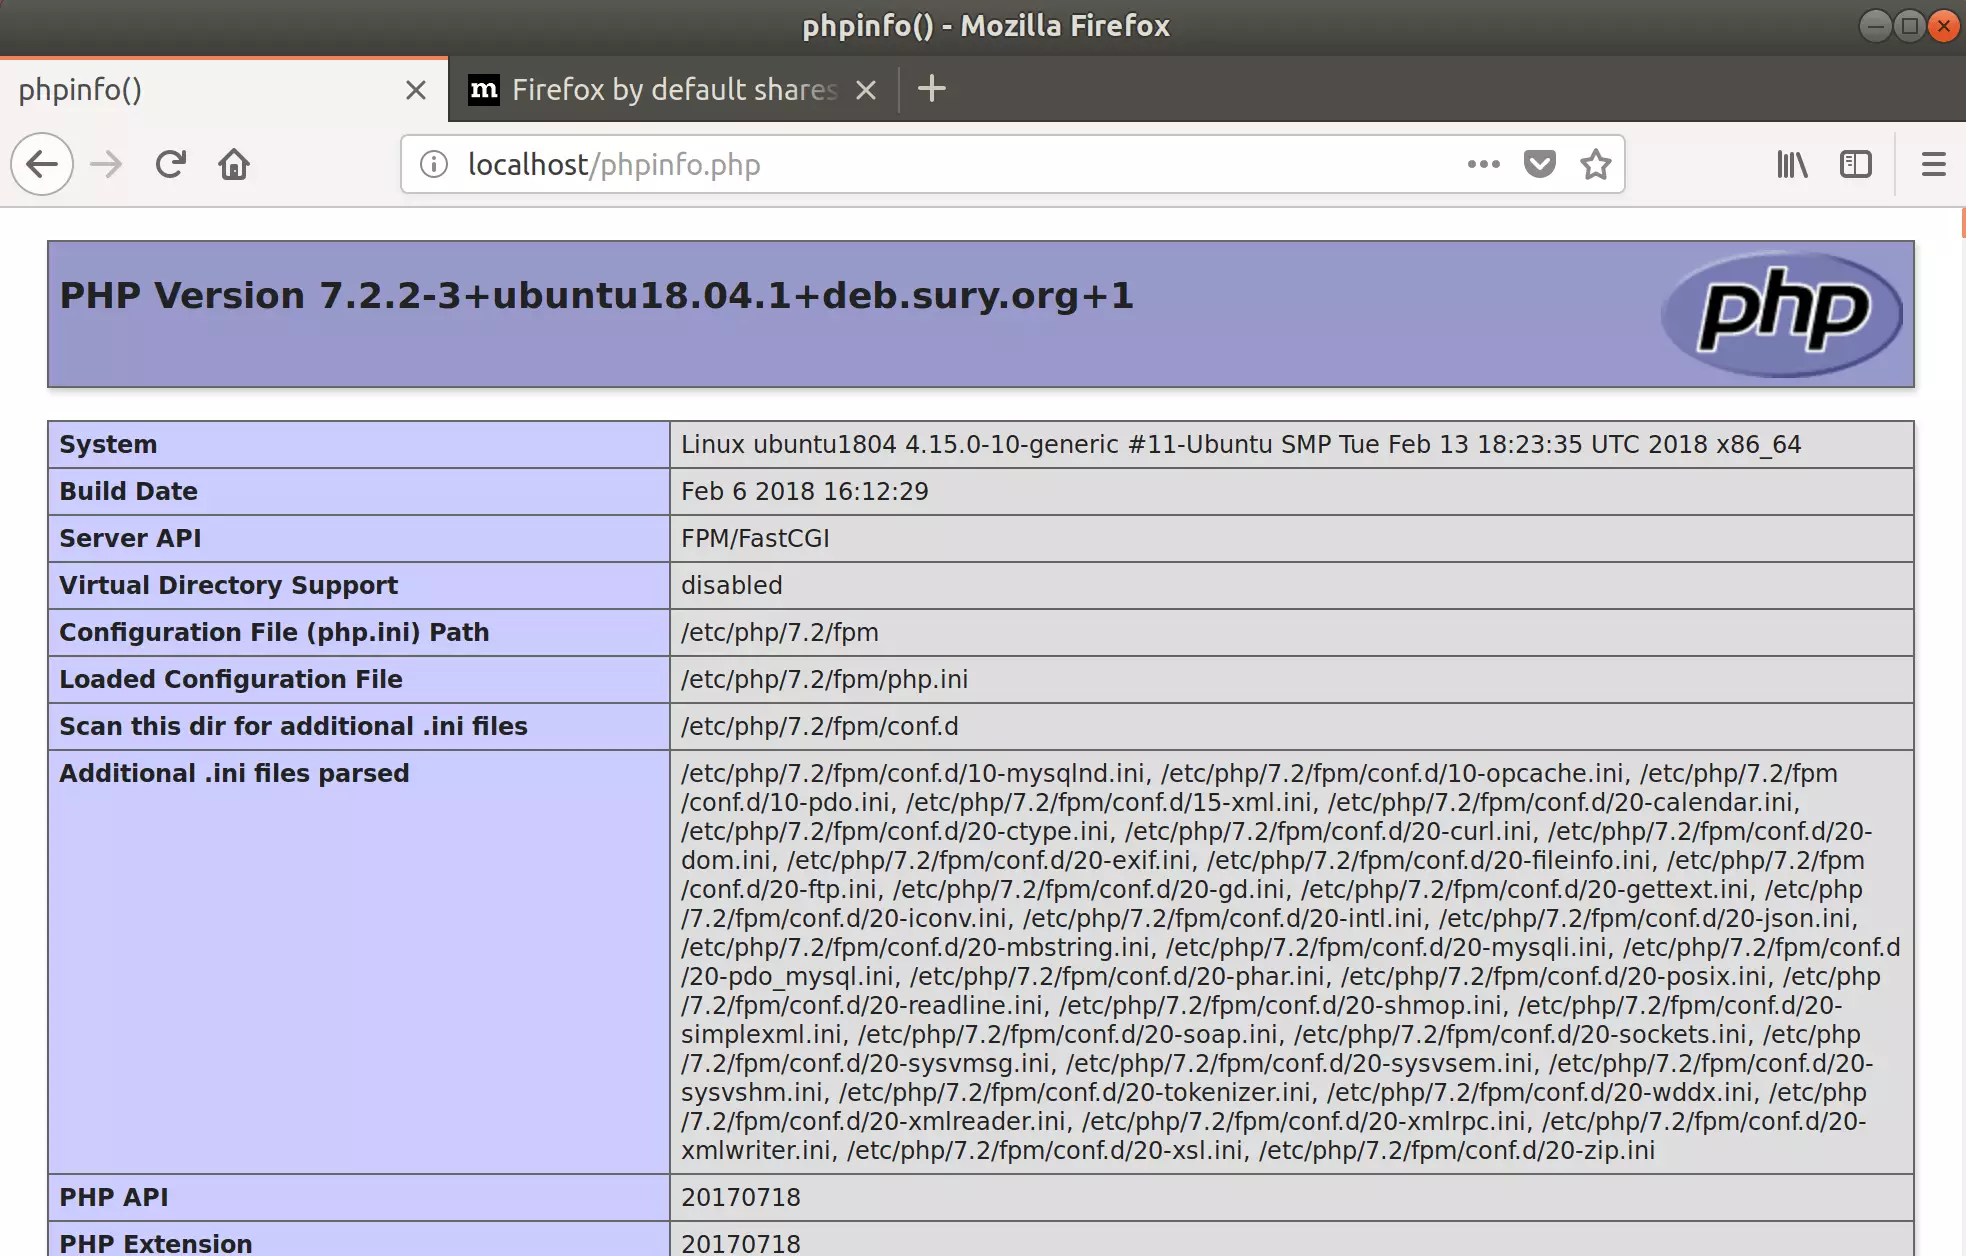
To test PHP 7.2 settings with Apache2, create a phpinfo.php file in the Apache2 root directory by running the commands below
sudo nano /var/www/html/phpinfo.phpThen type the content below and save the file.
<?php phpinfo( ); ?>
Save the file. Then browse to your server hostname followed by /phpinfo.php
http://localhost/phpinfo.php
You should see the PHP default test page.
Setup Root to Use Nave Password
MariaDB root user authentication must switch from the default Unix socket plugin to a native password so i-doit can connect properly. You can configure this by logging into your database console and running specific SQL commands that update the root account security settings.
You'll want to run the SQL commands below for the root user to use mysql_native_password.
You'll need a MariaDB root account to set up i-do it later.
Run the commands below to log on to MariaDB. When prompted for a password, type the root password you created above.
sudo mysql -u root -p
Switch to the MySQL database.
use mysql;
Then update the root account to use mysql_native_password.
UPDATE mysql.user SET plugin = 'mysql_native_password' WHERE User = 'root';
Finally, save your changes and exit.
FLUSH PRIVILEGES;
EXIT;
Download i-doit Latest Release.
The latest i-doit release package can be downloaded directly to your Ubuntu server using the command line. You use the wget tool to fetch the archive file from the official SourceForge repository and place it into a temporary directory for extraction.
https://sourceforge.net/projects/i-doit/?source=directory
Use the commands below to download and install
sudo apt install wget
cd /tmp
wget https://downloads.sourceforge.net/project/i-doit/i-doit/1.14/idoit-open-1.14.zip
sudo mkdir /var/www/idoit
sudo unzip idoit-open-1.14.zip -d /var/www/idoit
Since you just ran the web server as root, you should ensure the www-data user and group own any newly created files.
To do that, run the commands below:
sudo chown -R www-data:www-data /var/www/idoit/
sudo chmod -R 755 /var/www/idoit/
Configure Apache
Apache configuration files tell the web server where to find your i-doit website files and how to handle incoming traffic. You create a new site configuration file in the Apache directory and point it to your server domain and document root.
sudo nano /etc/apache2/sites-available/idoit.confThen copy and paste the content below into the file and save it. Replace the highlighted line with your domain name and directory root location.
<VirtualHost *:80>
ServerAdmin admin@example.com
DocumentRoot /var/www/idoit
ServerName example.com
ServerAlias www.example.com
<Directory /var/www/idoit/>
Options +FollowSymlinks
AllowOverride All
Require all granted
</Directory ErrorLog ${APACHE_LOG_DIR}/error.log
CustomLog ${APACHE_LOG_DIR}/access.log combined
</VirtualHost>
Save the file and exit.
Enable the i-doit and Rewrite Module.
Apache must load the new i-doit configuration and the URL rewrite module to process web requests properly. You enable these settings using built-in Apache command-line tools and then restart the web server service to apply the changes.
sudo a2ensite idoit.conf
sudo a2enmod rewrite
sudo systemctl restart apache2.service
Then open your browser and browse to the server domain name or hostname. This is often localhost but can be a hostname or IP address. Your server admin or hosting company will have this information available.
http://example.com/
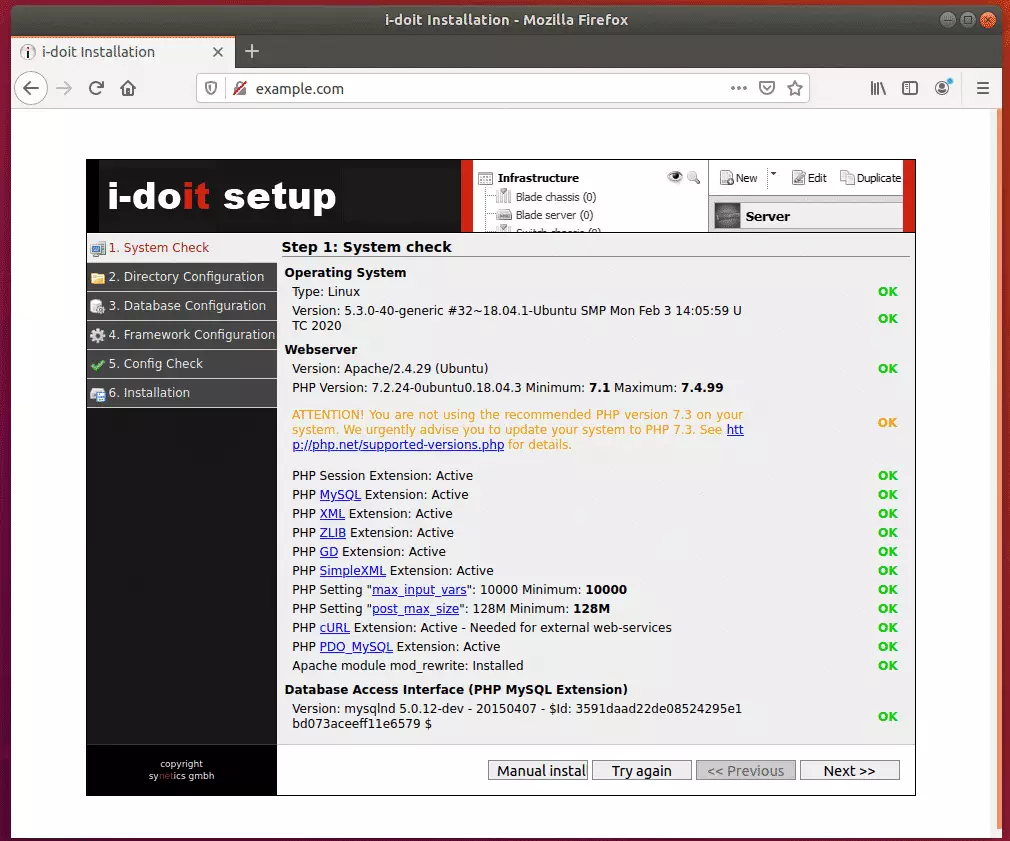
Continue with the installation wizard, validate that all requirements are met, and continue.
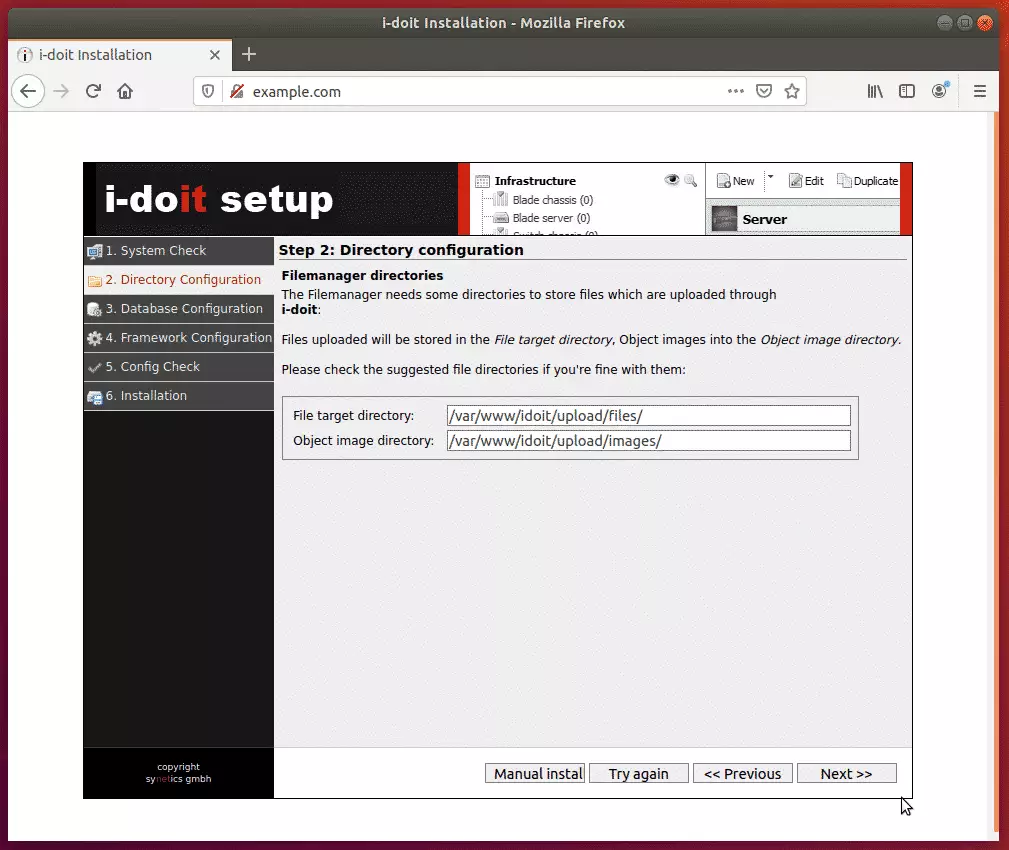
Next, accept the default directory paths and continue.
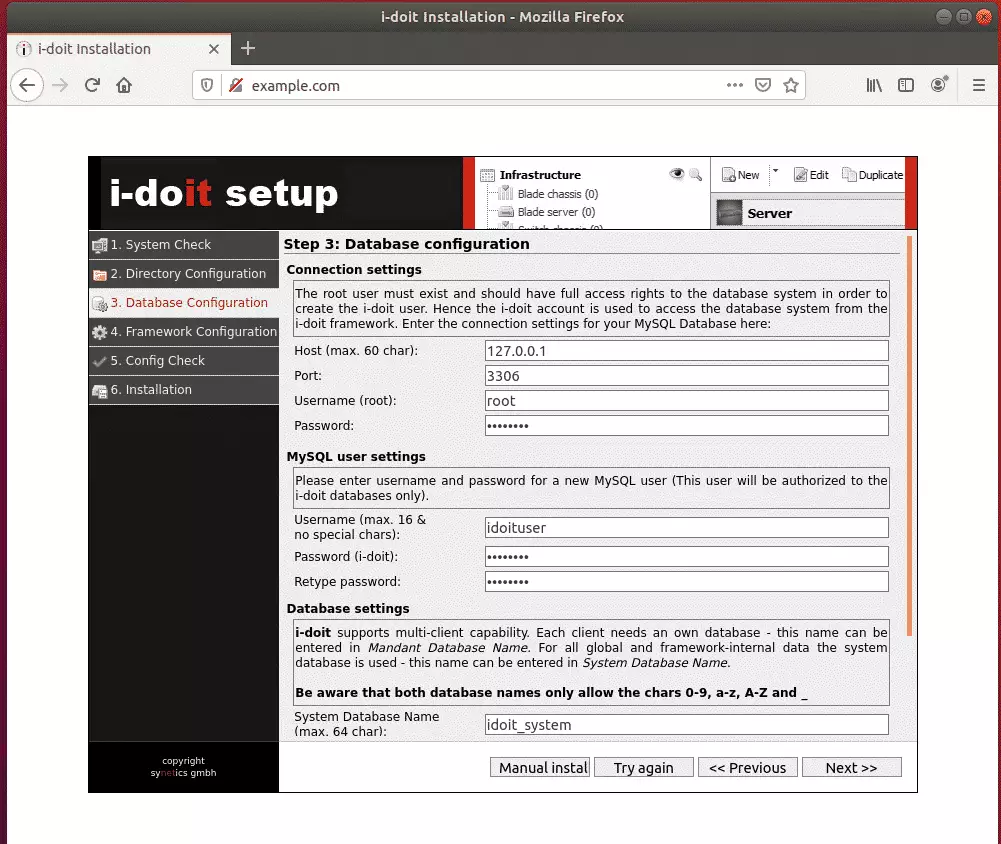
Type in the database configuration page the root password created above. Then create a new i-doit database username and password. When you're done, click Next to continue.
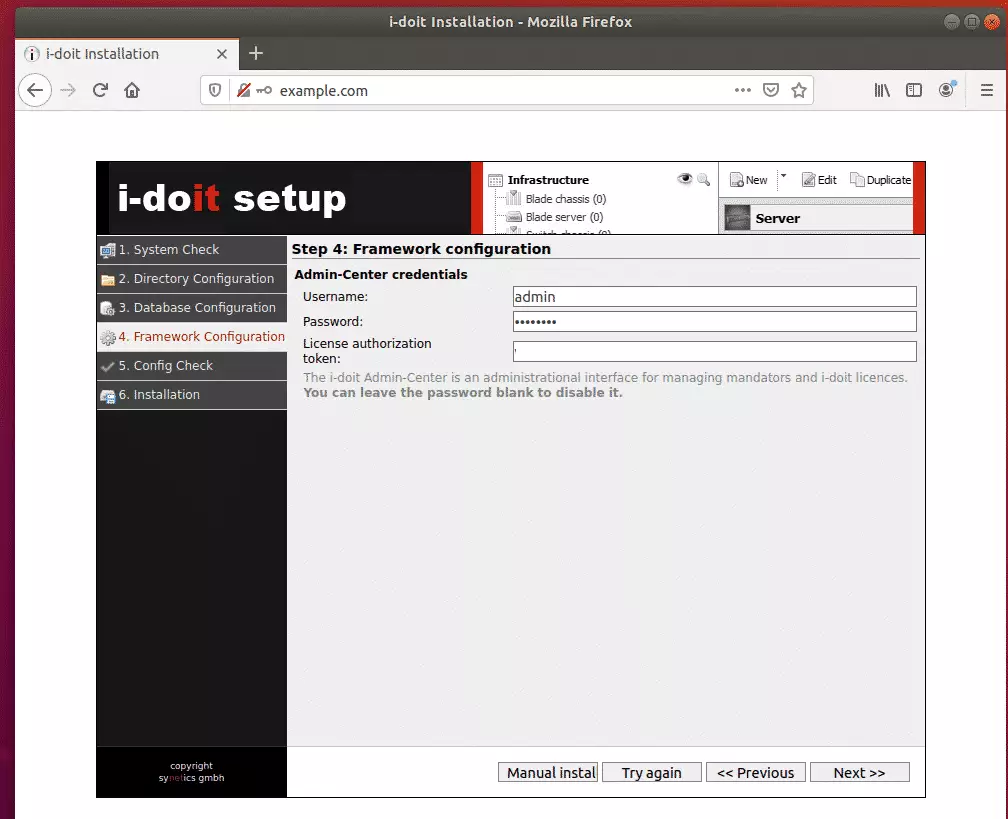
Create an admin account and password.
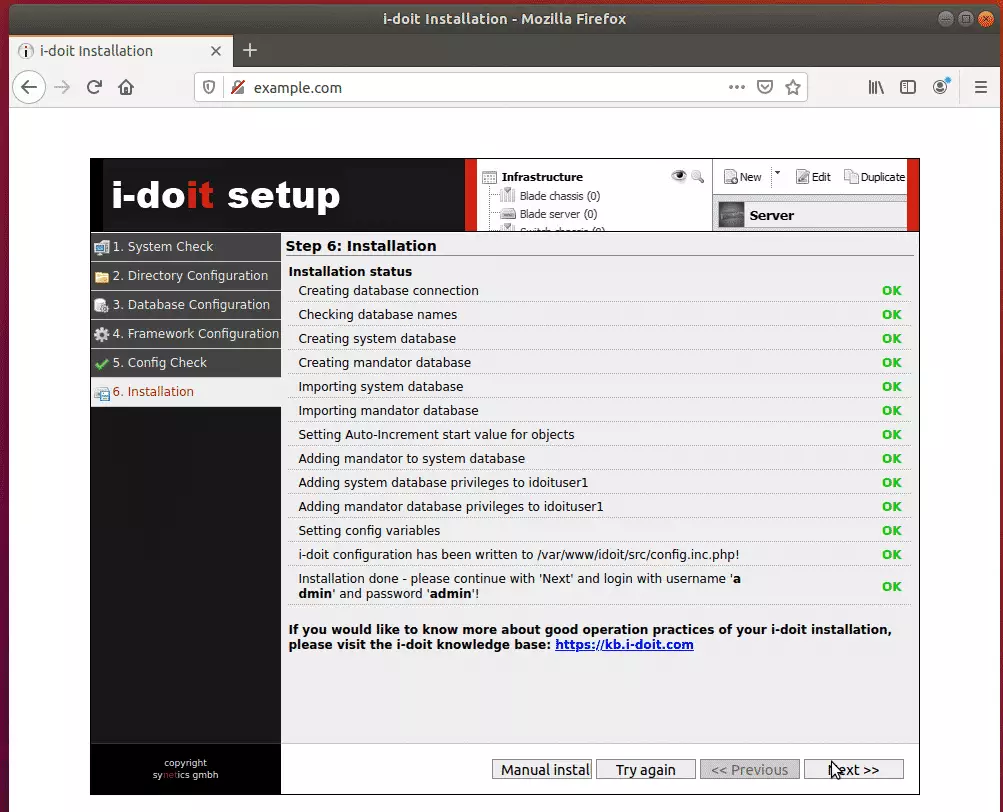
After a brief moment, i-doit should be installed and ready to use.
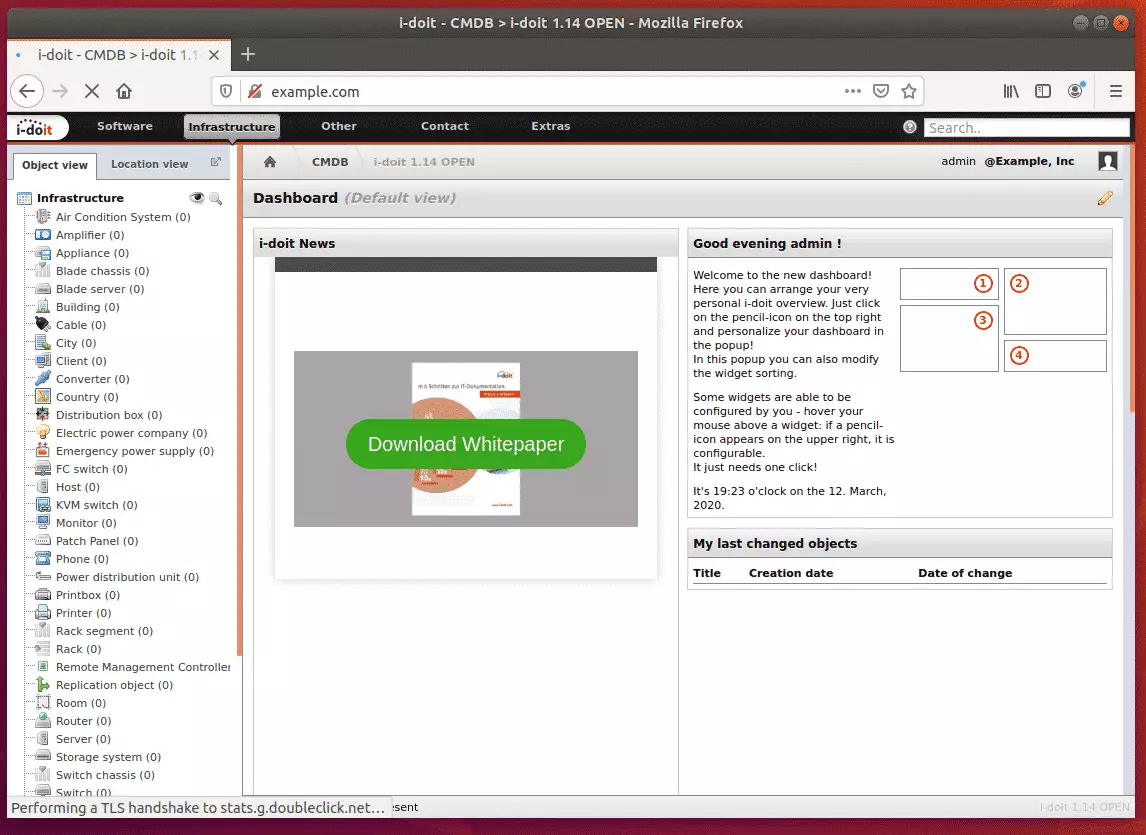
Enjoy!
Conclusion:
You have learned to install i-doit on Ubuntu with an Apache2 HTTP server. If you find any errors above, please leave a comment below.
Thanks,
Was this guide helpful?

About the Author
Richard
Tech Writer, IT Professional
Richard is a writer at Geek Rewind who turns complex IT tasks into clear, step-by-step guides. He draws on years of hands-on experience in system administration and enterprise IT operations, focusing on Windows, Linux and WordPress: the problems people actually run into, and the fixes that work. His server and WordPress guides come from systems he runs himself. Richard builds and maintains the platform behind Geek Rewind, from its Ubuntu servers and Nginx configuration to its custom WordPress plugins. Many new tutorials start with readers' questions, and he's always glad to answer them in the comments.




Nice tutorial.
Do you know by any chance how to enable the HARDWARE group type?
As I can see on your screenshots, this group is not installed by default.
Hi,
I am getting below error while opening “i-doit”
“Not all needed extensions are installed. i need: mysqli xml standard pcre sesion i have:mysqli standard pcre sesion