4 PCs, 1 Mouse: PowerToys Mouse Without Borders
Stop fighting with a desk full of tangled wires and extra keyboards. PowerToys Mouse Without Borders turns your existing mouse and keyboard into a command center for up to 4 PCs, acting as a software-based KVM switch (a device that lets you use one keyboard and mouse for multiple computers).
Why do this? It saves desk space and streamlines your workflow.
What happens when done? You gain the ability to move your mouse cursor across screen boundaries as if they were one large desktop.
Prerequisites for Setup
Before starting, ensure all computers meet these requirements:
- All machines must be on the same local network (Wi-Fi or Ethernet).
- All machines must run Windows 10 or Windows 11.
- PowerToys must be installed on every machine.
- Firewall settings must allow PowerToys to communicate over the network.
How to Set Up Mouse Without Borders
Step 1: Install PowerToys
Download and install the latest version of PowerToys. This tool provides the framework for cross-computer control.
Step 2: Enable the Service (Admin Privilege Required)
To keep your connection stable even at the Windows login screen, run the service in System Mode. [Admin Privilege Required] Open PowerToys Settings, head to Mouse Without Borders, and click ‘Apply as Service’. You will need administrator permissions for this step.
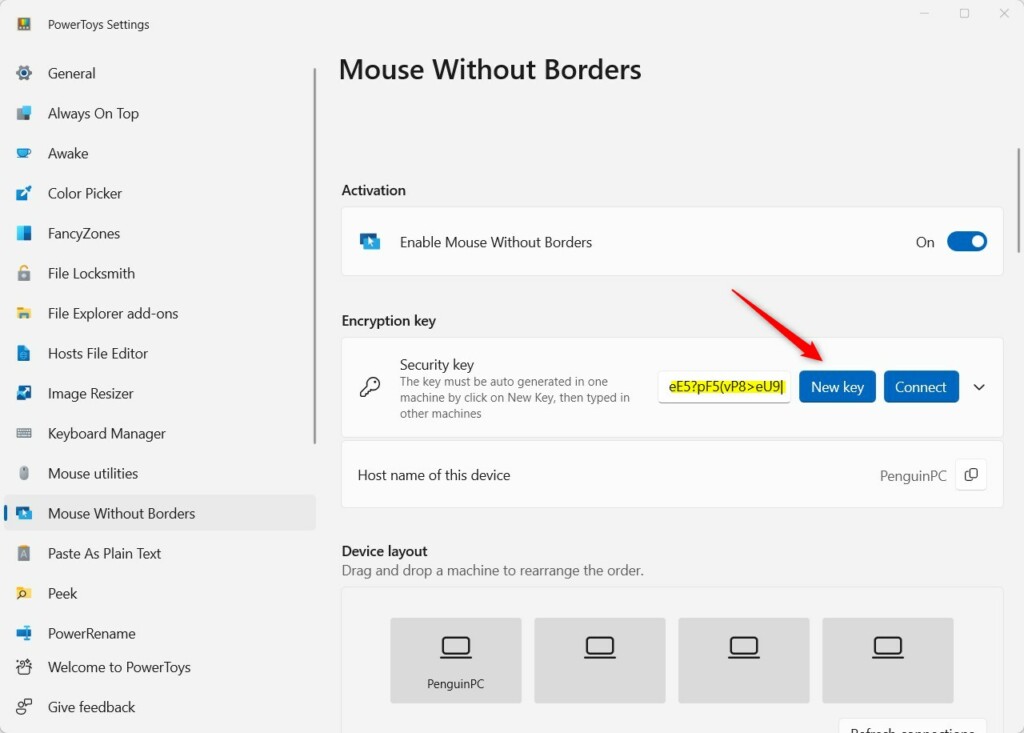
Step 3: Generate a Security Key
On your primary computer, select New Key. This generates an encrypted string used to pair your devices securely.
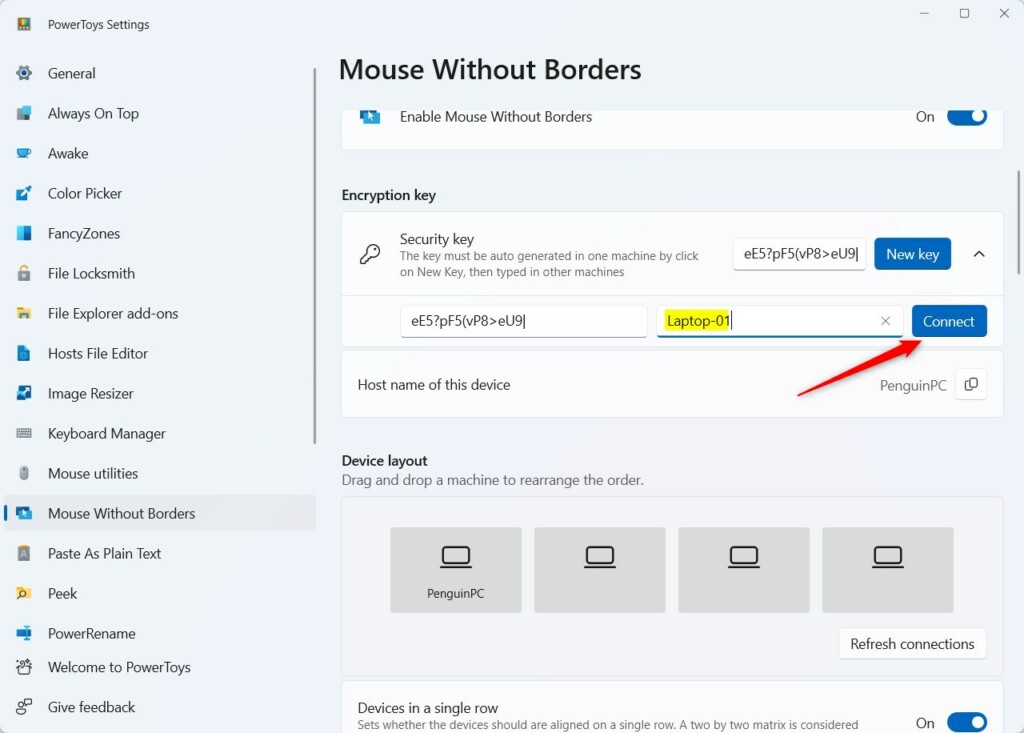
Step 4: Connect Additional Computers
On your secondary computer, enter the security key and the computer name of your primary machine. Click Connect. Repeat this for all other devices.
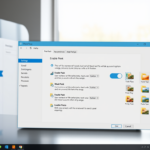
Step 5: Arrange Your Layout
Use the Device Layout tab to drag your computers into the correct order. If your monitor is physically to the left, drag that icon to the left in the settings menu.
Advanced Features: Clipboard and File Transfer
Mouse Without Borders supports clipboard synchronization, allowing you to copy text on one PC and paste it on another. You can also drag and drop files between machines. Note that very large files may be limited by your network speed and latency.
Troubleshooting and Known Issues
If your computers cannot connect, check these common fixes:
- Ensure all devices are on the same subnet.
- Check your Windows Firewall to ensure PowerToys is allowed through the network.
- If you experience lag, try connecting via Ethernet instead of Wi-Fi.
- For advanced issues, refer to the official Microsoft Learn documentation.
Summary
You have a powerful new workflow at your fingertips. Now that you can bounce your mouse between screens, you’ll find it much faster to copy text from one machine and drop files directly onto another. Ensure all your computers are connected to the same local network (they should see each other as if they are in the same household ‘subnet’). This setup serves as a free alternative to expensive hardware KVM switches.
Does Mouse Without Borders work over Wi-Fi?
Yes, it works over Wi-Fi. However, for the best performance and lowest latency, a wired Ethernet connection is recommended. Wi-Fi can sometimes cause lag or connection drops if the signal is weak or if there is heavy network traffic on your local router.
Can I transfer files between computers using Mouse Without Borders?
Yes, you can transfer files by dragging and dropping them from one desktop to another. This feature is built into the software to help with productivity. Keep in mind that transferring extremely large files might take longer depending on your network speed.
Is Mouse Without Borders secure?
Yes, the connection is protected by AES encryption. When you generate a security key, it ensures that only computers with that specific key can connect to your network. Always keep your security key private and do not share it with unauthorized users.
Was this guide helpful?

About the Author
Richard
Tech Writer, IT Professional
Richard, a writer for Geek Rewind, is a tech enthusiast who loves breaking down complex IT topics into simple, easy-to-understand ideas. With years of hands-on experience in system administration and enterprise IT operations, he’s developed a knack for offering practical tips and solutions. Richard aims to make technology more accessible and actionable. He's deeply committed to the Geek Rewind community, always ready to answer questions and engage in discussions.

No comments yet — be the first to share your thoughts!