Windows 11 Taskbar: What is the Widgets Feature

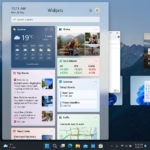
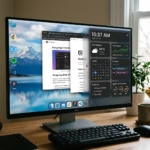
Windows 11’s Widgets feature is a dynamic panel that offers personalized information like news, weather, and calendar updates directly on your taskbar.
This built-in tool acts as a quick glance information hub, allowing you to see what matters to you without launching individual applications.
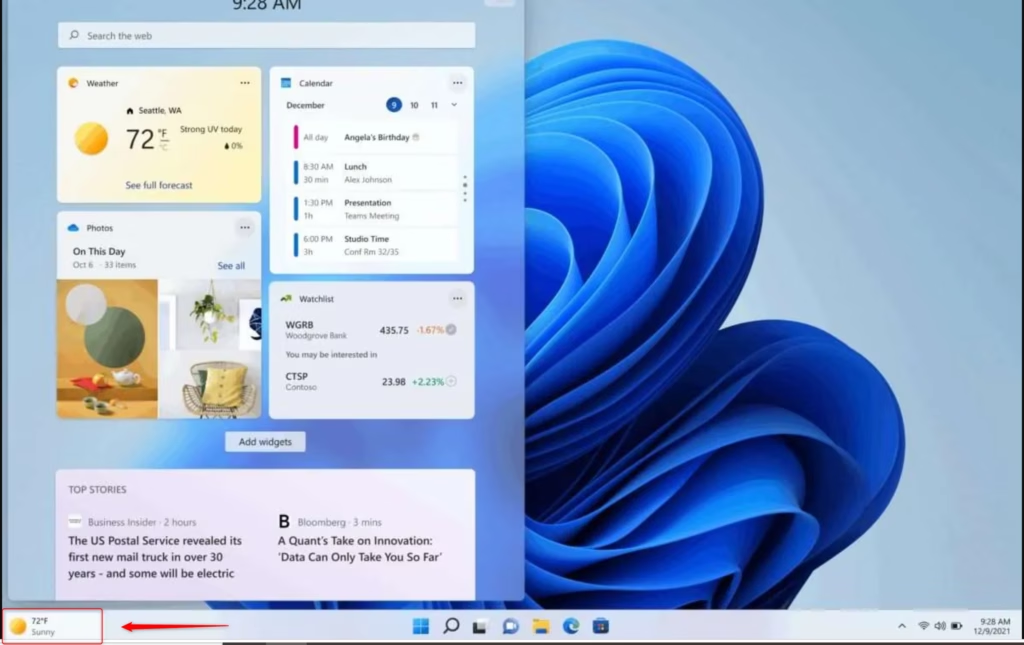
Introduced in Windows 11, the Widgets board can be accessed by clicking an icon on the left side of your taskbar, typically displaying a weather icon.
You can customize the widgets displayed, adding or removing cards to tailor the information feed to your specific interests and needs.
What Are Widgets?
Widgets are like small, interactive windows that display updated information. In Windows 11, they present personalized content at a glance. This can include:
- News headlines you pick
- Current weather and forecasts
- Stock market updates
- Your calendar events
- To-do lists
- And more, depending on what you add!

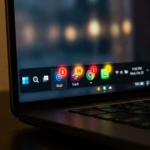
| 1. Widgets | 2. Start | 3. Search | 4. Task view | 5. Applications | 6. System tray |
The goal is to keep you informed and organized. Widgets bring updates directly to your taskbar. Instead of opening multiple apps, you get a quick summary of what’s happening, all in one convenient spot.
How to Open Your Widgets
Let’s look at how to open your Widgets. Microsoft designed this feature to be readily accessible.
Hover or Click the Widgets Icon
Look for the icon on your taskbar, usually positioned on the left. It might resemble a square with two smaller squares inside, or it could be a weather icon. Hover your mouse over it, and the Widgets board will slide open. You can also click the icon directly.
Swipe from the Side (if Centered)
If your taskbar icons are centered (which is the default in Windows 11), you can also swipe inward from the left edge of your screen. This action opens the Widgets board. This method feels natural, especially if you use a touchscreen or prefer gesture-based controls.
Use a Keyboard Shortcut
Keyboard shortcut fans, you’re in luck! Press the Windows key + W. This command will instantly bring up the Widgets board, offering a swift way to check information without touching your mouse.
Tip: If you can’t spot the Widgets icon on your taskbar, don’t worry. It might be disabled. We’ll guide you on how to re-enable it shortly.
Turning the Widgets Icon On or Off
Not everyone wants the Widgets icon on their taskbar, and that’s perfectly fine. Windows 11 gives you the choice to show or hide it.
- Right-Click Your Taskbar
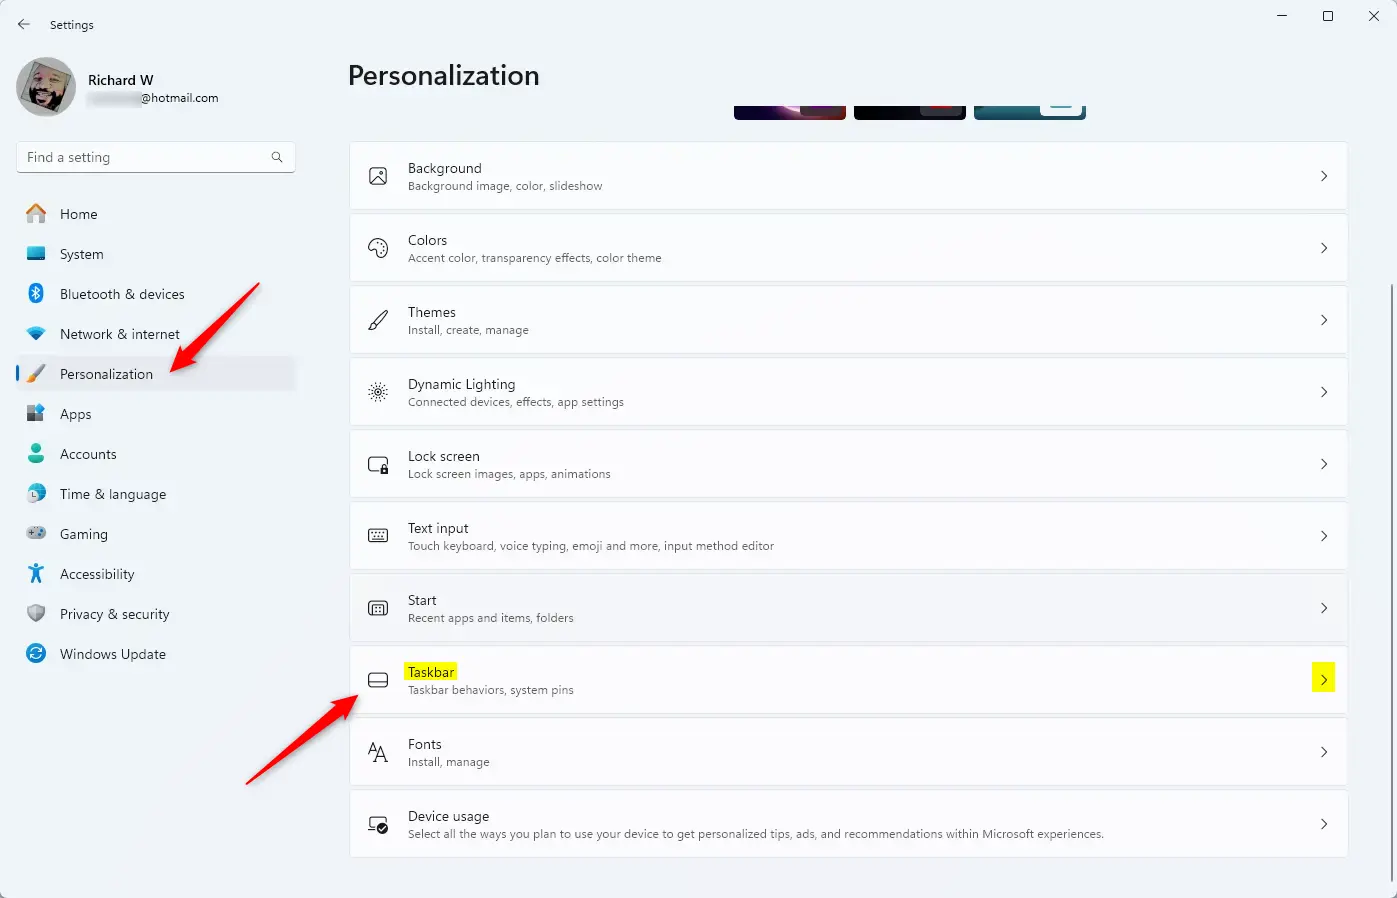
Find an empty spot on your taskbar. Right-click it. Then, select Taskbar settings from the menu. This opens the settings for your taskbar.
- Find Taskbar Items
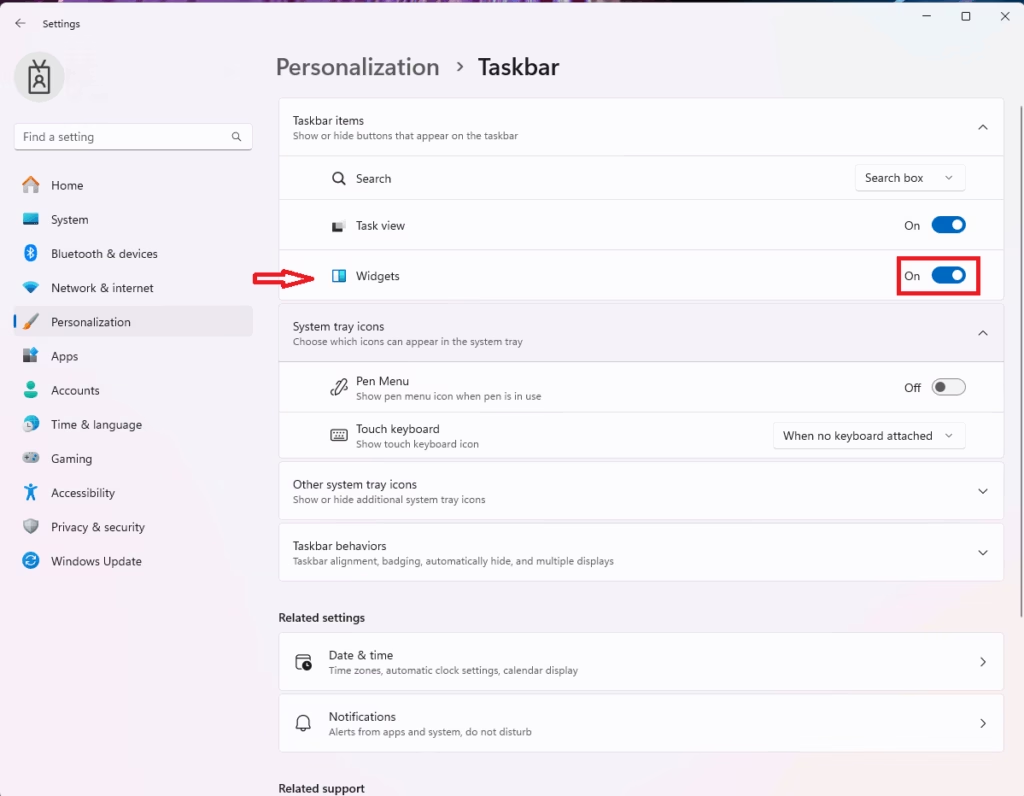
In the Taskbar settings window, look for a section called Taskbar items. Here you can control icons like Search, Task view, and Widgets.
- Turn Widgets On or Off
You will see a switch called Widgets. Click the switch to turn it On to show the icon. Click it to turn it Off to hide the icon. The icon will disappear right away if you turn it off.
Warning: If you hide the Widgets icon, you’ll need to rely on the Windows key + W shortcut to open your widgets. Confirm that you’re comfortable using this shortcut if you choose to hide the icon.
Changing What’s in Your Widgets
Widgets are most valuable when they display content that *you* find relevant. It’s not just a random feed; it’s designed to highlight what matters to you.
Add and Remove Widgets
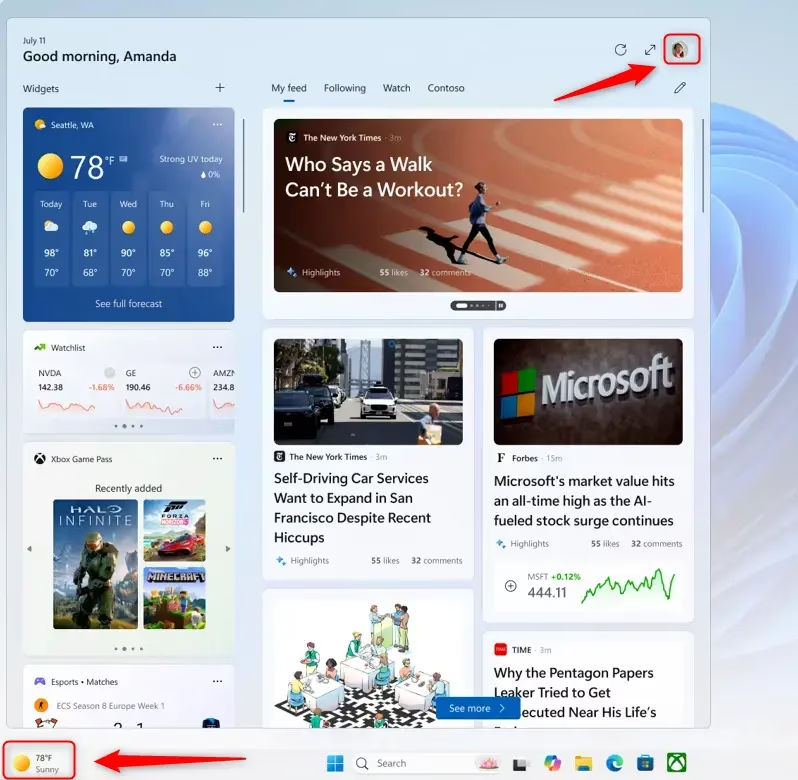
When the Widgets board is open, look for a button in the top right corner, usually marked with a + sign. Clicking this will open the Add widgets panel, where you can browse various widgets. Some are provided by Microsoft, while others come from different applications. Click the + sign next to any widget you wish to add to your board.
To remove a widget you no longer need, open the Widgets board. Locate the widget you want to remove, then click the three dots (…) in its top-right corner. From the menu, select Remove widget.
Move Your Widgets Around
Arranging your widgets can significantly enhance their usefulness. To reposition them, open the Widgets board. Then, click and drag any widget card to your desired location. You can move them up, down, or sideways to create a layout that best suits your workflow.
Change Settings for Each Widget
Many widgets offer their own specific settings. For instance, the Weather widget allows you to set your location, and the News widget lets you follow particular topics or sources. To access these settings, open the Widgets board. Click the three dots (…) on the widget you wish to adjust, and look for an option like Settings or Configure widget.
Manage What You’re Interested In
For content like news and other updates, Windows 11 learns your preferences. You may encounter options to like or dislike articles and topics. Over time, the system will present content that more closely aligns with your interests. You can often manage your interests and sources by navigating to the main Widgets settings (click the + button, then the gear icon).
Practical Tip: Don’t hesitate to experiment! Add a few widgets you find intriguing and observe how they function for a day or two. You can then remove or rearrange them as needed, and they can always be added back later.
Summary
The Widgets feature in Windows 11 is a valuable tool that keeps you informed without causing delays. Whether you need a quick weather update, the latest news, or a glimpse of your schedule, Widgets delivers that information directly to you. Take some time to explore the various widgets available and personalize your feed. Arrange them in a way that works best for you, ultimately making your computer more efficient.
Was this guide helpful?

About the Author
Richard
Tech Writer, IT Professional
Richard, a writer for Geek Rewind, is a tech enthusiast who loves breaking down complex IT topics into simple, easy-to-understand ideas. With years of hands-on experience in system administration and enterprise IT operations, he’s developed a knack for offering practical tips and solutions. Richard aims to make technology more accessible and actionable. He's deeply committed to the Geek Rewind community, always ready to answer questions and engage in discussions.

No comments yet — be the first to share your thoughts!