How to Setup osTicket with Nginx on Ubuntu Linux
You can set up osTicket with Nginx on Ubuntu Linux by following a straightforward installation process.
osTicket is a powerful open-source ticketing system designed to streamline customer support operations for your business.
This tutorial guides you through installing osTicket on Ubuntu, specifically targeting versions like Ubuntu 18.04 or 16.04, using the high-performance Nginx web server.
Nginx is a popular choice for its speed and efficiency compared to traditional web servers like Apache, making it ideal for demanding applications.
Install Nginx using `sudo apt install nginx`, then MariaDB with `sudo apt-get install mariadb-server`. Install PHP 7.2-FPM and related modules using `sudo apt install php7.2-fpm php7.2-common php7.2-mysql` and other necessary packages.
Install Nginx HTTP Server
Install the Nginx web server on Ubuntu to host your osTicket. This step sets up the main software that will handle requests for your ticket system. You’ll use simple commands in your terminal to get Nginx running on your Ubuntu machine.
To install the Nginx server, run the commands below:
sudo apt update
sudo apt install nginx
After installing Nginx, the commands below can be used to stop, start, and enable the Nginx service to always start up with the server boots.
sudo systemctl stop nginx.service
sudo systemctl start nginx.service
sudo systemctl enable nginx.service
Now that Nginx has been installed, browse your browser to the URL below to test whether the web server works.
http://localhost
If you look at the page above, then Nginx has been successfully installed.
Install MariaDB Database Server
Install the MariaDB database server on Ubuntu to create a place for osTicket to store all its information. MariaDB is a reliable system for keeping your ticket data safe and organized. The commands needed to install it are straightforward and quick to run.
To install MariaDB, run the commands below:
sudo apt-get install mariadb-server mariadb-client
After installing MariaDB, the commands below can stop, start, and enable the service to start when the server boots.
Run these on Ubuntu 16.04 LTS
sudo systemctl stop mysql.service
sudo systemctl start mysql.service
sudo systemctl enable mysql.service
Run these on Ubuntu 18.10 and 18.04 LTS
sudo systemctl stop mariadb.service
sudo systemctl start mariadb.service
sudo systemctl enable mariadb.service
sudo mysql_secure_installation
When prompted, answer the questions below by following the guide.
- Enter current password for root (enter for none): Just press the Enter
- Set root password? [Y/n]: Y
- New password: Enter password
- Re-enter new password: Repeat password
- Remove anonymous users? [Y/n]: Y
- Disallow root login remotely? [Y/n]: Y
- Remove test database and access to it? [Y/n]: Y
- Reload privilege tables now? [Y/n]: Y
Once MariaDB is installed, run the commands below to test whether the database server was installed.
sudo mysql -u root -p
Type the root password when prompted.

The server was successfully installed if you see a similar screen.
Install PHP 7.2-FPM and Related Modules
Install PHP 7.2-FPM and the necessary modules on Ubuntu, as osTicket relies on PHP to function correctly. This step ensures your ticket system runs smoothly by providing the right software. You’ll add a special software source and then install the required PHP versions and modules.
sudo apt-get install software-properties-common
sudo add-apt-repository ppa:ondrej/php
Then update and upgrade to PHP 7.2-FPM
sudo apt update
Next, run the commands below to install PHP 7.2-FPM and related modules.
sudo apt install php7.2-fpm php7.2-common php7.2-mysql php7.2-gmp php7.2-curl php7.2-intl php7.2-mbstring php7.2-xmlrpc php7.2-apcu php7.2-gd php7.2-bcmath php7.2-soap php7.2-ldap php7.2-imap php7.2-xml php7.2-cli php7.2-zip
After installing PHP 7.1, run the commands below to open Nginx’s PHP default configuration file.
sudo nano /etc/php/7.2/fpm/php.ini
The lines below are a good setting for most PHP-based CMS. Update the configuration file with these and save.
file_uploads = On
allow_url_fopen = On
short_open_tag = On
cgi.fix_pathinfo = 0
memory_limit = 256M
upload_max_filesize = 100M
max_execution_time = 360
date.timezone = America/Chicago
Restarting the Nginx web server whenever you change the PHP configuration file would be best. To do so, run the commands below:
sudo systemctl restart nginx.service
Create osTicket Database
Create the ‘osticket’ database in MariaDB to hold all your osTicket application data. This step sets up the specific storage your ticket system needs after the database server is ready. You will log into MariaDB and then create both the database and a user for it.
To log on to the MariaDB database server, run the commands below.
sudo mysql -u root -p
Then, create a database called osticket
CREATE DATABASE osticket;CREATE USER 'osticketuser'@'localhost' IDENTIFIED BY 'new_password_here';
Then, grant the user full access to the Database.
GRANT ALL ON osticket.* TO 'osticketuser'@'localhost' WITH GRANT OPTION;
Finally, save your changes and exit.
FLUSH PRIVILEGES;
EXIT;
Download osTicket Latest Release
Download the newest osTicket software release to ensure you have the most up-to-date version of the ticketing system. This involves installing tools like Git and Composer first. Then, you’ll get the osTicket files directly from its source code repository.
To get osTicket latest release, you may use the GitHub repository… Install the git tool to download Bagisto packages.
sudo apt install git curl
curl -sS https://getcomposer.org/installer | sudo php -- --install-dir=/usr/local/bin --filename=composer
After installing curl above, change into the Nginx root directory and download osTicket packages from GitHub…
cd /var/www/
sudo git clone https://github.com/osTicket/osTicket osticket
cd /var/www/osticket
sudo php manage.php deploy --setup /var/www/osticket/
Rename the sample file include/ost-sampleconfig.php to ost-config.php by running the commands below:
sudo mv /var/www/osticket/include/ost-sampleconfig.php /var/www/osticket/include/ost-config.php
Next, run the commands below to update osticket root directory permissions so the web server can access them.
sudo chown -R www-data:www-data /var/www/osticket/
sudo chmod -R 755 /var/www/osticket/
Configure Nginx
Configure Nginx for osTicket by creating a specific configuration file. This file tells the web server how to properly direct traffic to your new ticket system. You’ll use a text editor to create this file and add the correct settings, making sure to update your domain name.
sudo nano /etc/nginx/sites-available/osticket
Then copy and paste the content below into the file and save it. Replace the highlighted line with your domain name and directory root location.
server {
    listen 80;
    listen [::]:80;

    server_name  example.com www.example.com;
    root   /var/www/osticket;
    index  index.php;

    access_log /var/log/nginx/example.com.access.log;
    error_log /var/log/nginx/example.com.error.log;

    client_max_body_size 100M;

    autoindex off;

    if ($request_uri ~ "^/api(/[^?]+)") {
          set $path_info $1;
       }

    location ~ ^/api/(?:tickets|tasks).*$ {
          try_files $uri $uri/ /api/http.php?$query_string;
       }

     if ($request_uri ~ "^/scp/.*.php(/[^?]+)") {
          set $path_info $1;
      }

     location ~ ^/scp/ajax.php/.*$ {
        try_files $uri $uri/ /scp/ajax.php?$query_string;
      }

    location / {
    try_files $uri $uri/ index.php;
      }

    location ~ .php$ {
         include snippets/fastcgi-php.conf;
         fastcgi_pass unix:/var/run/php/php7.2-fpm.sock;
         include fastcgi_params;
         fastcgi_intercept_errors on;
    }
}
Save the file and exit.
Enable the osTicket and Rewrite Module.
Enable your osTicket Nginx setup and restart the web server to get your ticket site working correctly. This final step connects everything, allowing you to access osTicket through your web browser. Once enabled, visiting your domain name should show the setup wizard.
sudo ln -s /etc/nginx/sites-available/osticket /etc/nginx/sites-enabled/
sudo systemctl restart nginx.service
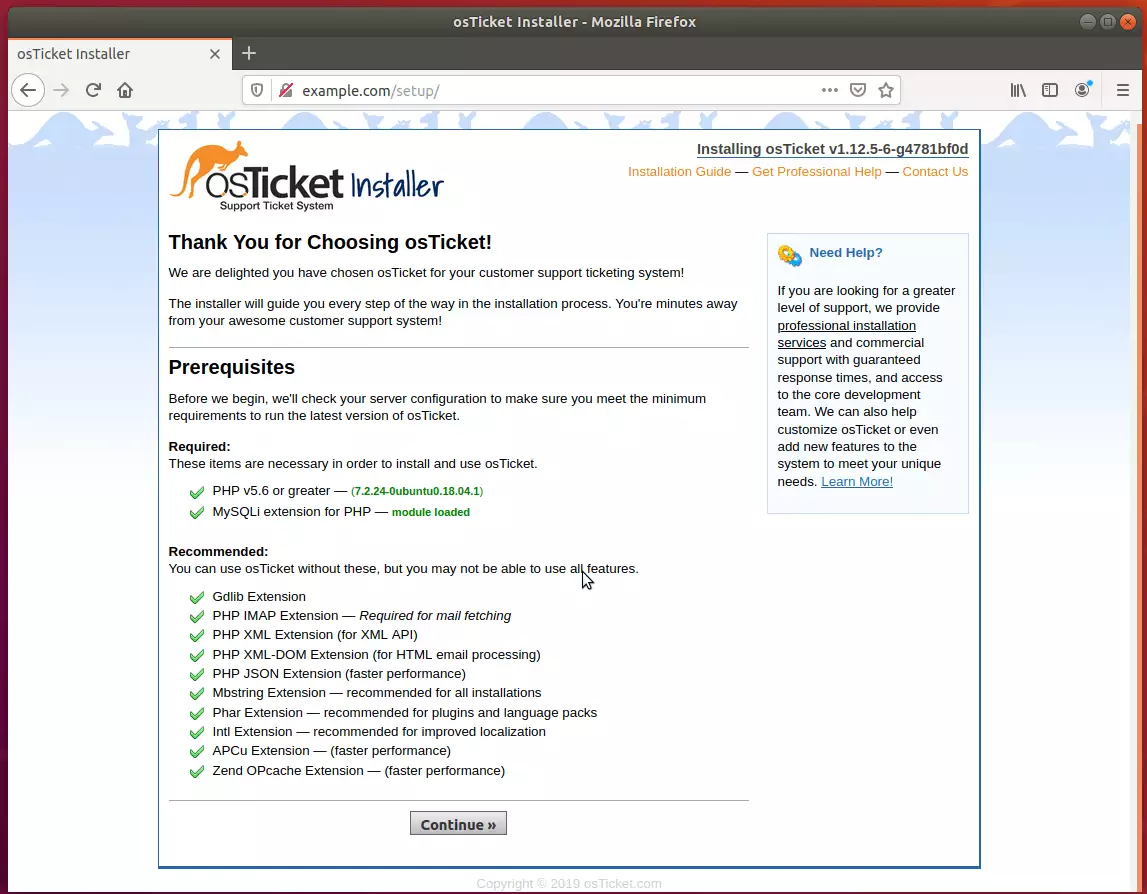
Then open your browser and browse to the server domain name. You should see the osTicket setup wizard complete. Please follow the wizard carefully.
http://example.com/
Then, follow the on-screen instructions to complete the setup.
Before you begin, the installer will check your server configuration to ensure you meet the minimum requirements to run the latest osTicket version.
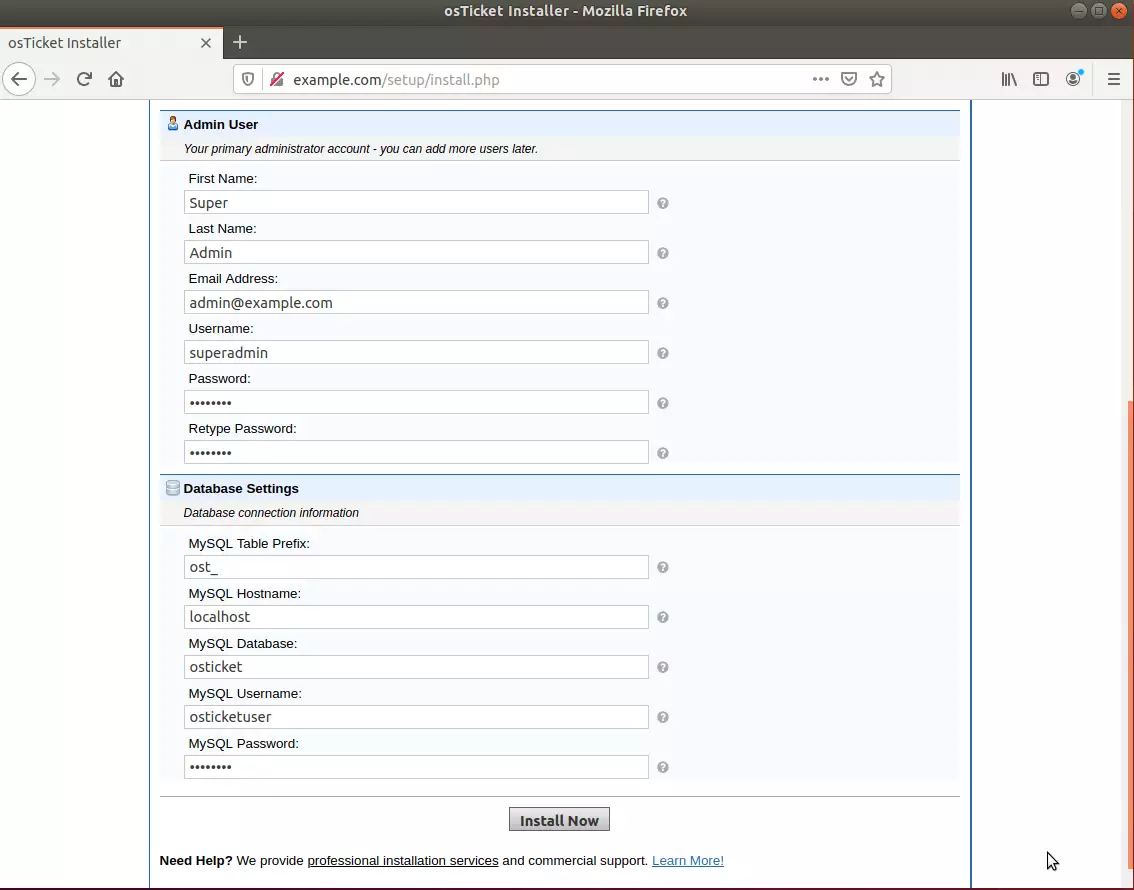
Next, type in the database name, username, and password. Then, create a backend admin account and continue.
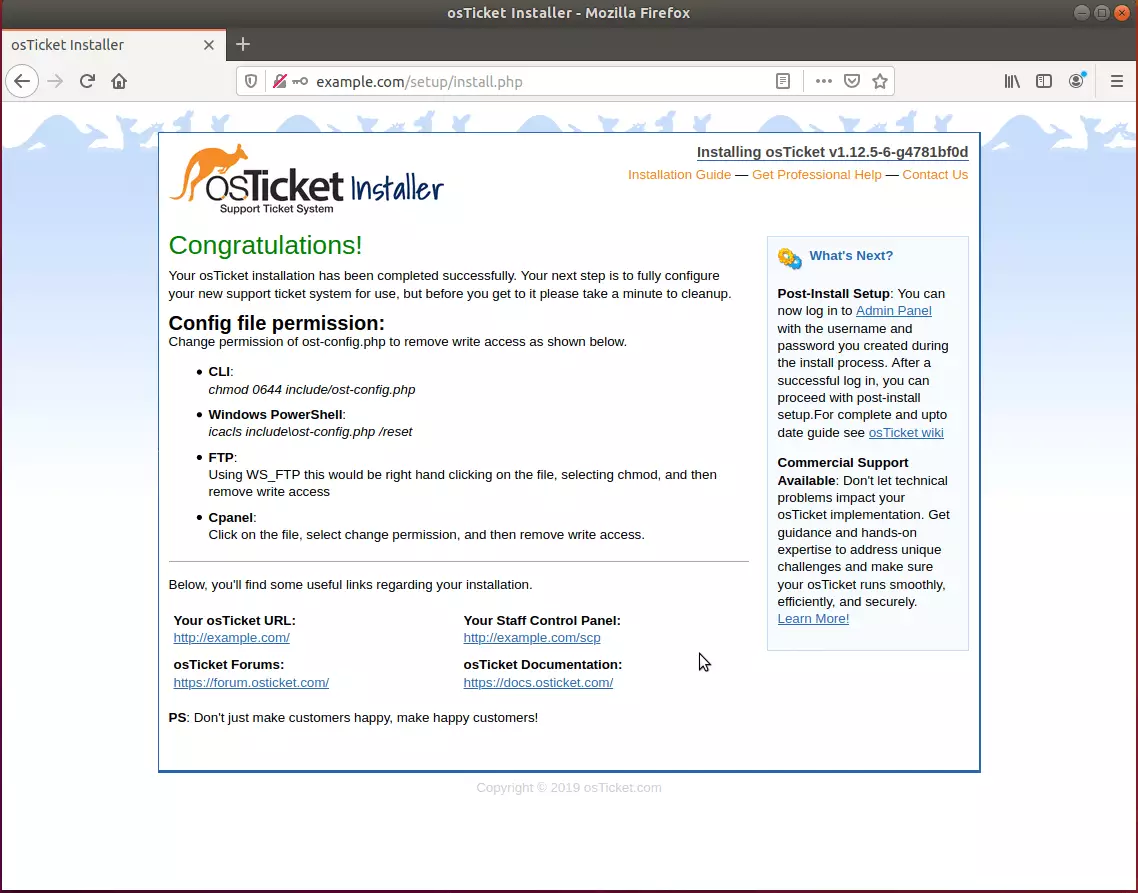
Your osTicket installation has been completed successfully. Your next step is to configure your new support ticket system for use entirely, but please take a minute to clean up before you get to it.
Conclusion:
You have successfully learned how to install the osTicket platform on Ubuntu. You may need to configure additional settings, but the steps above give you a basic starting point.
If you find errors with the steps above, please comment below:
You may also like the post below:
Was this guide helpful?

About the Author
Richard
Tech Writer, IT Professional
Richard, a writer for Geek Rewind, is a tech enthusiast who loves breaking down complex IT topics into simple, easy-to-understand ideas. With years of hands-on experience in system administration and enterprise IT operations, he’s developed a knack for offering practical tips and solutions. Richard aims to make technology more accessible and actionable. He's deeply committed to the Geek Rewind community, always ready to answer questions and engage in discussions.


No comments yet — be the first to share your thoughts!