Use Windows Hello for Faster Credit Card Confirmation
Windows Hello lets you confirm credit card payments in Google Chrome using your face or fingerprint instead of typing your card’s security code.
Windows Hello is a feature on Windows 10 and 11 that uses your unique physical traits like your face or fingerprint for sign-ins and verifications. You can also use a PIN.
When you’re shopping online using Google Chrome, you can set up Windows Hello. This means you won’t have to dig out your credit card to find and type the 3- or 4-digit CVC code at checkout.
This makes online payments faster and adds an extra layer of security by using your biometrics.
Enable Windows Hello in Chrome’s Payment methods settings to confirm purchases with your face, fingerprint, or PIN. Navigate to Settings Autofill and passwords > Payment methods, then toggle on “Windows Hello” and follow the prompts. This replaces manual CVC entry for faster, more secure checkouts.
Use Windows Hello to confirm credit cards instead of CVC
Windows Hello can speed up credit card confirmation in Chrome. Your face or fingerprint can take the place of the CVC code, making online shopping faster and more secure when you buy things using Chrome.
Follow these steps to turn this feature on or off:
- Open Google Chrome browser.
- Click the Customize and control Google Chrome button (the three vertical dots) in the top right corner.
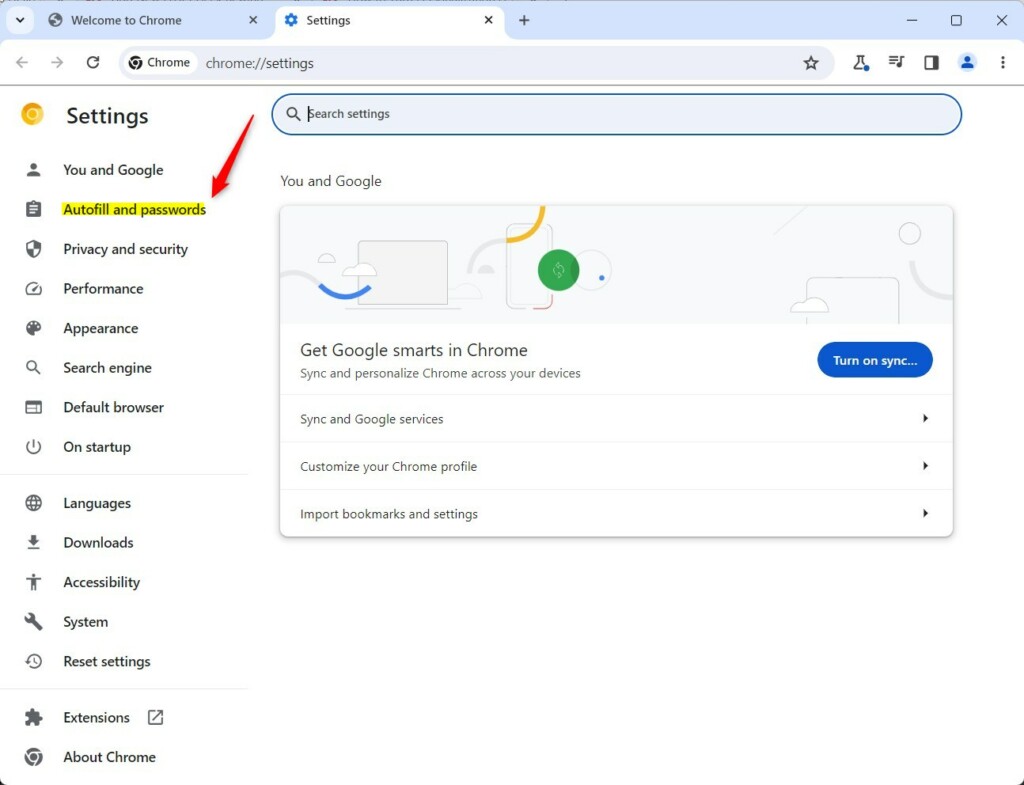
- Select Settings from the menu.

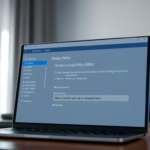
- On the left side of the screen, click Autofill and passwords.
- On the right, click Payment methods.
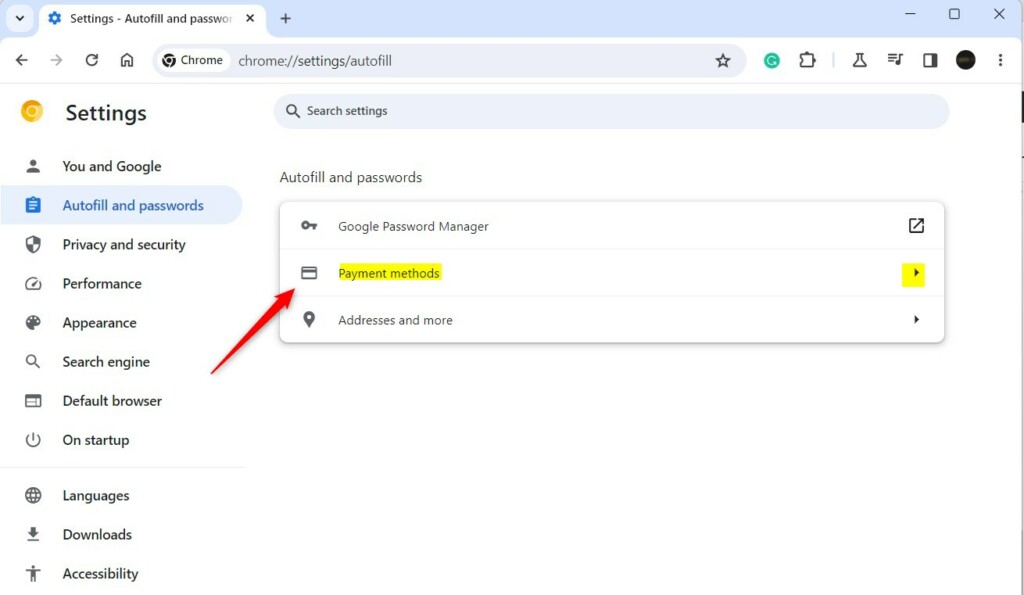
Typing `chrome://settings/payments` directly into your browser bar takes you to the payment settings page. This dedicated URL streamlines access to credit card and payment management options within your Chrome browser, allowing for quicker confirmation of payment methods.
- Find the Windows Hello toggle and switch it to the On position.
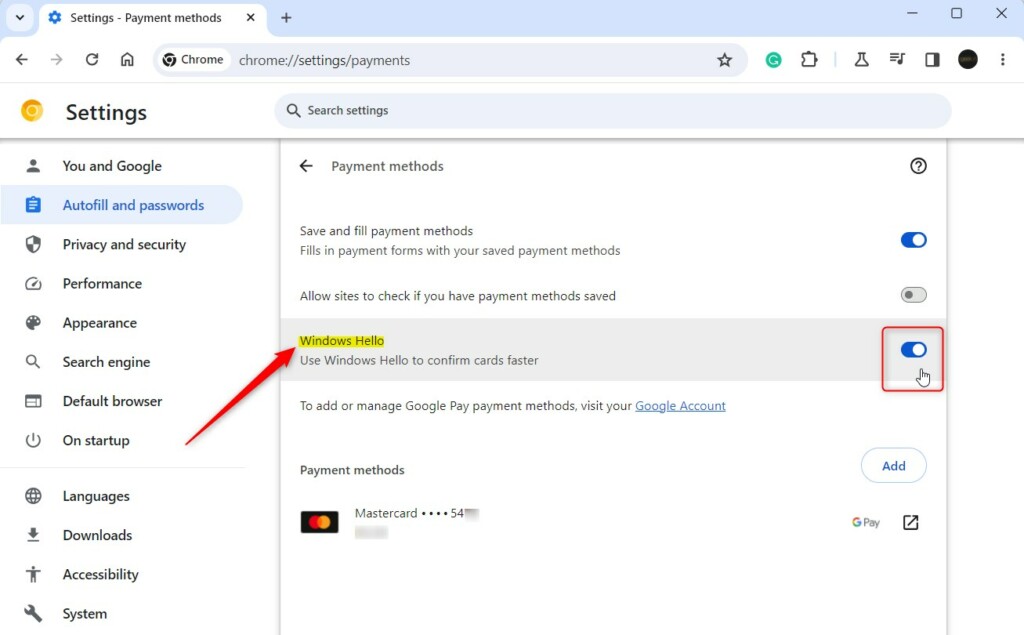
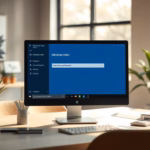
- When you turn it on, you will be asked to confirm your identity using your Windows Hello PIN or the fingerprint you use to sign in to your computer.
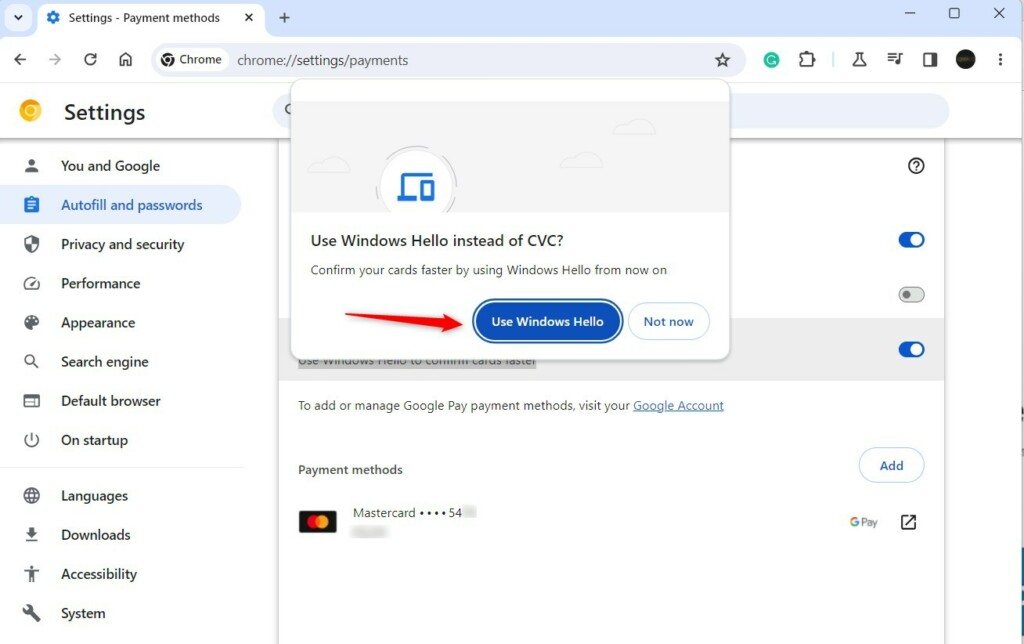
- In the pop-up window, click Use Windows Hello and enter your PIN or scan your fingerprint.
Conclusion
Using Windows Hello for credit card confirmation in Chrome makes paying for things online quicker and safer. It lets you use your face or fingerprint instead of typing in the CVC code. This is a step towards more secure ways to shop online.
This feature is part of a wider trend towards Passkeys and biometric authentication. By using your computer's built-in security features, modern browsers are moving away from easily stolen passwords and card codes toward more secure, identity-based logins.
What is Windows Hello Confirmation?
Windows Hello is a more personal and secure way to sign in to your Windows device. Instead of using a password, with Windows Hello you can sign in using facial recognition, fingerprint, or a PIN.
How to check if a credit card is saved on a computer?
To check saved payment methods, scroll down to Settings. In the settings window, click Autofill and passwords on the left sidebar, then click Payment methods on the right. Scroll down again under the payment methods section.
Was this guide helpful?

About the Author
Richard
Tech Writer, IT Professional
Richard, a writer for Geek Rewind, is a tech enthusiast who loves breaking down complex IT topics into simple, easy-to-understand ideas. With years of hands-on experience in system administration and enterprise IT operations, he’s developed a knack for offering practical tips and solutions. Richard aims to make technology more accessible and actionable. He's deeply committed to the Geek Rewind community, always ready to answer questions and engage in discussions.

It appears you cannot turn the “Always verify when using autofill”” feature on in Chrome “if” you use a desktop PC that has no webcam or fingerprint reader. It seems without these you cannot use windows hello, is that correct? The switch to turn it on is there but it cannot be toggled on, it’s permanently stuck in the off position. So is there a way to use the feature in Chrome without paying the extra M$ hardware tax? It’s just one thing after the other with redmond these days. It’s there way or the highway(or Linux)
Thanks in advance Greg