How to Enable Always Verify Autofill in Microsoft Edge
Always verify when using autofill in Microsoft Edge adds an extra security step for your payment information.
This setting asks you to prove who you are again, usually with your Windows Hello password or PIN, every time Microsoft Edge fills in your saved credit card details on a website.
Microsoft Edge can automatically fill in things like your address and payment info, which makes shopping online faster. This extra check, especially useful on Windows 11, stops someone else from using your saved payment methods if they get onto your computer.
Open Microsoft Edge, click the three dots, then Settings. Select Profile, then Open Wallet. On the Wallet settings page, toggle “Always verify when using autofill” to On.
Enable or disable “Always verify when using autofill” in Edge
The “Always verify when using autofill” setting in Microsoft Edge adds an extra security step to protect your information when turned on. This means Edge will ask for your confirmation before it fills in saved details like passwords or addresses on websites, making your online activity more secure.
First, open the Microsoft Edge browser.
Next, click the ‘Settings and more‘ (Alt+F) three dots (…) in the upper right-hand corner to access the Settings menu.

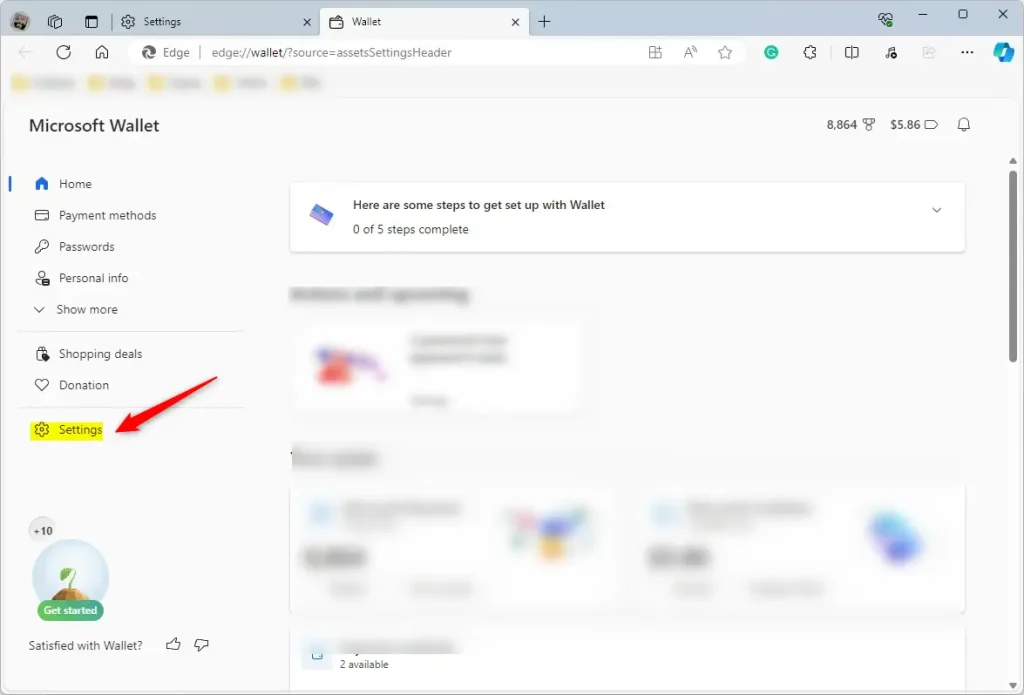
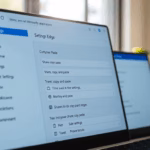
On the Settings page, click the Profile button in the left panel. Then, on the right, select the "Open Wallet" tile.

From the Wallet page, click the Settings button at the bottom left.
You can get there directly by typing the URL in the address box below.
edge://wallet/settings
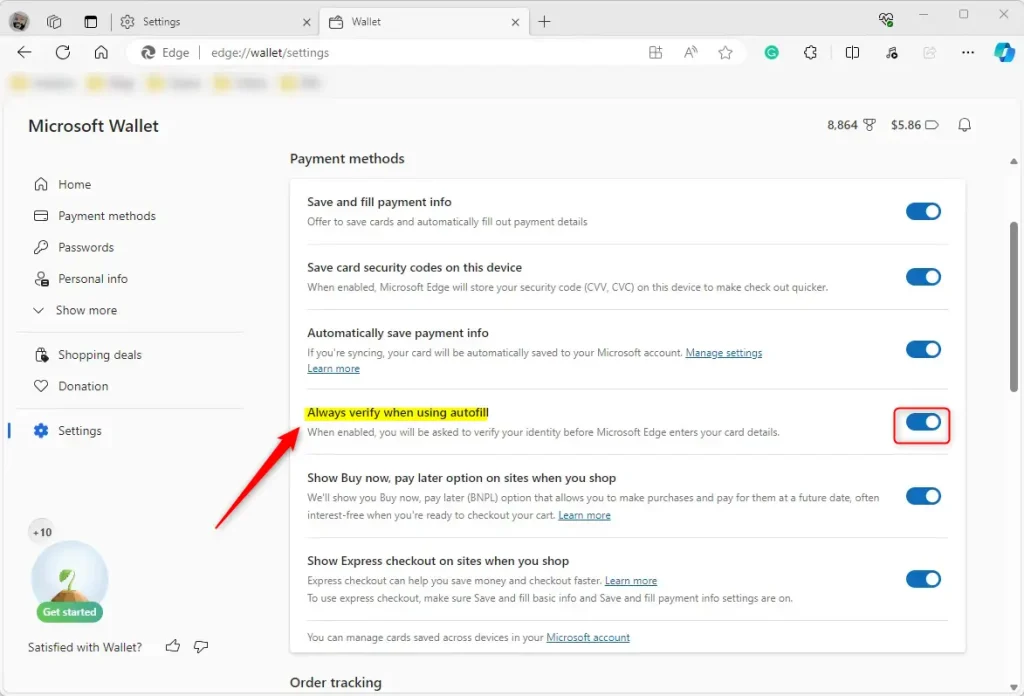
Next, select the "Always verify when using autofill" tile under "Payment methods." Then, toggle the button switch to the On position to enable it.
To disable it, toggle the switch button to the Off position.
And that's it!
Conclusion:
- The article effectively outlines the steps to enable or disable the "Always verify when using autofill" feature in the Microsoft Edge browser.
- Including visual aids, such as screenshots, enhances the user experience and facilitates a seamless navigation of the settings menu.
- The option to leave comments allows for user feedback, ensuring continuous improvement and accuracy of the provided information.
Why is Microsoft Authenticator getting rid of autofill?
Autofill on Microsoft Authenticator was discontinued in mid-August 2025 as part of Microsoft's efforts to streamline autofill. Although your saved passwords and addresses are no longer accessible in Authenticator, you can still use , view and manage saved passwords easily across devices in Microsoft Edge.
How do I stop syncing autofill on Authenticator?
In the Authenticator app, open Settings Autofill settings Sync account On the next screen, you can select on Stop sync and remove all autofill data.
Was this guide helpful?

About the Author
Richard
Tech Writer, IT Professional
Richard, a writer for Geek Rewind, is a tech enthusiast who loves breaking down complex IT topics into simple, easy-to-understand ideas. With years of hands-on experience in system administration and enterprise IT operations, he’s developed a knack for offering practical tips and solutions. Richard aims to make technology more accessible and actionable. He's deeply committed to the Geek Rewind community, always ready to answer questions and engage in discussions.

No comments yet — be the first to share your thoughts!