How to Restore Windows 11 PC Using Restore Points
If your computer is acting up after you installed a new app or a driver, you might need to go back in time. Windows 11 has a feature called System Restore. It acts like a time machine for your PC settings.
Why use a restore point?
When your computer starts crashing or running slowly after a recent change, a restore point helps you undo those changes. It returns your system to a state where everything was working correctly.
What happens when done?
Your personal files, like photos and documents, will stay safe. However, any apps, drivers, or updates installed after the date of the restore point will be removed. Your computer will revert to the settings it had on that specific date.
Note: You will need administrative privileges to perform these steps. If you are not logged in as an administrator, you may be prompted to enter an administrator password.
To get started, open your settings. You can press the Windows key + I on your keyboard or click Start and then Settings. 
Once the Settings window is open, click on System on the left side, then click About on the right. 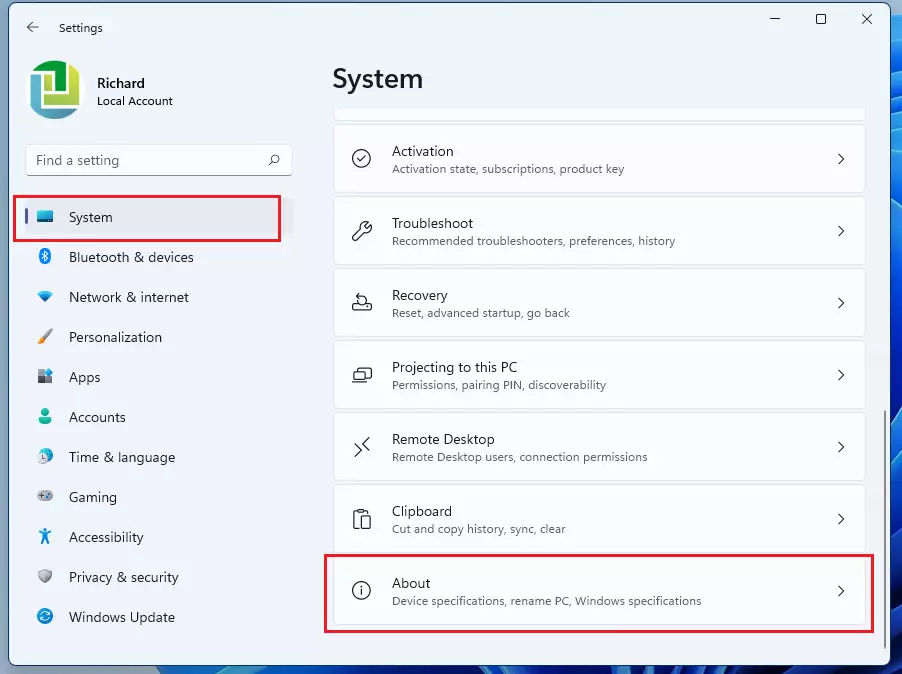
On the About screen, look for the System protection link. Click it to open a small popup window. 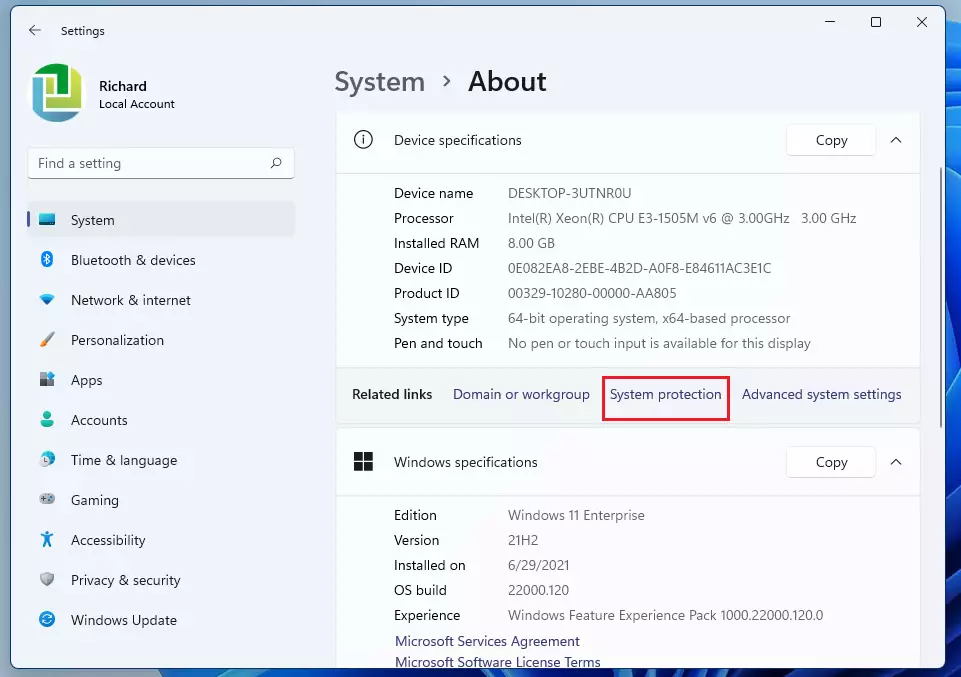
In the System Protection window, click the System Restore button. 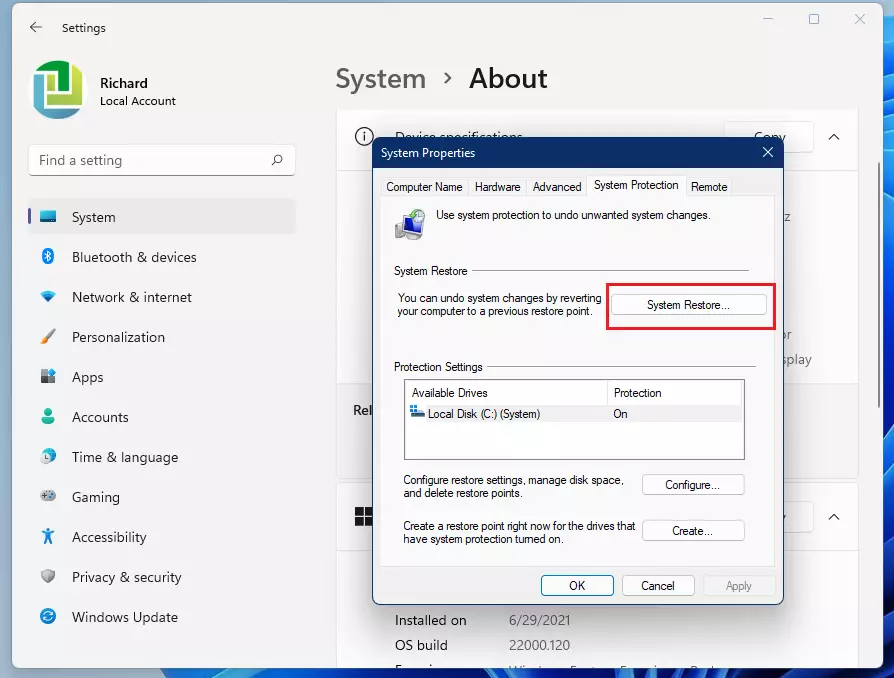
A new window will pop up. Click Next to see your available restore points. 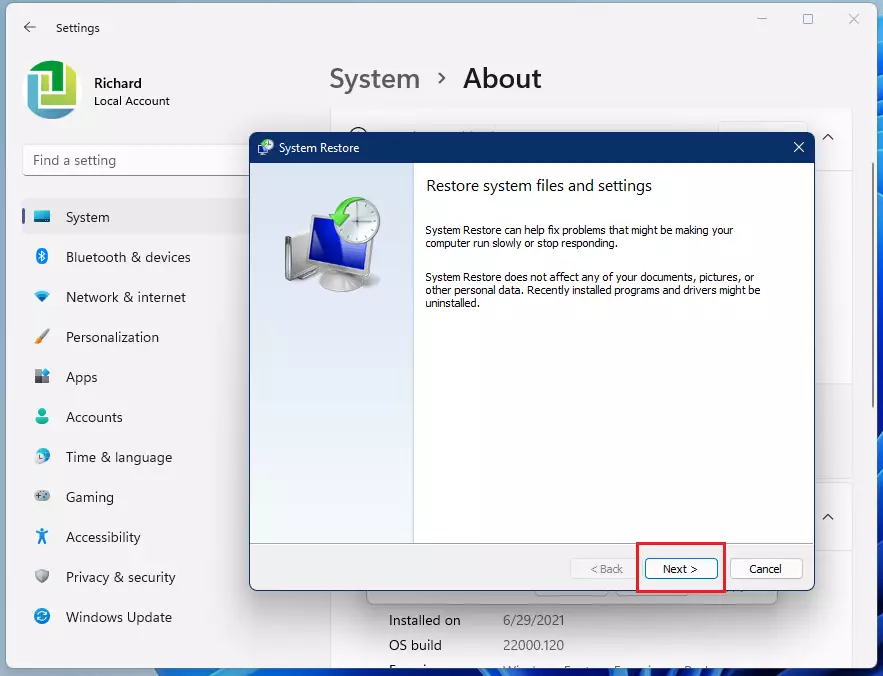
Choose a date from the list that is before your computer started having problems. Then, click Next. If you do not see any dates, it means the System Protection feature was not turned on. 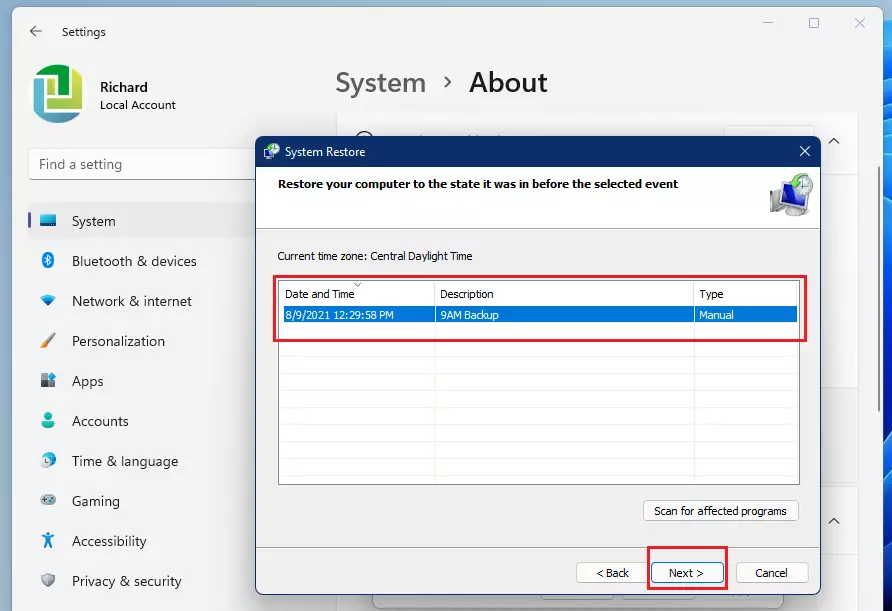
Click Finish to confirm your choice. 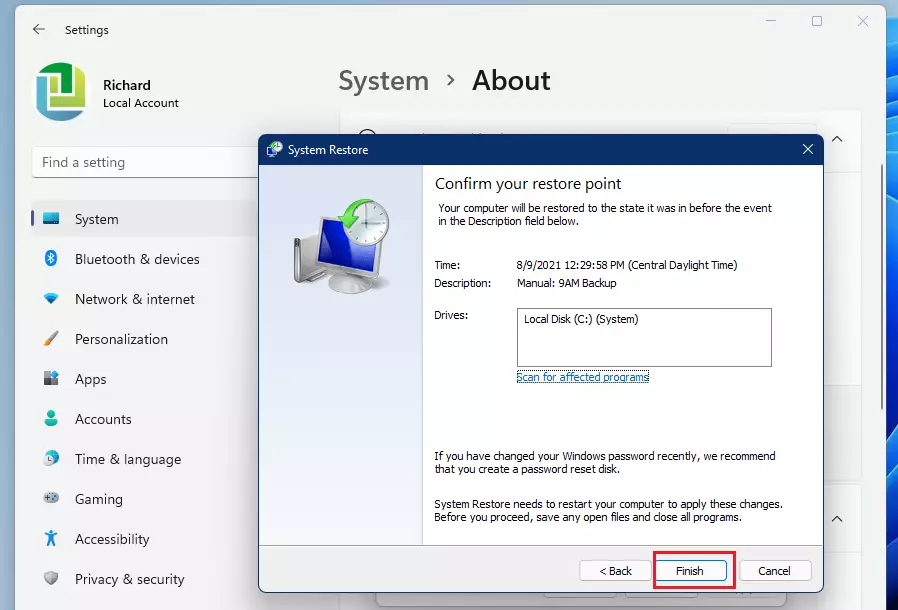
A warning will appear letting you know that the process cannot be stopped once it starts. Make sure your laptop is plugged into a power source so it does not turn off. Click Yes to begin. 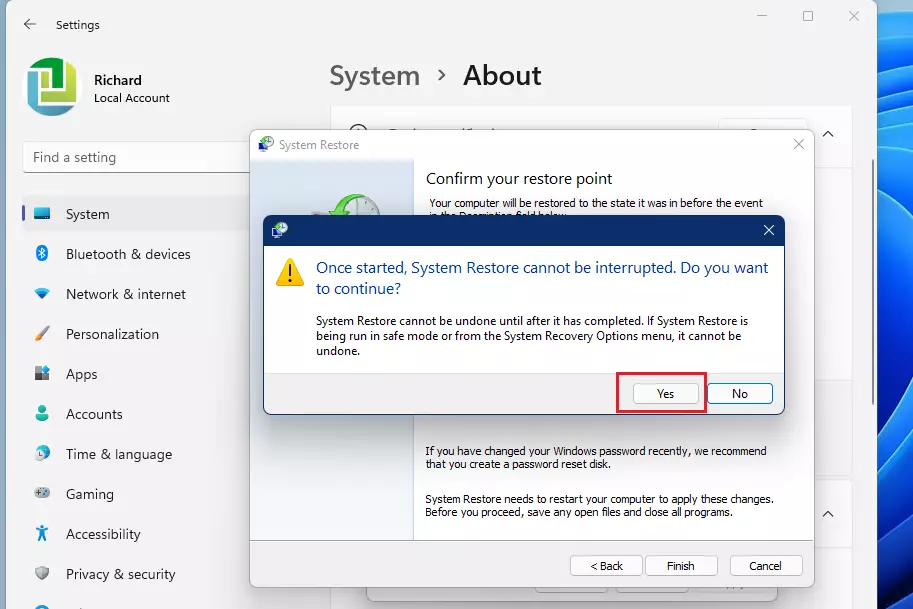
Your computer will restart and work on reverting your settings. This may take a few minutes. 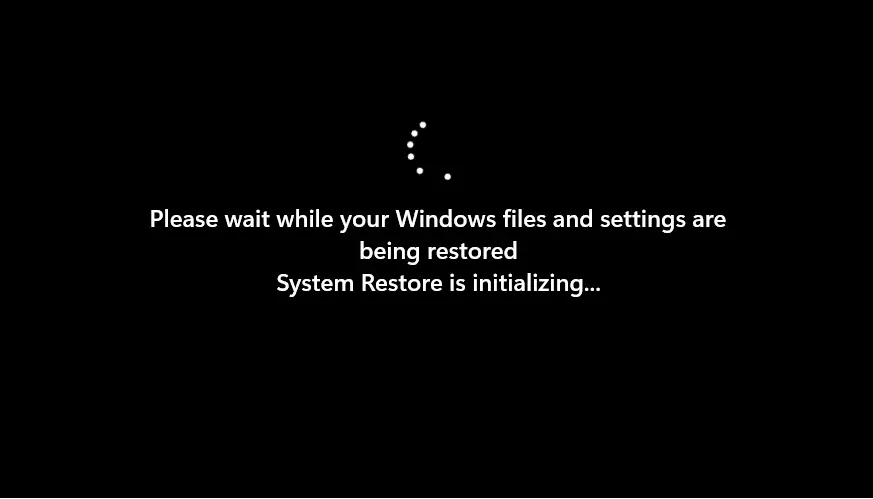
Once it finishes, your PC will be back to the state it was in on the date you chose.
Summary
System Restore is a safe way to fix issues caused by new software or updates. It does not delete your personal files, but it does remove recent programs and system changes. Always ensure your computer is plugged into power before starting the process to avoid errors.
Was this guide helpful?


[…] windows includes a System Protection feature that creates restore points so your computer can be restored to previous working states to resolve potential […]
[…] System Restore helps restore Windows from the image […]