How to Change Audio Format of Sound Device in Windows 11
This guide explains how to change the audio quality settings for your speakers, headphones, or microphone in Windows 11. Adjusting these settings changes the sample rate and bit depth of your sound.
Why change your audio format?
You might want to change these settings to improve sound quality or fix issues where audio sounds distorted or plays at the wrong volume. Higher settings capture more detail, but they also require more computer power.
What happens when done?
Once you select a new format, your computer will immediately start using those settings for all sound playback or recording. If the hardware does not support the chosen format, you may experience no sound at all.
References:
Fix low or quiet sound in Windows – Microsoft Support
Fix distorted or crackling audio in Windows – Microsoft Support
Option One
Change Audio Format in Settings
- Open Settings by pressing ⊞ Win+I.
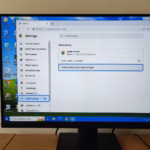
- Click System on the left, then click Sound on the right. Open Sound settings
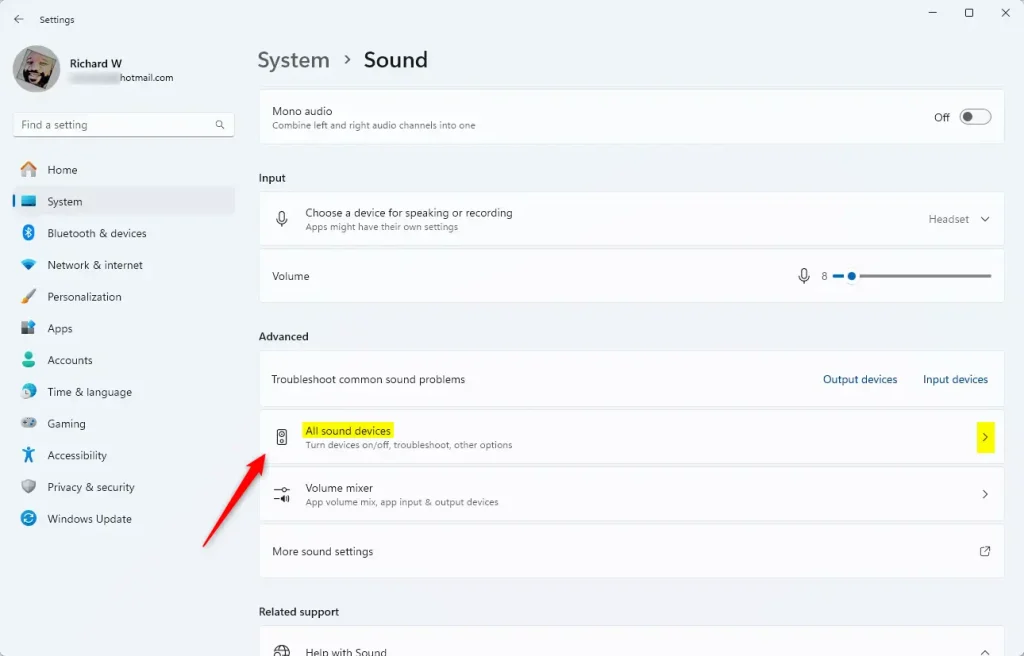
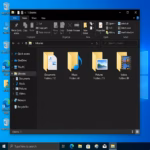
- Click All sound devices. Open All sound devices settings
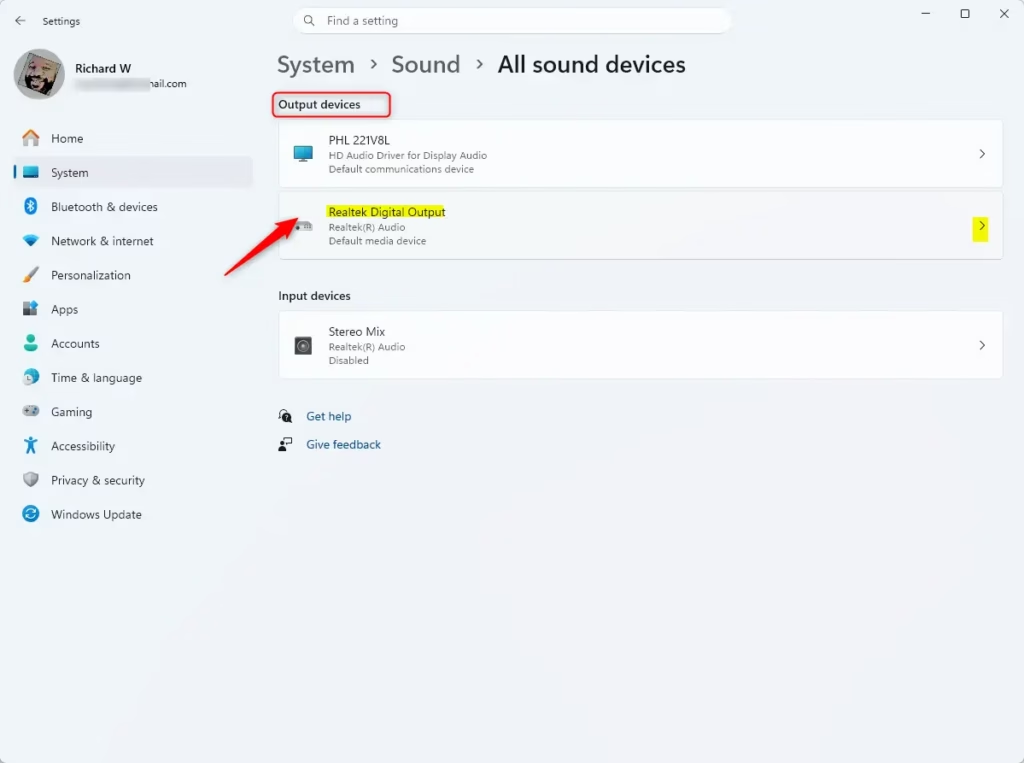
- Select the speaker or microphone device you want to update.
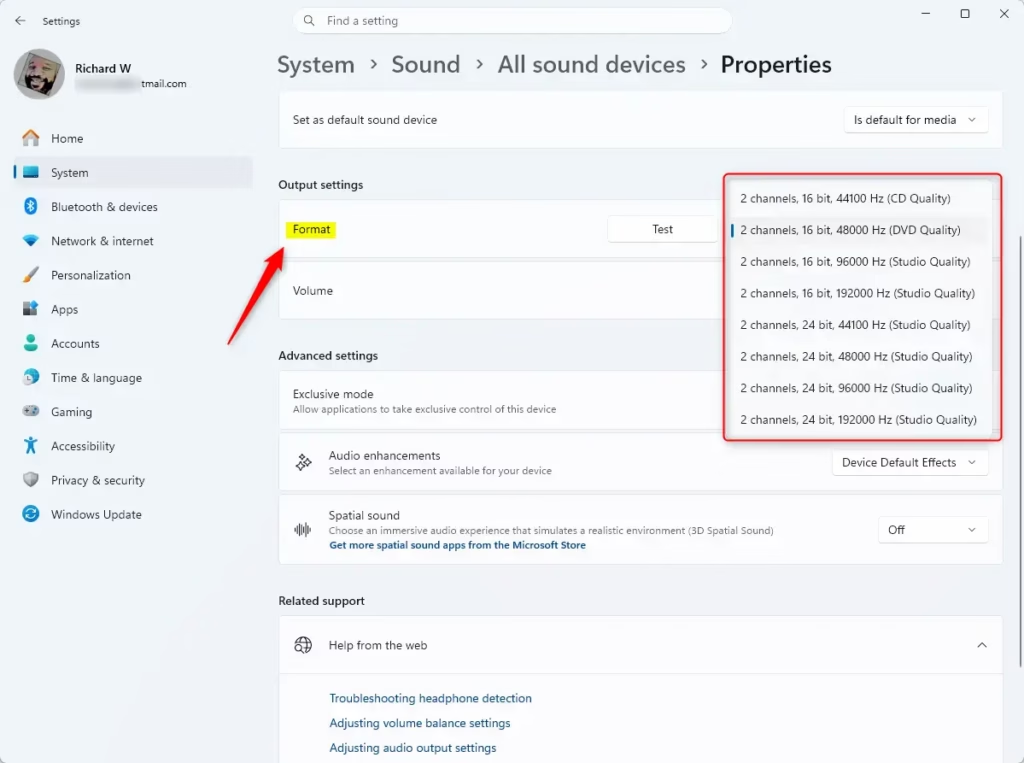
- Look for the Format drop-down menu under Output settings or Input settings. Choose the quality level you want.
- If you are changing speakers, click the Test button to hear how it sounds. If you change a microphone, you should test it afterward to ensure it is working correctly.
- Close the Settings window when you are finished.
Option Two
Change Audio Format in Control Panel
Note: Some advanced changes in the Control Panel may require admin privileges.
- Open the Control Panel and click the Sound icon.
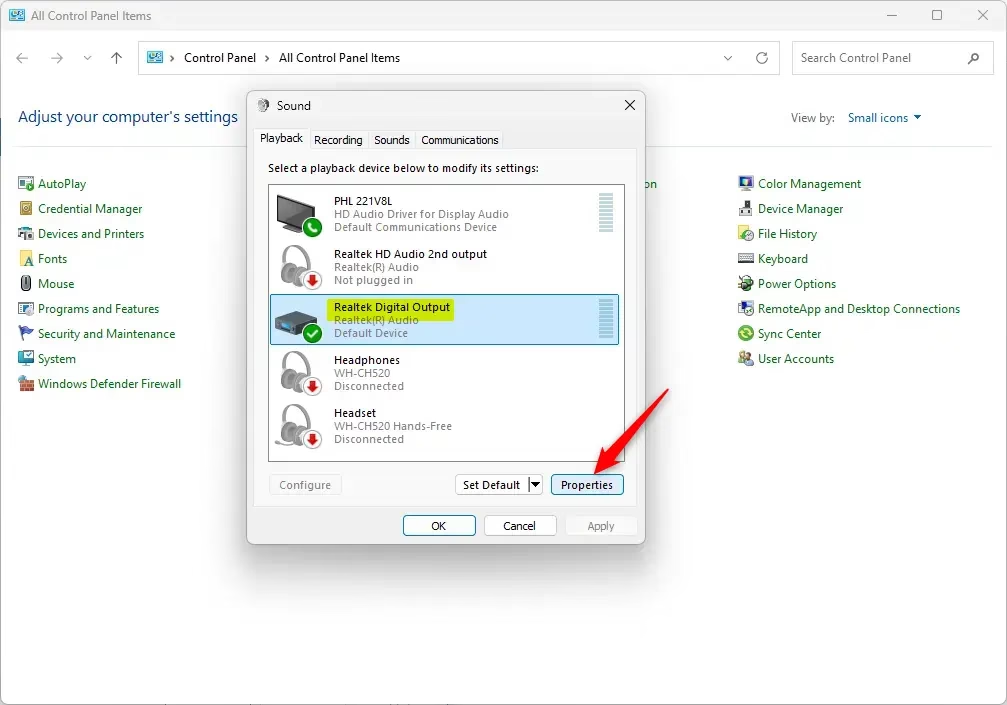
- Click the Playback tab for speakers or the Recording tab for microphones.
- Select your device from the list and click Properties.
- Click the Advanced tab.
- Select your preferred quality from the Default format drop-down menu.
- Click Test to check the sound quality if you are using speakers.
- Click OK to apply your changes.
- Click OK again to close the window.

Summary
You can improve your audio experience by manually setting the sample rate and bit depth in Windows 11. Use the Settings app for a modern interface or the Control Panel for more traditional device management. Always test your speakers or microphone after making changes to ensure they are compatible with your selected format.
How to change sound Output format in 🪟 Windows 11?
To change your output format, open Settings, navigate to System, and select Sound. Click All sound devices, then choose your specific speaker or headphone device. Scroll down to the Output settings section, locate the Format drop-down menu, and select your preferred sample rate and bit depth from the available options.
What audio formats does 🪟 Windows 11 support?
Windows 11 supports various audio formats, primarily defined by sample rates and bit depths. Common options range from CD quality (16-bit, 44,100 Hz) to studio quality (up to 32-bit, 192,000 Hz). The specific formats available depend on your hardware capabilities, as not all sound cards or drivers support high-resolution audio output.
How to get classic volume mixer back in 🪟 Windows 11?
Windows 11 does not natively support reverting to the classic volume mixer interface. However, you can access the modern Volume Mixer by right-clicking the speaker icon in the taskbar and selecting Open volume mixer. Alternatively, third-party software tools are available that can emulate the classic Windows 7-style volume control experience.
Which sound format is the best quality in 🪟 Windows 11?
The best quality format is the highest setting supported by your hardware, typically 24-bit or 32-bit at 192,000 Hz (Studio Quality). While these settings provide the most detail, they require more processing power. For most users, 24-bit at 48,000 Hz offers an excellent balance of high fidelity and system stability.
Was this guide helpful?

About the Author
Richard
Tech Writer, IT Professional
Richard, a writer for Geek Rewind, is a tech enthusiast who loves breaking down complex IT topics into simple, easy-to-understand ideas. With years of hands-on experience in system administration and enterprise IT operations, he’s developed a knack for offering practical tips and solutions. Richard aims to make technology more accessible and actionable. He's deeply committed to the Geek Rewind community, always ready to answer questions and engage in discussions.

No comments yet — be the first to share your thoughts!