How to Uninstall and Reinstall OneDrive on Windows 11

Uninstalling and reinstalling OneDrive on Windows 11 fixes many stubborn file syncing errors and resets the cloud storage app. It usually takes under 5 minutes. OneDrive is Microsoft’s built-in tool that backs up your Desktop and Documents folders and keeps your files updated across all your devices.
Removing the app stops files from syncing to the cloud, but the files already on your PC stay in their folders. Reinstalling gets your cloud backups working normally again without deleting your data. The steps are the same on Windows 11 Home and Pro.
Before you start, check whether OneDrive is backing up your Desktop, Documents or Pictures folders. If it is, turn that backup off first and make sure those files are sitting in normal local folders on your PC. That way you know exactly where everything is while the app is gone. Also let any sync in progress finish, so you don’t remove the app halfway through an upload.
Open Settings, click Apps, then Installed apps, find Microsoft OneDrive, click the three dots next to it and select Uninstall. To reinstall, download OneDrive from Microsoft’s official site, run OneDriveSetup.exe, and sign in with your Microsoft account.
How to Uninstall OneDrive
- Open Settings . Press
Win + Ikeys together. The Settings window opens. - Click Apps on the left side. The app options appear on the right.
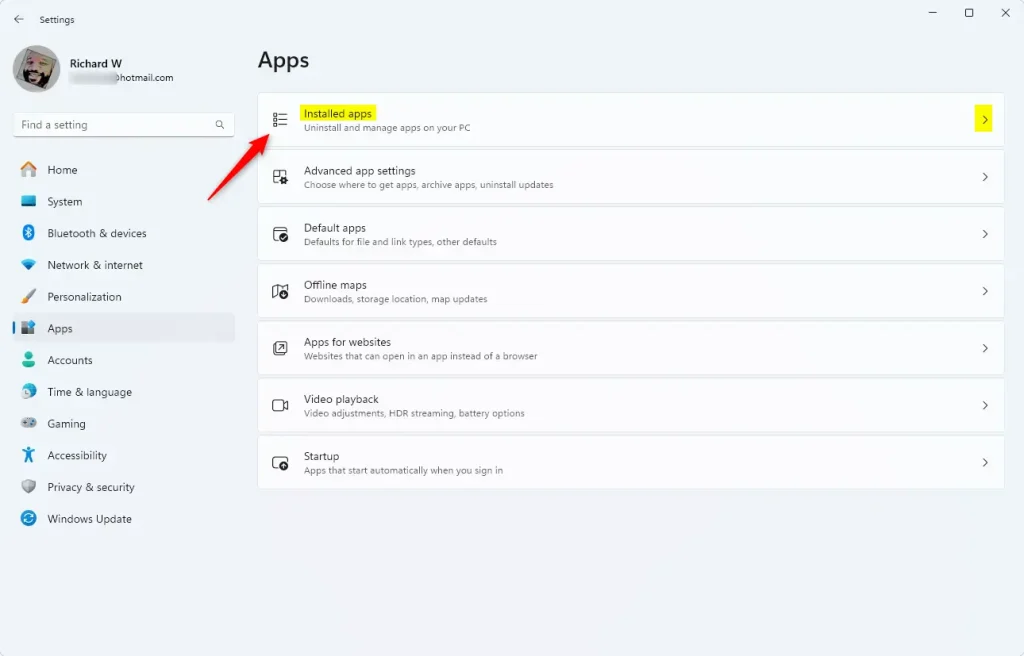
- Click Installed apps on the right. On older Windows 11 builds this page is called Apps & features. You will now see a list of everything installed on the PC.
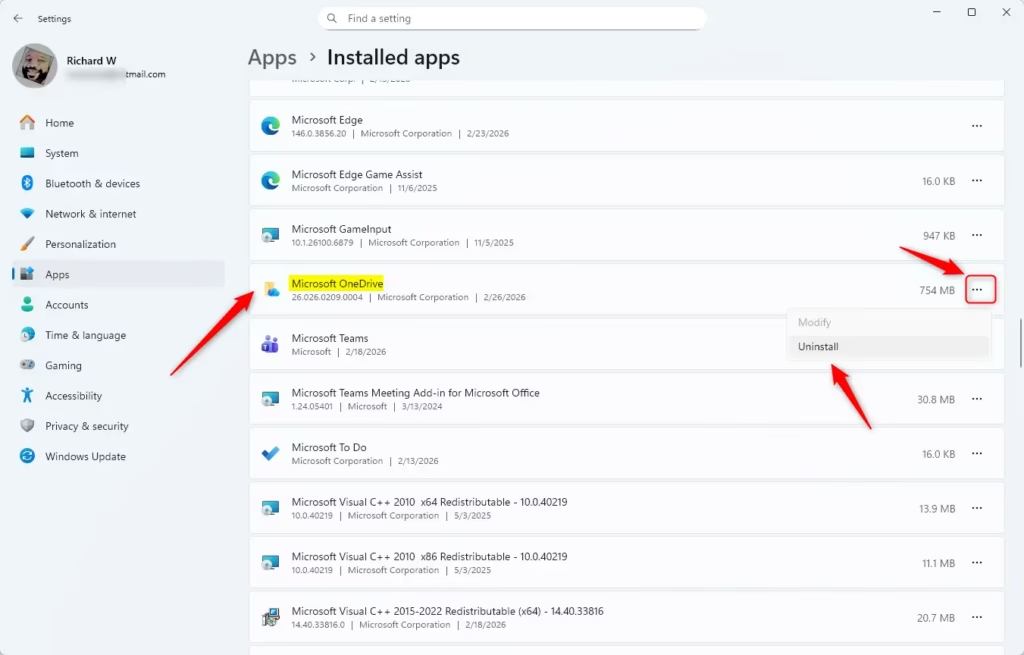
- Find Microsoft OneDrive in the list. If you can’t spot it, type “OneDrive” in the search box above the list.
- Click the three dots next to it, then click Uninstall. [ADMIN REQUIRED] If you are on a standard account, Windows will ask for an administrator password. If Uninstall is greyed out, your PC is probably managed by a work or school organization, and you will need your IT department to remove it.
- When asked to confirm, click Uninstall again. The OneDrive entry disappears from the list after a few seconds.
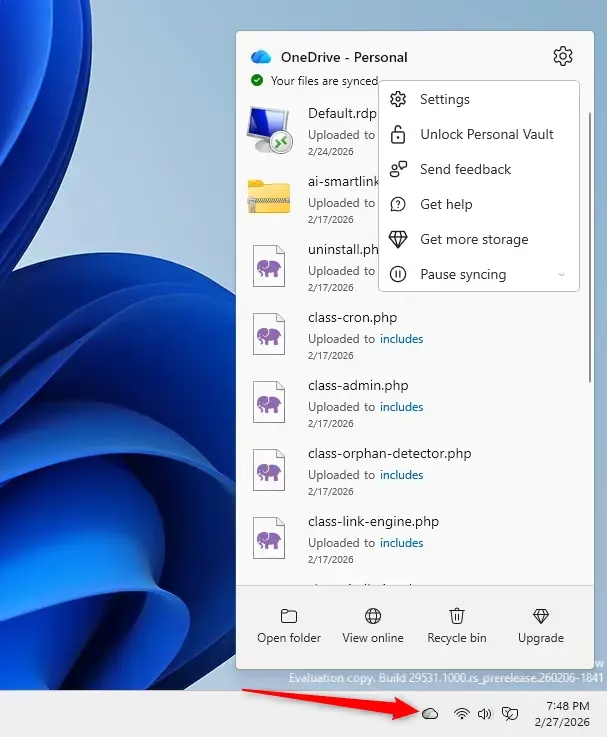
- Close Settings when done. The OneDrive cloud icon should no longer show in the notification area at the bottom right. If it still does, restart the PC.
This takes less than a minute. It removes the cloud storage program without touching the actual files stored in your personal folders or on the web.
To undo the uninstall at any time, just reinstall the app using the steps further down.
How to Reinstall OneDrive
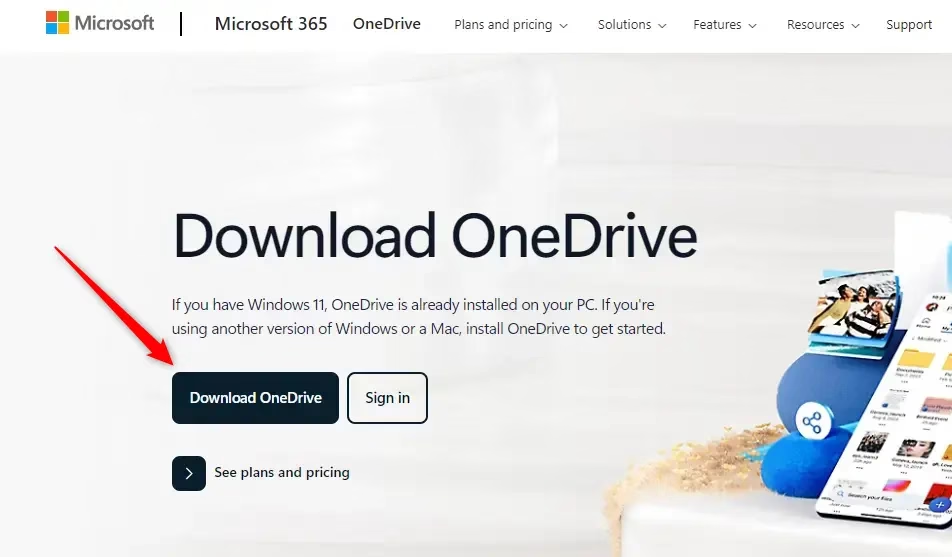
- Go to the official OneDrive download page. Download OneDrive for Windows Use Microsoft's own site so you get the current, genuine installer.
- Click the download button to get the
OneDriveSetup.exefile. Your browser will show the download in its downloads list. - Save it to your Desktop or any folder you like. You only need it until the install finishes.
- Double-click
OneDriveSetup.exeto start the installation. If Windows asks whether you want to allow the app to make changes, click Yes. - You will see a small window saying "Microsoft OneDrive Setup" while it installs. Wait for it to finish. It usually closes by itself.
- When installation finishes, open OneDrive and sign in with your Microsoft account to set it up. Follow the on-screen prompts. If you see an option to use your existing OneDrive folder, choose it so the app doesn't download everything again.
You can easily reinstall OneDrive on Windows 11 by downloading the official setup file straight from the Microsoft website and running the installer on your computer. The setup tool puts the cloud storage app back on your system, and you sign in again to reconnect your account. Once you are signed in, OneDrive compares your PC and the cloud and starts syncing again. Large folders can take a while.
Also make sure your Microsoft account isn't over its storage limit.
Summary
- Easy to do: You can uninstall or reinstall OneDrive quickly through Settings and a download link. Both steps work on Windows 11 Home and Pro.
- Your files stay safe: Uninstalling OneDrive doesn't delete files on your PC or in the cloud.
- Cloud access remains: You can still get to your files anytime at onedrive.live.com. Sign in with the same Microsoft account in any browser.
- Backup first: Turn off backup and move files to local folders before uninstalling to keep them safe.
- Reinstall anytime: Download the latest OneDrive from Microsoft's website whenever you want.
Uninstalling and reinstalling OneDrive on Windows 11 is a safe and straightforward way to fix syncing bugs or reset your cloud storage connection. Your files remain protected during the process, giving you an easy fix when the desktop app stops working properly.
More help from Microsoft: Turn off, disable, or uninstall OneDrive - Microsoft Support
Have a question about this guide?
Answered by AI from this guide. Good questions may be added to this page — please don't include personal details.
Did this guide fix your problem?

About the Author
Richard
Tech Writer, IT Professional
Richard is a writer at Geek Rewind who turns complex IT tasks into clear, step-by-step guides. He draws on years of hands-on experience in system administration and enterprise IT operations, focusing on Windows, Linux and WordPress: the problems people actually run into, and the fixes that work. His server and WordPress guides come from systems he runs himself. Richard builds and maintains the platform behind Geek Rewind, from its Ubuntu servers and Nginx configuration to its custom WordPress plugins. Many new tutorials start with readers' questions, and he's always glad to answer them in the comments.
No comments yet — be the first to share your thoughts!