How to Re-Sync Microsoft Edge Browser Data
You re-sync Microsoft Edge browser data to fix synchronization issues, ensuring your favorites, passwords, and history appear across all your devices.
Microsoft Edge is the default browser for Windows, built on the same Chromium engine as Google Chrome, allowing seamless data synchronization via your Microsoft account.
If your Edge bookmarks or saved passwords aren’t appearing on another computer, your sync connection is likely stuck, requiring a manual re-sync to merge local data with cloud data.
Re-sync Microsoft Edge data
If you have trouble syncing, you can trigger a refresh. This clears the sync cache on your computer and forces a fresh connection.
- Open your Microsoft Edge browser.
- Click the three dots at the top right of the window.
- Select Settings.
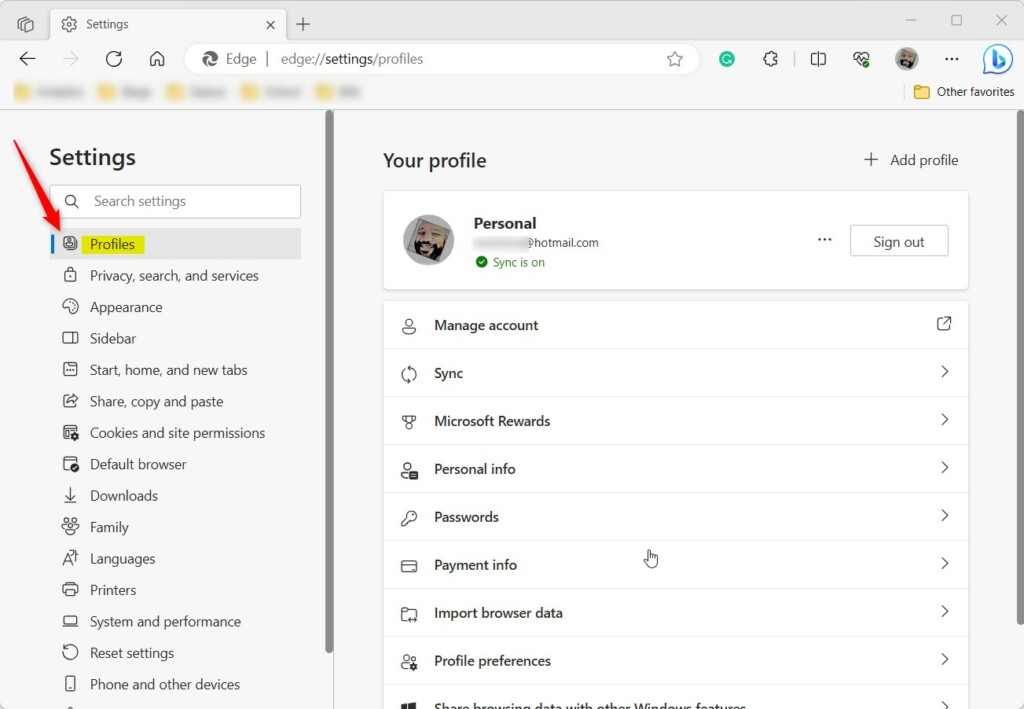
- Click Profiles on the left side of the screen.
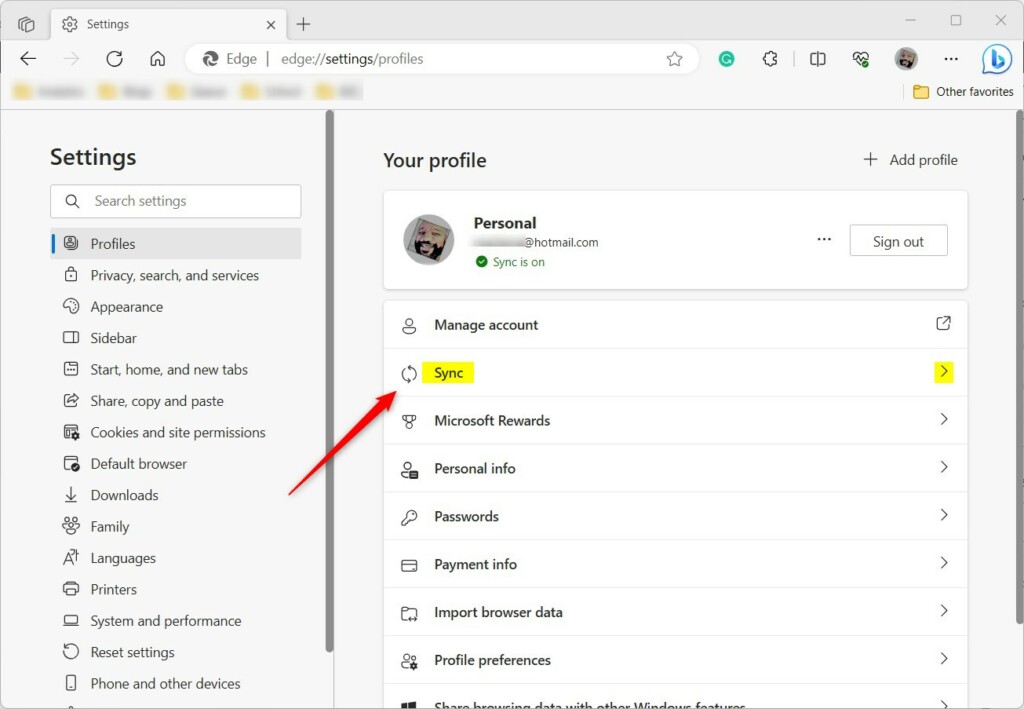
- Select the Sync tile.
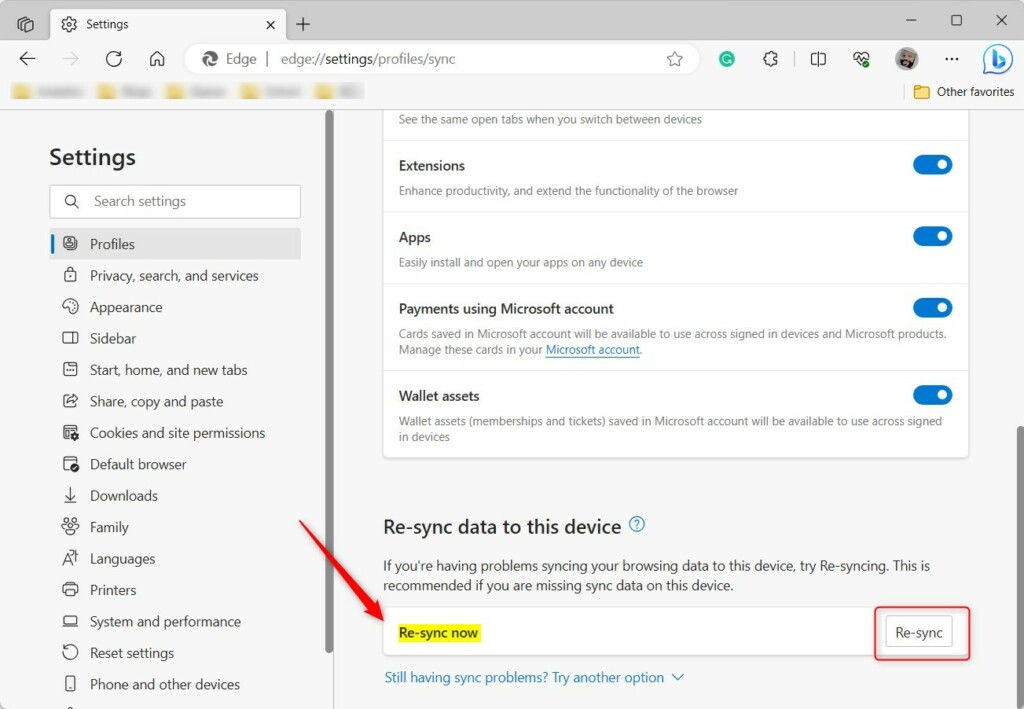
- Scroll to the bottom of the page.
- Click the Re-sync button.
- Confirm your choice when the prompt appears.
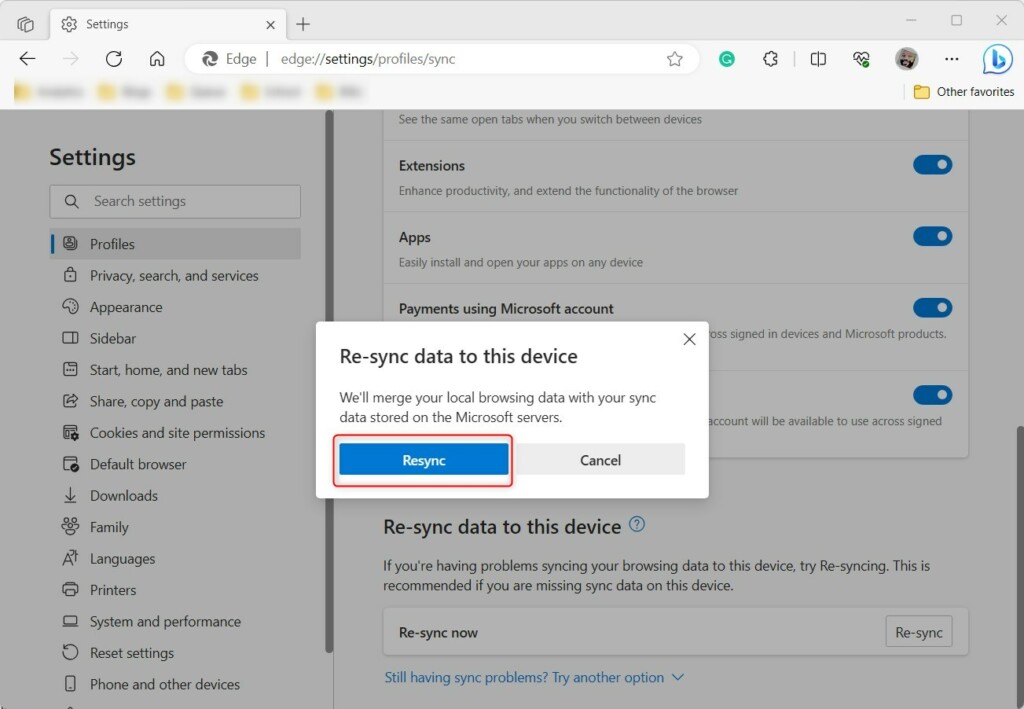
Edge will now combine your local data with your server data in the background. You do not need to restart the browser for this to work.
Advanced Troubleshooting
If the standard re-sync button does not fix your issue, you can use the internal sync tool. Type edge://sync-internals into your address bar and press Enter. This page shows detailed logs about your sync status. If you see red error messages here, it indicates a deeper issue with your Microsoft account connection that may require signing out and signing back in.
Reference:
Conclusion
- Edge syncs your data seamlessly across all your devices.
- Re-syncing is a great way to fix missing bookmarks or passwords.
- Use the Settings menu to refresh your sync connection.
- Check the sync-internals page if you still have trouble.
Was this guide helpful?

About the Author
Richard
Tech Writer, IT Professional
Richard, a writer for Geek Rewind, is a tech enthusiast who loves breaking down complex IT topics into simple, easy-to-understand ideas. With years of hands-on experience in system administration and enterprise IT operations, he’s developed a knack for offering practical tips and solutions. Richard aims to make technology more accessible and actionable. He's deeply committed to the Geek Rewind community, always ready to answer questions and engage in discussions.


[…] in to Microsoft Edge with a Microsoft account lets you sync your browsing data across all your other devices signed in with the same account using […]
[…] in to Microsoft Edge with a Microsoft account lets you sync your browsing data across all your other devices signed in with the same account using […]