How to Install UVdesk with Apache on Ubuntu Linux


UVdesk is an open-source help desk system that pulls all your customer support emails into one shared inbox on Ubuntu Linux. Setting up UVdesk on Ubuntu 20.04 or 18.04 takes about 20 to 30 minutes when you pair the Apache2 web server with a MariaDB database.
You need a server with root access to download the files from GitHub and get the software running. This installation lets your support team reply to requests faster and track every customer problem in one spot.
Install Apache2 using `sudo apt install apache2`, then install MariaDB with `sudo apt install mariadb-server mariadb-client`. Create a database and user for UVdesk within MariaDB. Finally, install PHP and necessary modules via `sudo apt install php7.4 libapache2-mod-php7.4 php7.4-mysql`.
Install Apache
To install Apache on your Ubuntu server for UVdesk, open your terminal and run the commands sudo apt update and sudo apt install apache2. This sets up the web server needed to host your helpdesk site and handle incoming visitor traffic.
To install Apache2 HTTP on the Ubuntu server, run the commands below.
sudo apt update
sudo apt install apache2
After installing Apache2, the commands below can stop, start, and enable the Apache2 service to always start up with the server boots.
sudo systemctl stop apache2.service
sudo systemctl start apache2.service
sudo systemctl enable apache2.service
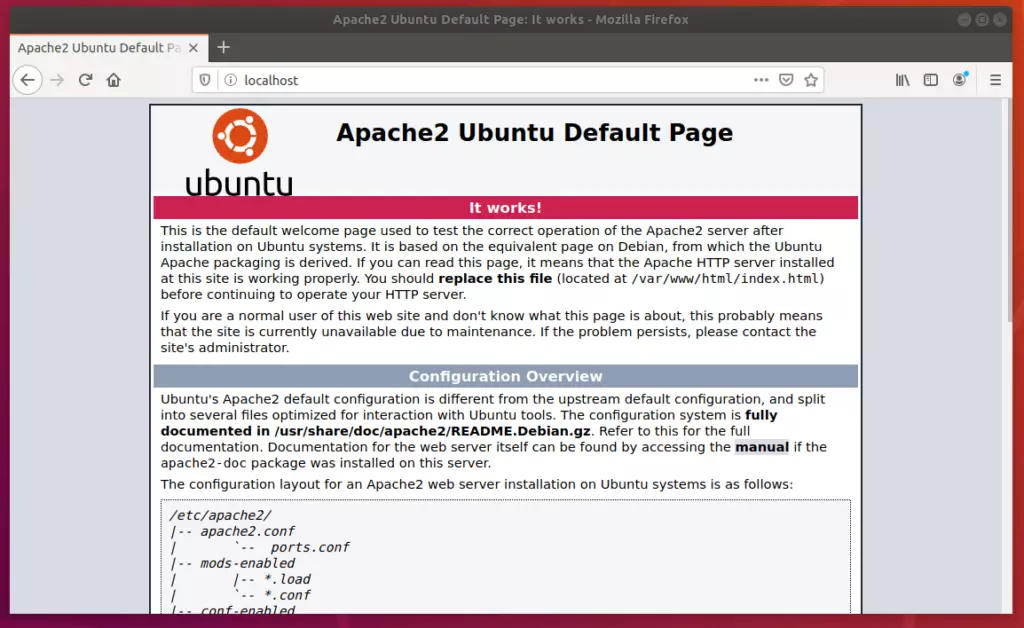
To test the Apache2 setup, open your browser and browse to the server hostname or IP address. You should see the Apache2 default test page, as shown below. When you see that, Apache2 will work as expected.
http://localhost
Install MariaDB
To install MariaDB on your Ubuntu server, run the commands sudo apt update and sudo apt install mariadb-server mariadb-client in your terminal. This creates the database system required by UVdesk to store user accounts, tickets, and settings securely.
To install MariaDB, run the commands below:
sudo apt update
sudo apt install mariadb-server mariadb-client
After installing MariaDB, the commands below can stop, start, and enable the service to start when the server boots.
sudo systemctl stop mariadb.service
sudo systemctl start mariadb.service
sudo systemctl enable mariadb.service
sudo mysql_secure_installation
When prompted, answer the questions below by following the guide.
- Enter current password for root (enter for none): Press the Enter
- Set root password? [Y/n]: Y
- New password: Enter password
- Re-enter new password: Repeat password
- Remove anonymous users? [Y/n]: Y
- Disallow root login remotely? [Y/n]: Y
- Remove test database and access to it? [Y/n]: Y
- Reload privilege tables now? [Y/n]: Y
Restart the MariaDB server when done.
Create UVdesk database
To create the UVdesk database, log into your MariaDB prompt using sudo mysql -u root -p and run the command CREATE DATABASE uvdesk;. This prepares a blank storage space where the helpdesk software will save all of its operational data.
When prompted for a password, type the root password you created above.
sudo mysql -u root -p
Then, create a database called uvdesk
CREATE DATABASE uvdesk;
Create a database user called uvdeskadmin with a new password
CREATE USER 'uvdeskadmin'@'localhost' IDENTIFIED BY 'new_password_here';
Next, grant the user full access to the uvdeskadmin database.
GRANT ALL ON uvdesk.* TO 'uvdeskadmin'@'localhost' WITH GRANT OPTION;
Finally, save your changes and exit.
FLUSH PRIVILEGES;
EXIT;
Now that the MariaDB server is installed and a database created go and install UVdesk.
Install PHP and Related Modules
To install PHP and the required modules for UVdesk on Ubuntu, add the third-party repository by running sudo apt-get install software-properties-common and sudo add-apt-repository ppa:ondrej/php. UVdesk relies on PHP to execute its core application code.
Run the commands below to add the below third party repository to upgrade to PHP 7.4
sudo apt-get install software-properties-common
sudo add-apt-repository ppa:ondrej/php
Then update and upgrade to PHP 7.4
sudo apt update
Next, run the commands below to install PHP 7.2 and related modules.
sudo apt install php7.4 libapache2-mod-php7.4 php7.4-common php7.4-gmp php7.4-curl php7.4-intl php7.4-mbstring php7.4-xmlrpc php7.4-mysql php7.4-gd php7.4-xml php7.4-imap php7.4-mailparse php7.4-cli php7.4-zip
After installing PHP 7.4, run the commands below to open the PHP default config file for Apache2.
sudo nano /etc/php/7.4/apache2/php.ini
Then, save the changes on the following lines below in the file. The value below is an ideal setting to apply in your environment.
file_uploads = On
allow_url_fopen = On
short_open_tag = On
memory_limit = 256M
upload_max_filesize = 100M
max_execution_time = 360
max_input_vars = 1500
date.timezone = America/Chicago
After making the change above, please save the file and close it.
Next, enable Apache modules for FastCGI support, then restart the Apache service.
sudo systemctl restart apache2.service
To test PHP 7.4 settings with Apache2, create a phpinfo.php file in the Apache2 root directory by running the commands below
sudo nano /var/www/html/phpinfo.php
Then, type the content below and save the file.
<?php phpinfo( ); ?>
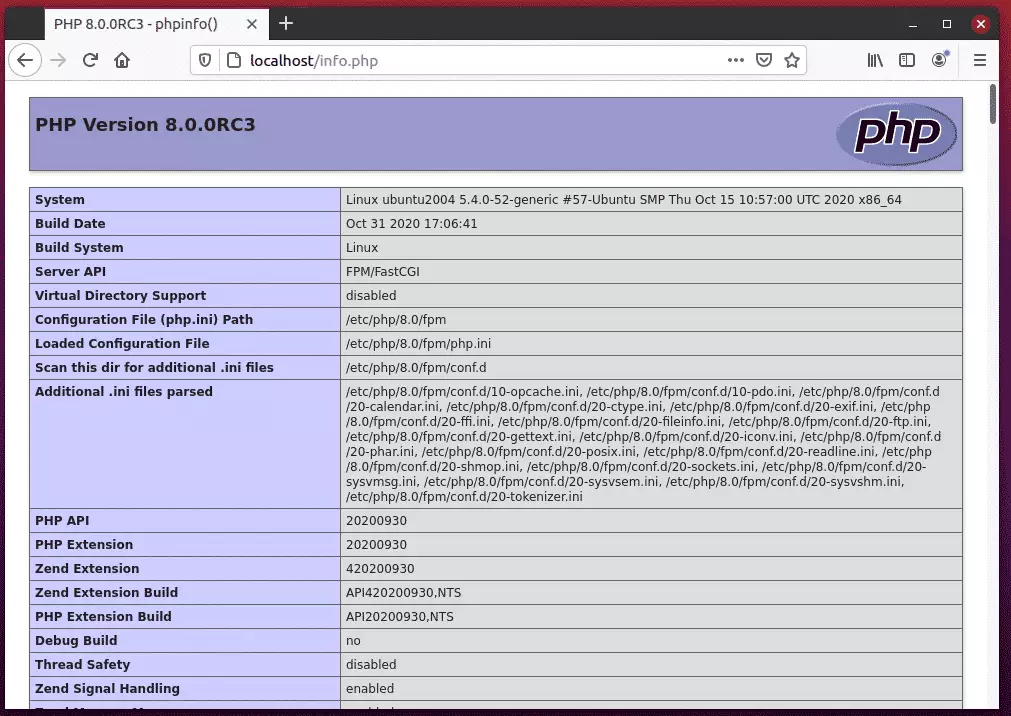
Save the file. Then browse to your server hostname followed by /phpinfo.php
http://localhost/phpinfo.php
You should see the PHP default test page.
Install UVdesk
To install UVdesk on your server, first download Curl and Git with sudo apt install curl git, and then install Composer to manage project dependencies. Composer downloads and sets up all the underlying code required to run the helpdesk platform.
sudo apt install curl git
curl -sS https://getcomposer.org/installer | sudo php -- --install-dir=/usr/local/bin --filename=composer
After installing curl and Composer above, please change it to the Apache2 root directory and download UVdesk packages from GitHub.
sudo mkdir /var/www/uvdesk
sudo chown $USER:$USER /var/www/uvdesk
cd /var/www/uvdesk
composer clear-cache
composer create-project uvdesk/community-skeleton helpdesk-project
After running the commands above, you should see a success message similar to the one below:
To start things off, here are a few commands to help you setup:

  * Configuring your project:

    php bin/console uvdesk:configure-helpdesk

  * Run your project through a local php web server:

    php bin/console server:run

Made with 💖  by the UVDesk Team. Happy helping :)
Then, run the commands below to set the correct permissions for UVdesk to function.
sudo chown -R www-data:www-data /var/www/uvdesk/
sudo chmod -R 755 /var/www/uvdesk/
Configure Apache
To configure Apache for your UVdesk site, create a new virtual host file by running sudo nano /etc/apache2/sites-available/uvdesk.conf in your terminal. This file tells the web server where to find your site files and how to process incoming requests.
sudo nano /etc/apache2/sites-available/uvdesk.conf
Then copy and paste the content below into the file and save it. Replace the highlighted line with your domain name and directory root location.
<VirtualHost *:80>
ServerAdmin admin@example.com
DocumentRoot /var/www/uvdesk/helpdesk-project/public
ServerName example.com
ServerAlias www.example.com
<Directory /var/www/uvdesk/helpdesk-project/public/>
Options +FollowSymlinks
AllowOverride All
Require all granted
</Directory ErrorLog ${APACHE_LOG_DIR}/error.log
CustomLog ${APACHE_LOG_DIR}/access.log combined
</VirtualHost>
Save the file and exit.
Enable the UVdesk
To make your UVdesk site live, run sudo a2ensite uvdesk.conf, enable URL rewriting with sudo a2enmod rewrite, and restart the server using sudo systemctl restart apache2.service. These commands activate your new configuration and apply the changes.
sudo a2ensite uvdesk.conf
sudo a2enmod rewrite
sudo systemctl restart apache2.service
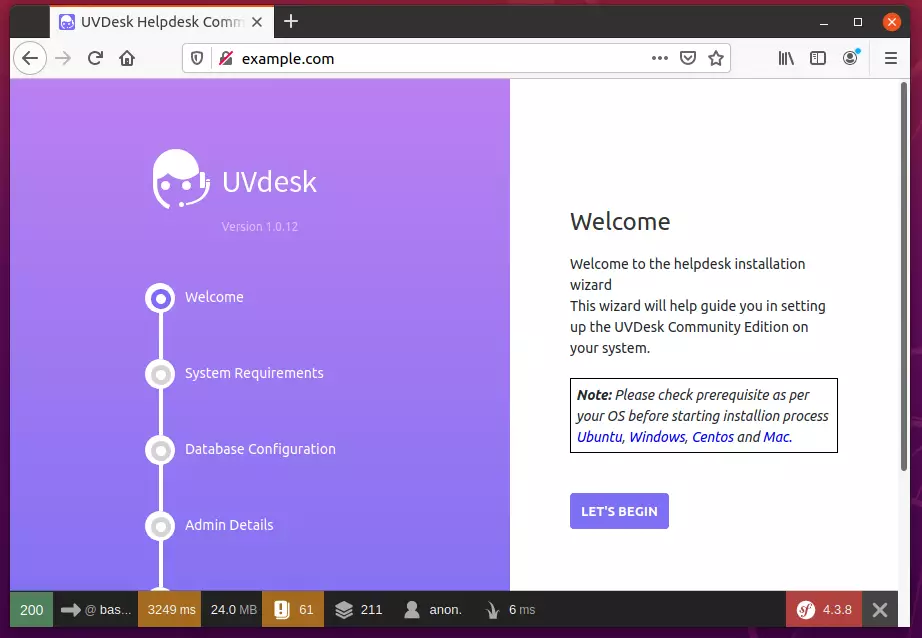
Then open your browser and browse to the server domain name. You should see the complete UVdesk setup wizard. Please follow the wizard carefully.
http://example.com/.
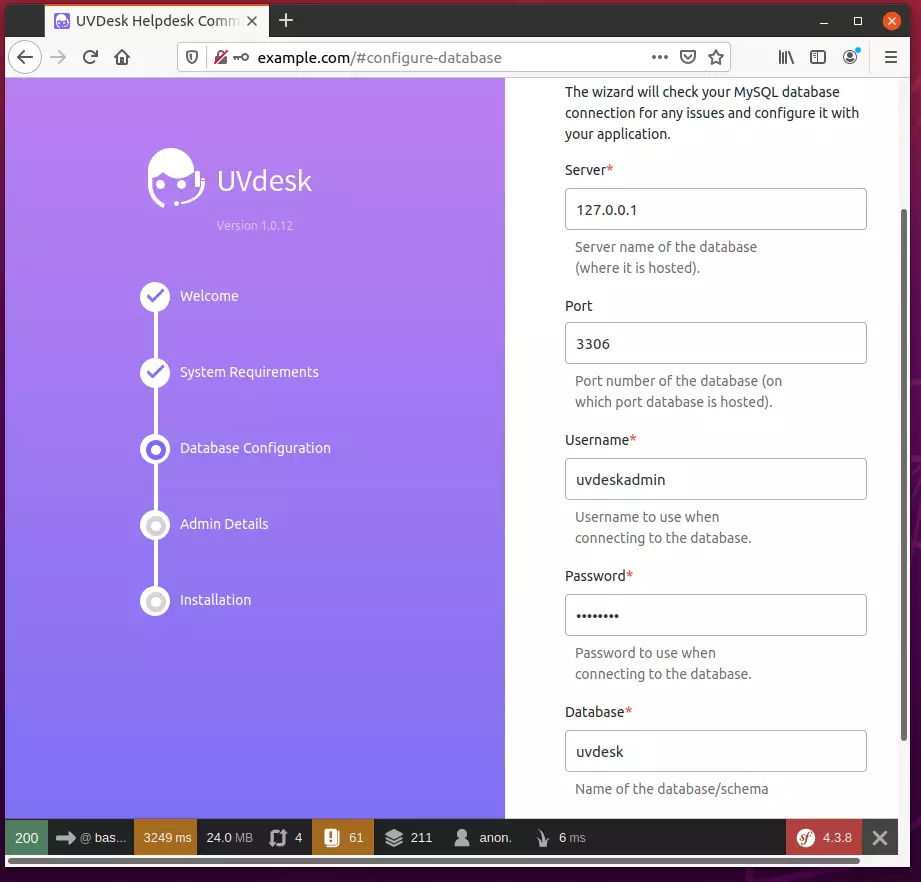
The wizard will check your MySQL database connection for any issues and configure it with your application.
Type in the database and user you created above and continue.
The wizard will create a default super admin account that can be used to access your application's backend.
Create a UVdesk super admin account.
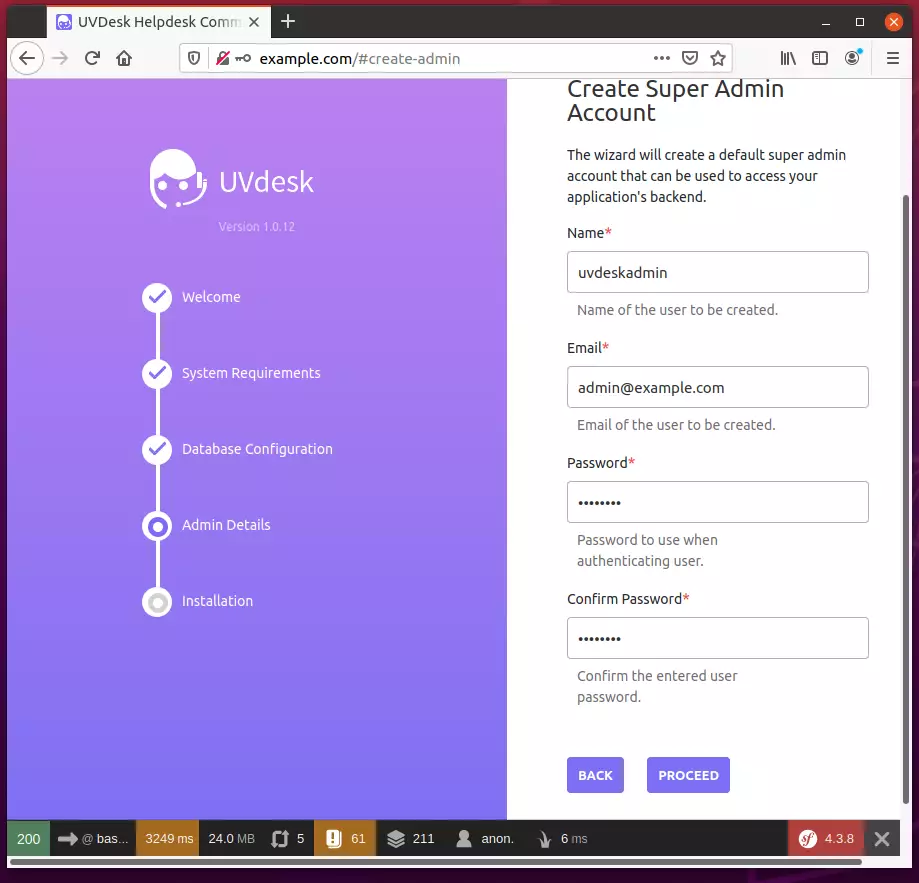
Proceed with the wizard until you've successfully installed the platform. Then, done, start using it.
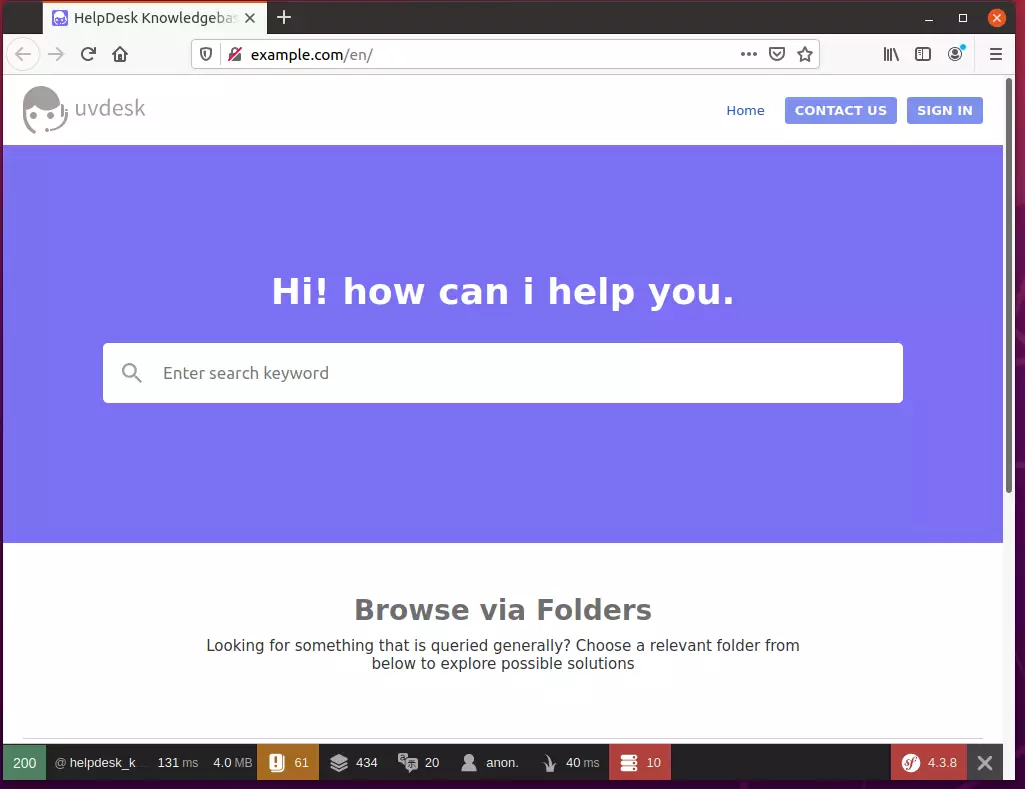
That's it!
Conclusion:
This post showed you how to install UVdesk on Ubuntu 20.04 | 18.04. If you find any error above, please use the form below to report.
Was this guide helpful?

About the Author
Richard
Tech Writer, IT Professional
Richard, a writer for Geek Rewind, is a tech enthusiast who loves breaking down complex IT topics into simple, easy-to-understand ideas. With years of hands-on experience in system administration and enterprise IT operations, he’s developed a knack for offering practical tips and solutions. Richard aims to make technology more accessible and actionable. He's deeply committed to the Geek Rewind community, always ready to answer questions and engage in discussions.




Thank you very much for this wonderful resource. It helped me greatly.
This is WAY BETTER than what UVDesk offered. Thank you!
Hi, it’s possible to install uvdesk with symfony 4.4?
Very Helpful installation process. Any change to have a “Getting Started or an Intro on how to setup uvdek”?
Well there’s a problem I ran
composer create-project uvdesk/community-skeleton helpdesk-project
and saw the following error
– Configuring uvdesk/support-center-bundle
Executing script cache:clear [KO]
[KO]
Script cache:clear returned with error code 1
!! Could not open input file: ./bin/console
!!
Script @auto-scripts was called via post-update-cmd
administrator@ubuntu-uvdesk:/var/www/uvdesk$
I am also running in to this issue. Tried a full fresh install of Ubuntu 20.04.4 Server Edition and went straight into the guide. No good on two separate VM’s. Something is broken and needs to be amended to get this working again, I still haven’t figured out what that is and I’ve been looking for a while.
How can i create account for agent with password