How to Install Gogs on Ubuntu 24.04

Gogs on Ubuntu 24.04 is a lightweight self-hosted Git service that lets you store and manage software projects on a local server. This open-source code hosting platform gives you full control over your repositories without relying on outside cloud services.
Ubuntu 24.04 LTS runs Gogs smoothly on minimal system hardware while needing only a few terminal commands to set up your personal development hub.
Install Git and create a Git user, then install MariaDB and create a Gogs database. Download and extract the Gogs binary, set ownership, and copy the systemd service file. Finally, reload systemd and start the Gogs service.
Set up Ubuntu
Preparing Ubuntu to install Gogs Ubuntu 24.04 requires installing Git and setting up a dedicated user account. Run sudo apt update && sudo apt install git to get your system ready, then create a separate user so Gogs runs securely away from your main files.
Run this command to install Git:
sudo apt update
sudo apt install git
sudo adduser --system --group --disabled-password --shell /bin/bash --home /home/git --gecos 'Git Version Control' git
If the command above ran successfully, you should see a similar output.
info: Selecting GID from range 100 to 999 ...
info: Adding system user `git' (UID 122) ...
info: Adding new group `git' (GID 124) ...
info: Adding new user `git' (UID 122) with group `git' ...
info: Creating home directory `/home/git' ...
Install MariaDB
To store your repositories and user accounts when you install Gogs Ubuntu 24.04, you need a database server. Run sudo apt install mariadb-server to set up MariaDB, and then create a blank database specifically for Gogs to use.
Run the command below to install MariaDB.
sudo apt install mariadb-server
After installing MariaDB, create an empty database for Gogs.
Run the command below to access the MariaDB database server.
sudo mariadb
SET GLOBAL innodb_file_per_table = ON;
Next, create a Gogs database named gogsdb
CREATE DATABASE gogsdb;
Then, create a database user named gogsuser with a new password.
CREATE USER 'gogsuser'@'localhost' IDENTIFIED BY 'Type_new_password_here';
After that, run the command below to grant the user complete access to the database.
GRANT ALL ON gogsdb.* TO 'gogsuser'@'localhost' WITH GRANT OPTION;
Next, run the commands below to update the database character set.
ALTER DATABASE gogsdb CHARACTER SET = utf8mb4 COLLATE utf8mb4_unicode_ci;
Finally, save your modifications and exit.
FLUSH PRIVILEGES;
EXIT;
Download and install Gogs
Downloading the application files is the next step when you install Gogs Ubuntu 24.04 on your server. Move to the temporary folder by typing cd /tmp and use the wget tool to grab the latest release package directly from GitHub.
To download the latest files, use the link below.
https://github.com/gogs/gogs/releases
Run the commands below to download the Gogs file. Replace the version number with the latest.
cd /tmp
wget https://github.com/gogs/gogs/releases/download/v0.13.2/gogs_0.13.2_linux_amd64.tar.gz
Then extract the downloaded file into the Git user's home directory (the one created earlier) using the commands below:
sudo tar xvf gogs_0.13.2_linux_amd64.tar.gz
 -C /home/git
After that, give the Git user ownership of the Gogs folder.
sudo chown -R git: /home/git/gogs
Next, create Gogs service scripts by moving them from the user directory to the system directory.
sudo cp /home/git/gogs/scripts/systemd/gogs.service /etc/systemd/system/
Once complete, reload systemd and start the Gogs services.
sudo systemctl daemon-reload
sudo systemctl enable gogs
sudo systemctl start gogs
To check Gogs’ status, run the commands below:
sudo systemctl status gogs
You should see a similar message below:
gogs.service - Gogs
     Loaded: loaded (/etc/systemd/system/gogs.service; enabled; preset: enabled)
     Active: active (running) since Wed 2025-03-19 10:33:58 CDT; 6s ago
   Main PID: 4839 (gogs)
      Tasks: 6 (limit: 4551)
     Memory: 34.2M (peak: 34.5M)
        CPU: 109ms
     CGroup: /system.slice/gogs.service
             └─4839 /home/git/gogs/gogs web
Gogs should be installed and ready for configuration.
Open your browser and navigate to the server hostname or IP address followed by port 3000.
http://localhost:3000/install
You should see Gogs' initial web setup portal.
On the page, select the database type, enter the database name, and provide the user account and password.
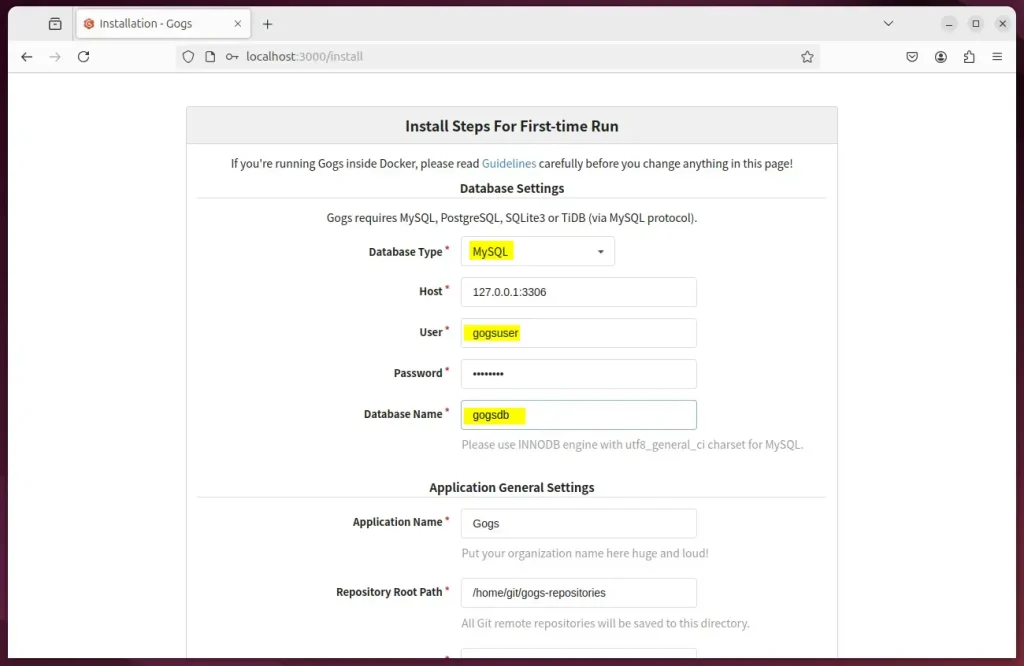
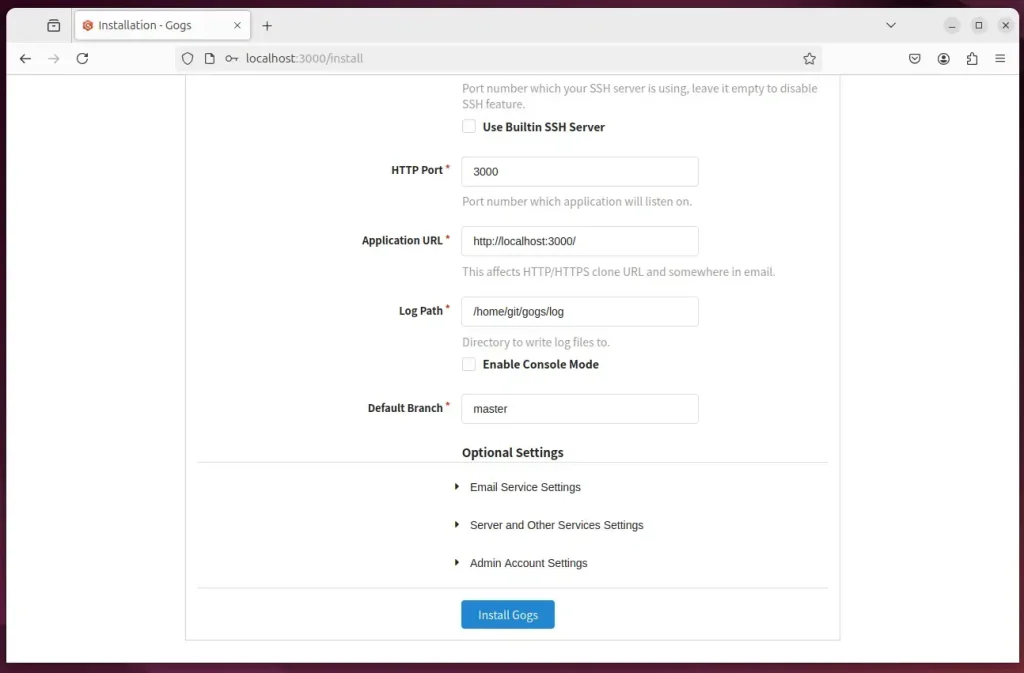
Then, expand the admin account settings and create an admin account. Click 'Install Gogs.'
Gogs should now be ready to use. Log in.
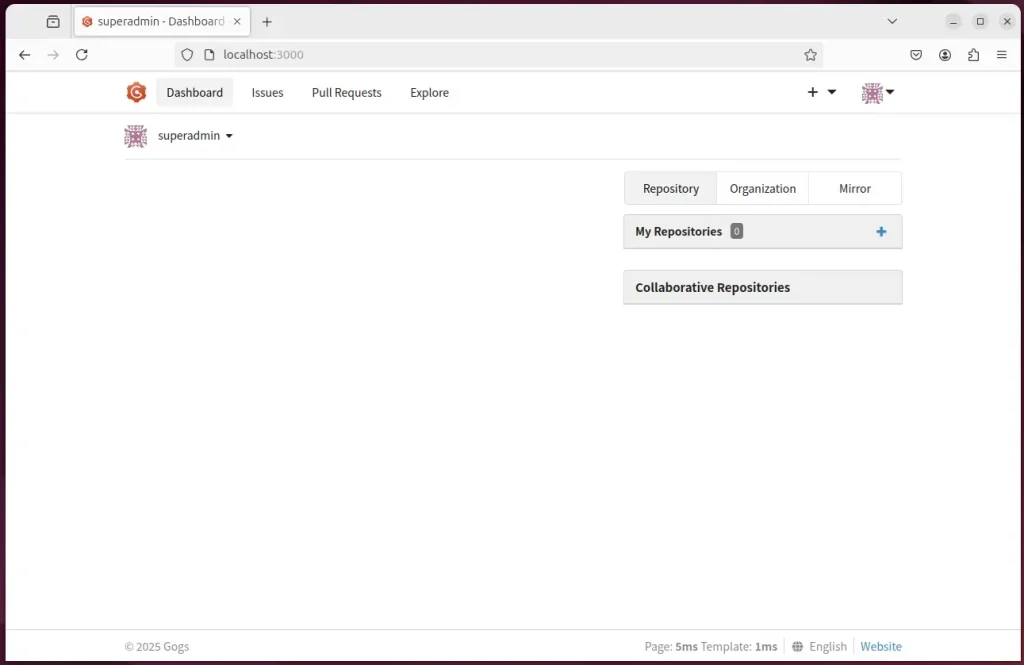
That completes the process!
Conclusion:
Gogs provides a powerful self-hosted Git service to simplify repository management. You can successfully install and configure Gogs on your Ubuntu 24.04 machine by following the steps in this article. Remember that Gogs excels at managing repositories and that the installation process on Ubuntu 24.04 has been detailed.
- Gogs provides a user-friendly interface for managing Git repositories.
- Installation involves setting up Git, MariaDB, and the Gogs application itself.
- Ensure database setup includes creating a dedicated user and granting proper access rights.
- Access the Gogs installation portal through your web browser to complete the configuration.
- Regularly check the service status to ensure everything is running smoothly.
Gogs is now ready for you to use, enhancing your development workflow efficiently!
Was this guide helpful?
100% of readers found this helpful (1 votes)

About the Author
Richard
Tech Writer, IT Professional
Richard, a writer for Geek Rewind, is a tech enthusiast who loves breaking down complex IT topics into simple, easy-to-understand ideas. With years of hands-on experience in system administration and enterprise IT operations, he’s developed a knack for offering practical tips and solutions. Richard aims to make technology more accessible and actionable. He's deeply committed to the Geek Rewind community, always ready to answer questions and engage in discussions.



No comments yet — be the first to share your thoughts!