Install OpenVAS on Ubuntu 24.04: Complete Guide
Install OpenVAS on Ubuntu 24.04 to set up a free, powerful tool that finds security weaknesses in your computer systems.
OpenVAS, which stands for Open Vulnerability Assessment System, actively checks your network and apps for security holes. It helps you find these problems before hackers do.
This guide shows you exactly how to install OpenVAS on the latest Ubuntu 24.04 LTS, so you have a reliable way to check your security.
OpenVAS can scan your systems with or without login details. This gives you a thorough security check without breaking the bank.
After setting it up, you can easily manage all your security scans through its simple web interface.
Update your system with `sudo apt update && sudo apt dist-upgrade`. Add the OpenVAS PPA using `sudo add-apt-repository ppa:mrazavi/openvas`, then install OpenVAS 9 with `sudo apt install openvas9`. Finally, sync feeds and restart services.
Update Ubuntu
sudo apt update
sudo apt dist-upgrade
After updating Ubuntu, continue installing OpenVAS below.
Install and Configure OpenVAS
You can install OpenVAS on Ubuntu 24.04 by adding a special software source, also known as a PPA. This guide shows you how to add the correct repository to your system so you can easily install OpenVAS and start scanning for security issues.
To add its repository, run the commands below:
sudo apt-get install software-properties-common
sudo add-apt-repository ppa:mrazavi/openvas
When you add the PPA above, it should display installation help as shown below:
*** Openvas 9 ***
A set of packages for openvas 9 is included in this PPA. If you prefer to install them,
 you just have to install "openvas9" package (instead of "openvas" for the old version).
Then, update scripts/data with the following commands:

sudo apt install sqlite3
sudo greenbone-nvt-sync
sudo greenbone-scapdata-sync
sudo greenbone-certdata-sync

sudo service openvas-scanner restart
sudo service openvas-manager restart
sudo openvasmd --migrate #only required when upgrading from an older version
sudo openvasmd --rebuild --progress

Please note that the default port number of the web interface for the new packages
are changed to 4000. So, to access the web interface for version 9,
go to https://localhost:4000. Use "admin" as username and password.
You can change the web interface port number by modifying /etc/default/openvas-gsa.
Then, restart its service by issuing "sudo service openvas-gsa restart".

To enable pdf reports:
sudo apt install texlive-latex-extra --no-install-recommends
sudo apt install texlive-fonts-recommended --no-install-recommends

To install openvas-nasl utility:
sudo apt install libopenvas9-dev
Use the help message above to complete the setup.
After adding the repository, update Ubuntu archives and install OpenVAS with the following command:
sudo apt-get update
sudo apt-get install openvas9
┌─────────────────────────┤ Configuring openvas9-scanner ├────|
│
│ Openvas scanner require redis database to store data.
It will connect to the database with a unix socket at /var/run/redis/redis.sock.│                                                                                                                                          │
│ If you agree, the installation process will enable redis unix socket at this address automatically,|
 by updateing /etc/redis/redis.conf.  │                                                                                                                                         │
│ Otherwise, you have to manually update your /etc/redis/redis.conf.|
│
│ Do you want to enable redis unix socket in /etc/redis/redis.conf? |

           <Yes>                      <No>
Click on the Yes button to finish the installation.
To adhere to the help message above, install these packages below:
The SQLite 3 database package stores the Common Vulnerabilities and Exposures (CVE) data and some other packages for the PDF report to work.
sudo apt install sqlite3
sudo apt install texlive-latex-extra --no-install-recommends
sudo apt install texlive-fonts-recommended
sudo apt install libopenvas9-dev
After installing the packages above, run the commands below to download the Network Vulnerability Tests from OpenVAS Feed and sync security content automation protocol data and cert vulnerability data using the commands below:
sudo greenbone-nvt-sync
sudo greenbone-scapdata-sync
sudo greenbone-certdata-sync
After that, restart the OpenVAS scanner, OpenVAS GSA, and OpenVAS Manager with the following command:
sudo service openvas-scanner restart
sudo service openvas-manager restart
sudo service openvas-gsa restart
To validate if the OpenVAS service is running, run the commands below:
sudo service openvas-scanner status
It should display a similar message as shown below:
openvas-scanner.service - LSB: remote network security auditor - scanner
   Loaded: loaded (/etc/init.d/openvas-scanner; generated)
   Active: active (running) since Tue 2020-03-10 10:19:30 CDT; 19s ago
     Docs: man:systemd-sysv-generator(8)
  Process: 23051 ExecStop=/etc/init.d/openvas-scanner stop (code=exited, status=0/SUCCESS)
  Process: 23059 ExecStart=/etc/init.d/openvas-scanner start (code=exited, status=0/SUCCESS)
    Tasks: 1 (limit: 4666)
   CGroup: /system.slice/openvas-scanner.service
           └─23066 openvassd: Waiting for incoming connections

Mar 10 10:19:30 ubuntu1804 systemd[1]: Stopped LSB: remote network security auditor - scanner.
Mar 10 10:19:30 ubuntu1804 systemd[1]: Starting LSB: remote network security auditor - scanner.
Mar 10 10:19:30 ubuntu1804 systemd[1]: Started LSB: remote network security auditor - scanner.
Finally, rebuild the OpenVAS database so the manager can access the NVT data downloaded previously.
sudo openvasmd --rebuild --progress
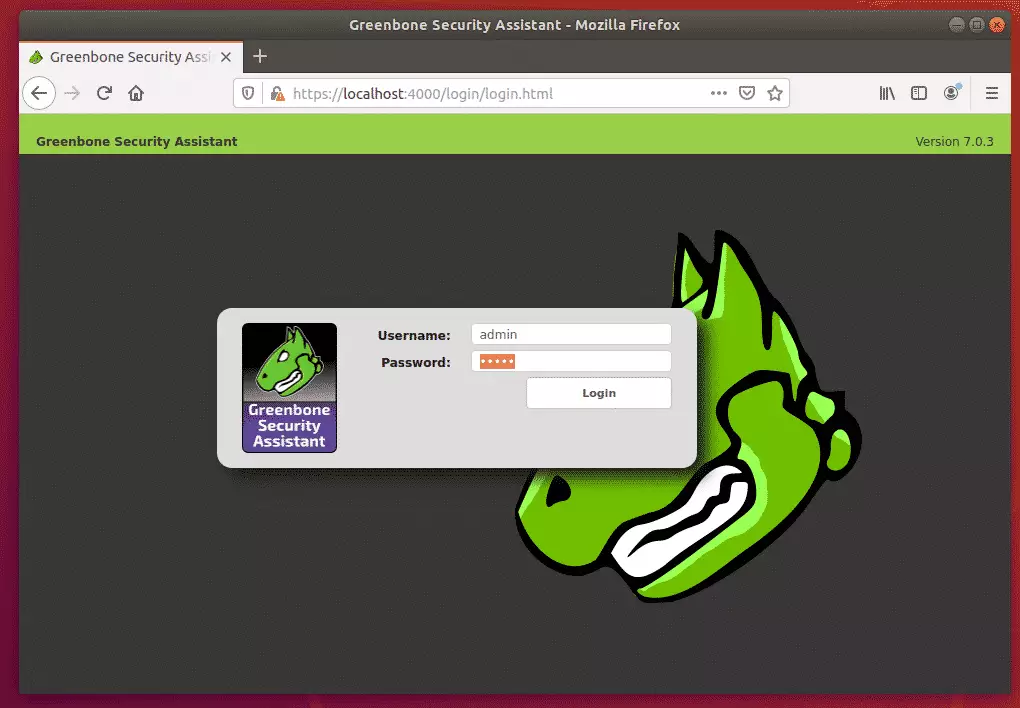
Finally, open your web browser and browse to the server hostname or IP address followed by port 4000
https://localhost:4000
That will open the OpenVAS portal. Login with the default username and password:
Username: admin
Password admin
To change the admin password, use the commands below:
sudo openvasmd --user=admin --new-password=admin@321That should do it!
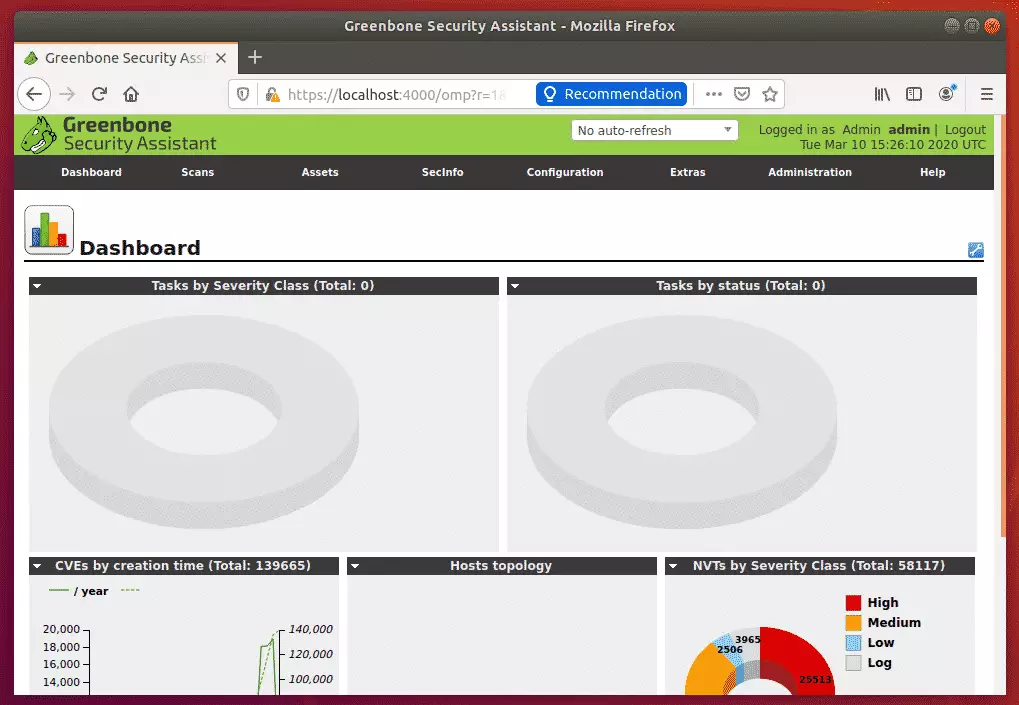
Log on to the portal and begin setting up your environment.
Conclusion:
This post showed you how to install and configure OpenVAS on Ubuntu 18.04 | 16.04. If you find any error, please report it in the comment form below.
Thanks,
Was this guide helpful?

About the Author
Richard
Tech Writer, IT Professional
Richard, a writer for Geek Rewind, is a tech enthusiast who loves breaking down complex IT topics into simple, easy-to-understand ideas. With years of hands-on experience in system administration and enterprise IT operations, he’s developed a knack for offering practical tips and solutions. Richard aims to make technology more accessible and actionable. He's deeply committed to the Geek Rewind community, always ready to answer questions and engage in discussions.


Hello, my issue was with the sudo service openvas-scanner status command. Once I run the command, the second output line, where it reads Loaded, mine reads: “Loaded: loaded (/etc/init.d/openvas-scanner; bad; vendor preset: enabled). This causes the whole thing not to work.
thanks a lot
i can’t connect when i access my external ip address… i install in GCP . please help me
This wont install OpenVAS 9 it will install 7.0.3
I get
openvas-gsa: unrecognized service
the other two services are installed and run but this service does not exist. Which of course is the web service to access the tool.