Installing Nessus on Ubuntu: A Complete Guide
This article explains how to install and use the Nessus vulnerability scanner on Ubuntu Linux.
Why: Nessus helps you find security gaps in your computer network. It uses a database of known threats to scan your systems for weaknesses.
What happens when done: You will have a professional-grade security scanner running on your machine, ready to identify risks so you can fix them.
Nessus is proprietary, closed-source software created by Tenable. However, they offer a free version called Nessus Essentials for personal use and learning.
More information on Nessus can be found on their official website.
How to install Nessus on Ubuntu Linux
Installing the official DEB package is the best way to get Nessus running on Ubuntu.
Download and install the Nessus DEB package
Tenable provides the latest packages for Ubuntu on their website. Please visit the official official website to get the most recent version. Look for the file named Nessus-latest-ubuntu_amd64.deb or the current LTS-compatible package for your system.
Once you have the file, run this command in your terminal to install it:
sudo dpkg -i Nessus-latest-ubuntu_amd64.deb
After installation, start the service and make sure it runs automatically when you turn on your computer:
sudo systemctl start nessusd
sudo systemctl enable nessusd
You can check if it is running correctly with this command:
sudo systemctl status nessusd
Setup Ubuntu Firewall
If you use a firewall, you must allow traffic on the port Nessus uses. Run these commands to allow access:
sudo ufw allow “OpenSSH”
sudo ufw allow 8834/tcp
Access the Nessus web portal
Nessus runs in your web browser. Open your browser and type the following address:
https://localhost:8834
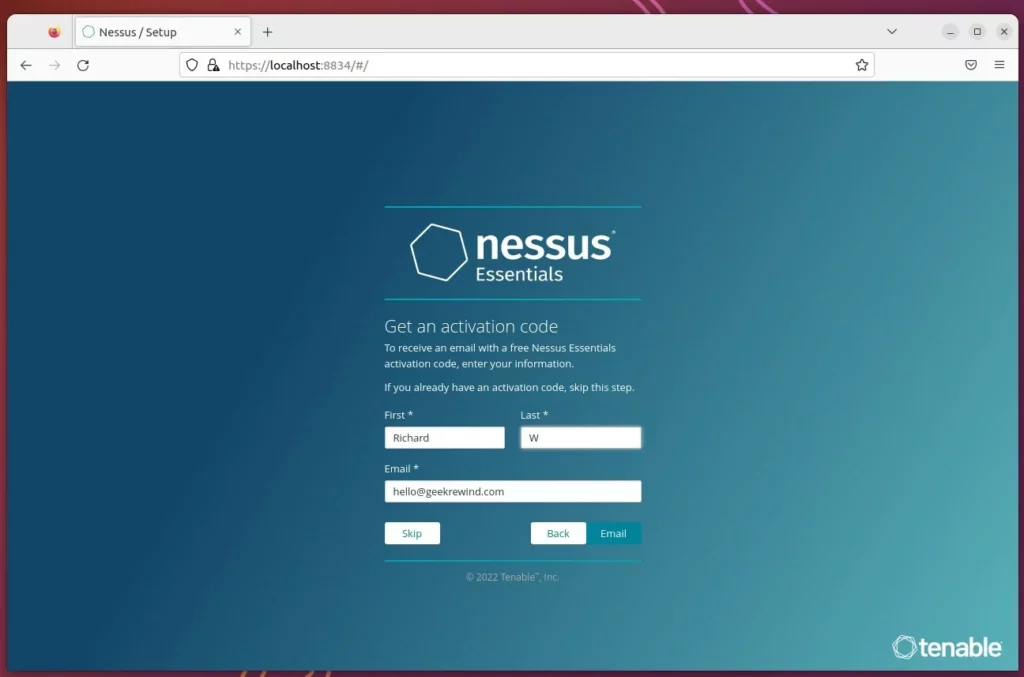
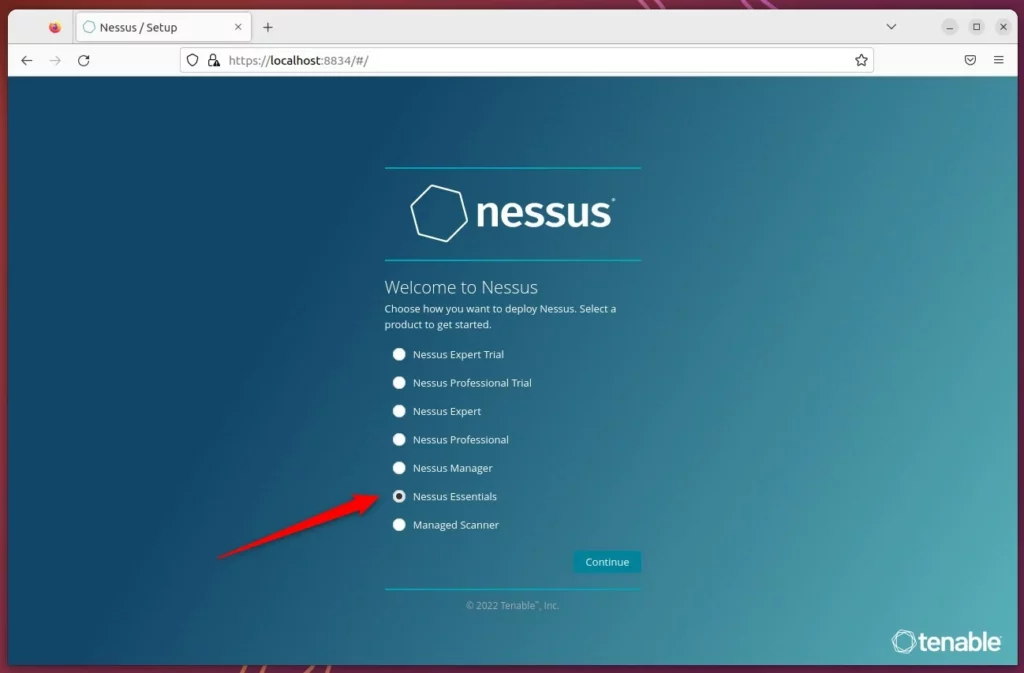
To use the software, you must register for a Tenable Community account. Follow the prompts on the screen to sign up or log in. You will need to generate an activation code through your Tenable account profile to finish the setup.
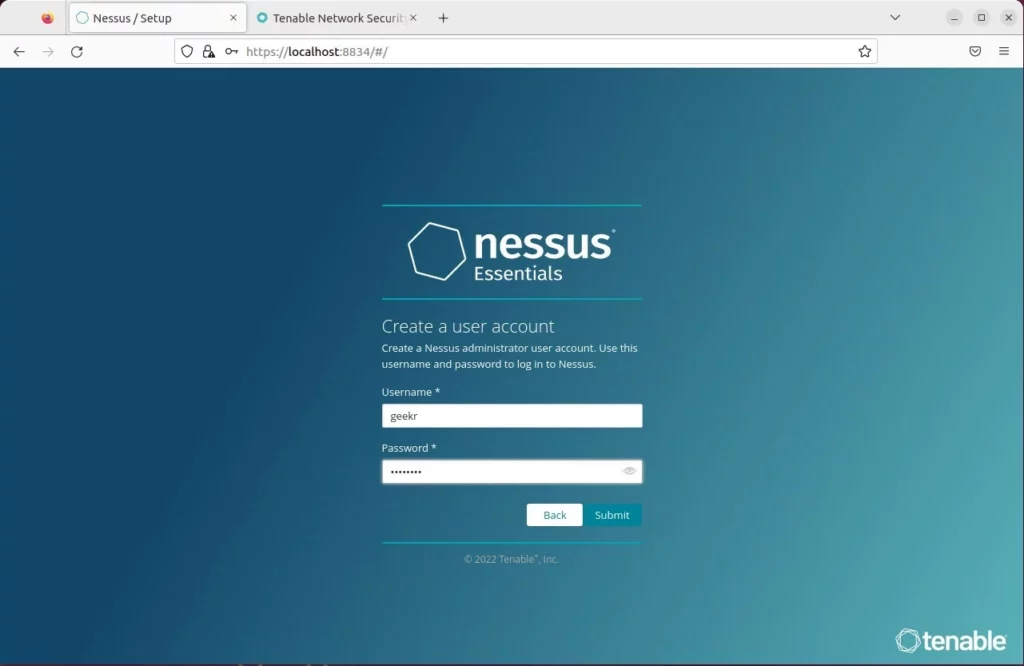
Once you enter your activation code, create your administrator username and password. Nessus will then download the necessary plugins to begin scanning.

Configure Nessus nessuscli
You can manage Nessus using the command line. To make this easier, add the Nessus folders to your system path.
Run this command to update your configuration file:
echo ‘export PATH=$PATH:/opt/nessus/bin:/opt/nessus/sbin’ >> ~/.bashrc
Now, apply the changes:
source ~/.bashrc
You can now test it by typing:
nessuscli help
Read the Get Started with Nessus for more help on running your first scan.
Conclusion
You now have Nessus installed and configured. You can use the web portal to scan your devices for vulnerabilities and keep your network secure.
[1] [2908]
Was this guide helpful?


Leave a Reply