How to Install Firefly III on Ubuntu Linux


Firefly III is a free personal finance manager that tracks your income, bills, and budgets on your own private server instead of a cloud service. Running this tool gives you complete control over your financial data on Ubuntu Linux without monthly subscription fees.
This setup works best on Ubuntu version 22.04 or 24.04 using the Nginx web server to handle incoming traffic.
Install Nginx, MariaDB, and PHP 7.4-FPM using apt commands. After installation, secure MariaDB with `mysql_secure_installation` and configure PHP settings in `php.ini`. You then create a database for Firefly III within MariaDB.
Install Nginx
To install Nginx on Ubuntu, open your terminal and run the standard package manager commands. Nginx is the web server that hosts your Firefly III application so you can reach it through a web browser.
To install Nginx HTTP on the Ubuntu server, run the commands below.
sudo apt update
sudo apt install nginx
After installing Nginx, the commands below can be used to stop, start, and enable the Nginx service to always start up with the server boots.
sudo systemctl stop nginx.service
sudo systemctl start nginx.service
sudo systemctl enable nginx.service
To determine if the Nginx HTTP server is installed, open your web browser and type in the server’s IP or hostname.
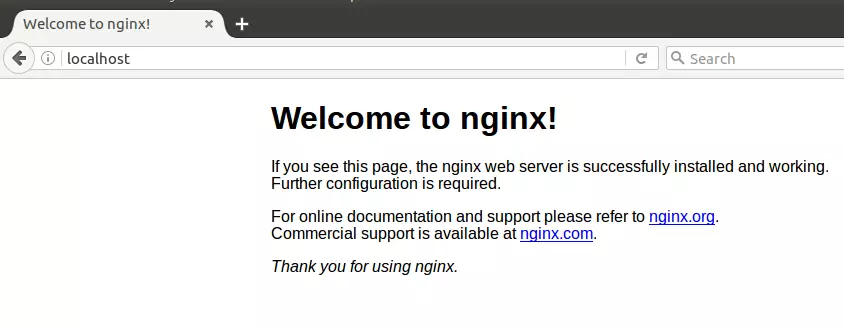
Nginx is installed and working when you see a page like the one below.
http://localhost
Install MariaDB
To install MariaDB on Ubuntu, open your terminal and run the server and client package installation commands. MariaDB acts as the database system that stores your Firefly III financial records.
To install MariaDB, run the commands below.
sudo apt install mariadb-server mariadb-client
After installing MariaDB, the commands below can stop, start, and enable the service to start when the server boots.
sudo systemctl stop mariadb.service
sudo systemctl start mariadb.service
sudo systemctl enable mariadb.service
sudo mysql_secure_installation
When prompted, answer the questions below by following the guide.
- Enter current password for root (enter for none): Just press the Enter
- Set root password? [Y/n]: Y
- New password: Enter password
- Re-enter new password: Repeat password
- Remove anonymous users? [Y/n]: Y
- Disallow root login remotely? [Y/n]: Y
- Remove test database and access to it? [Y/n]: Y
- Reload privilege tables now? [Y/n]: Y
Restart MariaDB server
To test if MariaDB is installed, type the commands below to log on to the MariaDB server.
sudo mysql -u root -p
Then, type the password you created above to sign on. If successful, you should see a MariaDB welcome message.
Install PHP 7.4-FPM
To install PHP 7.4-FPM on Ubuntu, add a third-party software repository to your system sources and run the package installation commands. Firefly III requires this specific PHP version and FPM module to run properly on your server.
Run the commands below to add the below third-party repository to upgrade to PHP 7.4-FPM.
sudo apt-get install software-properties-common
sudo add-apt-repository ppa:ondrej/php
Then, update to PHP 7.4-FPM.
sudo apt update
Next, run the commands below to install PHP 7.4-FPM and related modules.
sudo apt install php7.4-fpm php7.4-common php7.4-gmp php7.4-curl php7.4-ldap php7.4-intl php7.4-mbstring php7.4-xmlrpc php7.4-mysql php7.4-gd php7.4-bcmath php7.4-xml php7.4-cli php7.4-zip
After installing PHP 7.4, run the commands below to open Nginx's PHP default config file.
sudo nano /etc/php/7.4/fpm/php.ini
Then, save the changes on the following lines below in the file. The value below is an ideal setting to apply in your environment.
file_uploads = On
allow_url_fopen = On
short_open_tag = On
cgi.fix_pathinfo = 0
memory_limit = 256M
upload_max_filesize = 100M
max_execution_time = 360
max_input_vars = 1500
date.timezone = America/Chicago
After making the change above, please save the file and close it.
Create Firefly III Database
To create a Firefly III database, log in to the MariaDB command line interface using your root credentials and run the SQL command to create a new database. This gives Firefly III a dedicated space to keep your financial information organized.
Run the commands below to log on to MariaDB. When prompted for a password, type the root password you created above.
sudo mysql -u root -p
Then, create a database called firefly
CREATE DATABASE firefly;
Create a database user called fireflyuser with a new password
CREATE USER 'fireflyuser'@'localhost' IDENTIFIED BY 'new_password_here';
Then grant the user full access to the firefly database.
GRANT ALL ON firefly.* TO 'fireflyuser'@'localhost' WITH GRANT OPTION;
Finally, save your changes and exit.
FLUSH PRIVILEGES;
EXIT;
Download Firefly III Latest
To download the latest version of Firefly III, install Curl and Git on your Ubuntu server, then use Composer to fetch the application files from the official repository. This gets all the program files you need onto your machine.
sudo apt install curl git
curl -sS https://getcomposer.org/installer | sudo php -- --install-dir=/usr/local/bin --filename=composer
After installing curl and Composer above, change into the Nginx root directory and download Firefly III packages from Github.
cd /var/www/
sudo composer create-project grumpydictator/firefly-iii --no-dev --prefer-dist firefly-iii 5.2.8
After downloading, you should see a success message similar to the one below:
> @php artisan firefly:instructions install
+------------------------------------------------------------------------------+
|                                                                              |
| Thank you for installing Firefly III, v5.2.8!                                |
|                                                                              |
|                                                                              |
+------------------------------------------------------------------------------+
> @php artisan key:generate
Application key set successfully.
Next, edit the .env file created above and make the highlighted changes to suit your environment.
sudo nano /var/www/firefly-iii/.env
Make the highlighted changes.
Database credentials. Make sure the database exists. I recommend a dedicated user for Firefly III
 For other database types, please see the FAQ: https://docs.firefly-iii.org/support/faq
 If you use Docker or similar, you can set these variables from a file by appending them with _FILE
 Use "mysql" for MySQL and MariaDB. Use "sqlite" for SQLite.
 DB_CONNECTION=mysql
 DB_HOST=127.0.0.1
 DB_PORT=3306
 DB_DATABASE=firefly
 DB_USERNAME=fireflyuser
 DB_PASSWORD=type_password_here
Save the file and exit.
Next, return to the Firefly III root directory and update all packages and requirements.
cd /var/www/firefly-iii
sudo php artisan migrate:refresh --seed
sudo php artisan firefly-iii:upgrade-database
sudo php artisan passport:install
Since you just ran the web server as root, you should ensure the www-data user and group own any newly created files.
To do that, run the commands below:
sudo chown -R www-data:www-data /var/www/firefly-iii/
sudo chmod -R 755 /var/www/firefly-iii/
Configure Nginx
To configure Nginx for Firefly III, create a new server block settings file in your Nginx directory and add the required routing instructions. This tells the web server how to handle incoming traffic for your financial site.
sudo nano /etc/nginx/sites-available/firefly.conf
Then copy and paste the content below into the file and save it. Replace the highlighted line with your domain name and directory root location.
server {
    listen 80;
    listen [::]:80;

    server_name  example.com www.example.com;
    root   /var/www/firefly-iii/public;
    index  index.php;

    access_log /var/log/nginx/example.com.access.log;
    error_log /var/log/nginx/example.com.error.log;

    client_max_body_size 100M;

    autoindex off;

    location / {
    try_files $uri $uri/ /index.php$is_args$args;
      }

    location ~ .php$ {
         include snippets/fastcgi-php.conf;
         fastcgi_pass unix:/var/run/php/php7.4-fpm.sock;
         include fastcgi_params;
         fastcgi_intercept_errors on;
    }
}
Save the file and exit.
After configuring the VirtualHost above, please enable it by running the commands below.
sudo ln -s /etc/nginx/sites-available/firefly.conf /etc/nginx/sites-enabled/
sudo systemctl restart nginx.service
Then open your browser and browse to the server domain name or hostname. This is often localhost but can be a hostname or IP address.
Your server admin or hosting company will have this information available.
http://example.com/
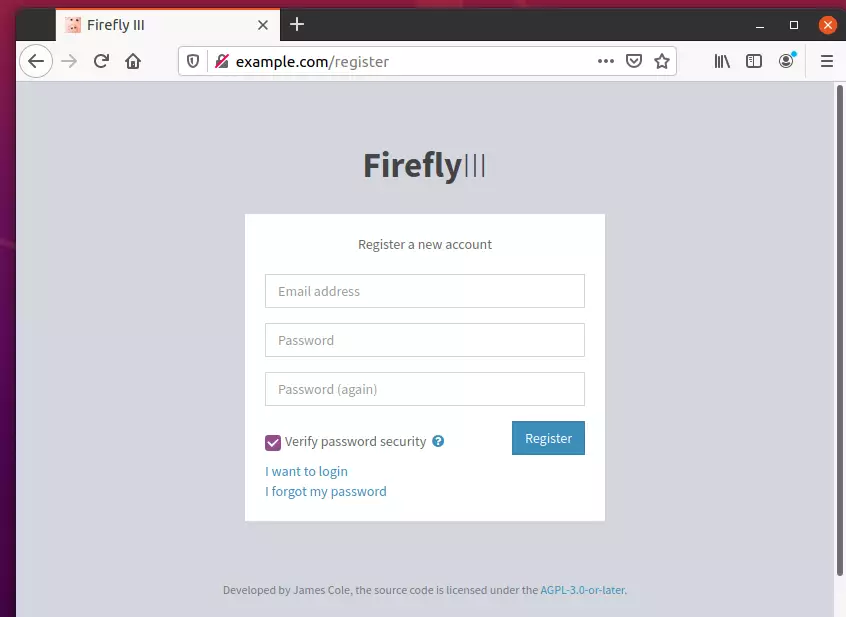
Create an admin account and register.
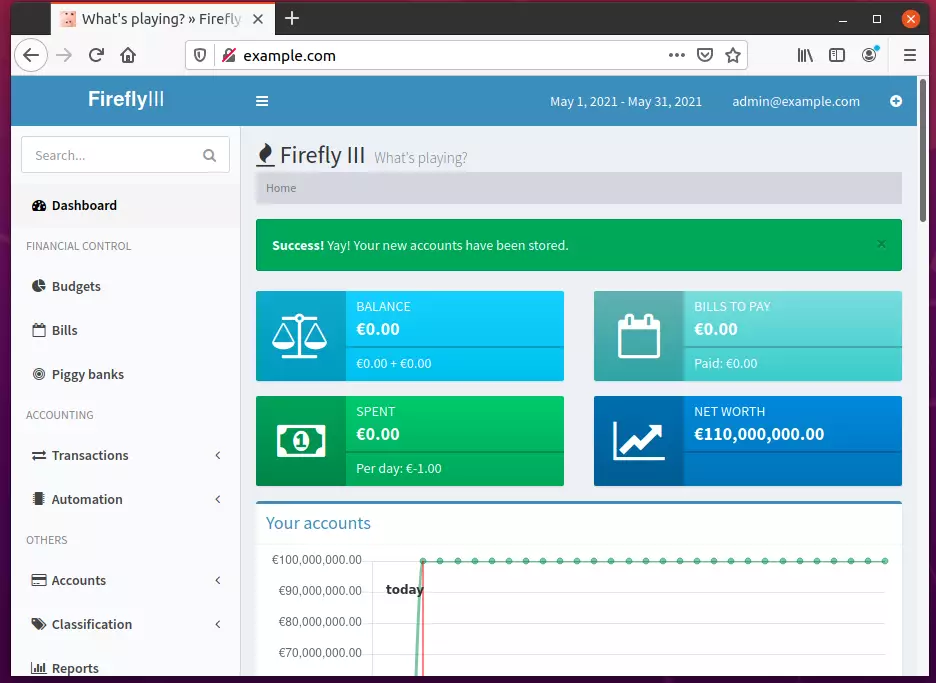
Log in and begin setting up your finances.
Conclusion:
This post showed you how to install Firefly III on Ubuntu. If you find any errors above, please leave a comment below.
Was this guide helpful?

About the Author
Richard
Tech Writer, IT Professional
Richard, a writer for Geek Rewind, is a tech enthusiast who loves breaking down complex IT topics into simple, easy-to-understand ideas. With years of hands-on experience in system administration and enterprise IT operations, he’s developed a knack for offering practical tips and solutions. Richard aims to make technology more accessible and actionable. He's deeply committed to the Geek Rewind community, always ready to answer questions and engage in discussions.




Can you do install firefly III csv importer tutorial ?
I followed the tutorial above. Very clear thanks. But I’m puzzled close to the end: “Then open your browser and browse to the server domain name or hostname. This is often localhost but can be a host name or IP address.”
In my case, if I type localhost in the adress bar of my browser, I get “Welcome to nginx! …” But I do not manage to access firefly-iii. What am I supposed to type? I tried many things, including: example.com, localhost/example.com, firefly-iii, localhost/firefly-iii, firefly-iii/public, localhost/firefly-iii/public. Any hint?
Thank you for this, works like a charm on Lubuntu. I decied not to install the https protocol though.
Faced a little trouble like the previous comment about the hostname. Just replace every example.com by localhost.
I got this:
Danger! This directory should not be open to the public!
/public/ should be the document root of your web server.
Leaving your web server configured like this is a huge security risk.
Please read more on the Github help pages.
After a few seconds it becomes 404