How to Restrict Access to Windows 11 Settings
Do you want to stop other people from changing important settings on your Windows 11 computer? This guide will show you easy ways to do that. You can block access to the Settings app and the old Control Panel.
Why would you want to do this? If you share your computer with others or want to keep it safe from accidental changes, restricting access is a smart idea.
Where Windows Stores Its Settings
Windows 11 has two main places where you can change how your computer works:
- Settings app – This is the new, easy-to-use panel for most settings.
- Control Panel – This is the older tool for advanced settings.
Method 1: Use Registry Editor to Block Settings and Control Panel
Warning: Be careful when using the Registry Editor. Changing the wrong thing can cause problems. It’s a good idea to back up your registry before you start.
What happens when you do this? This method blocks both the Settings app and Control Panel for your user account.
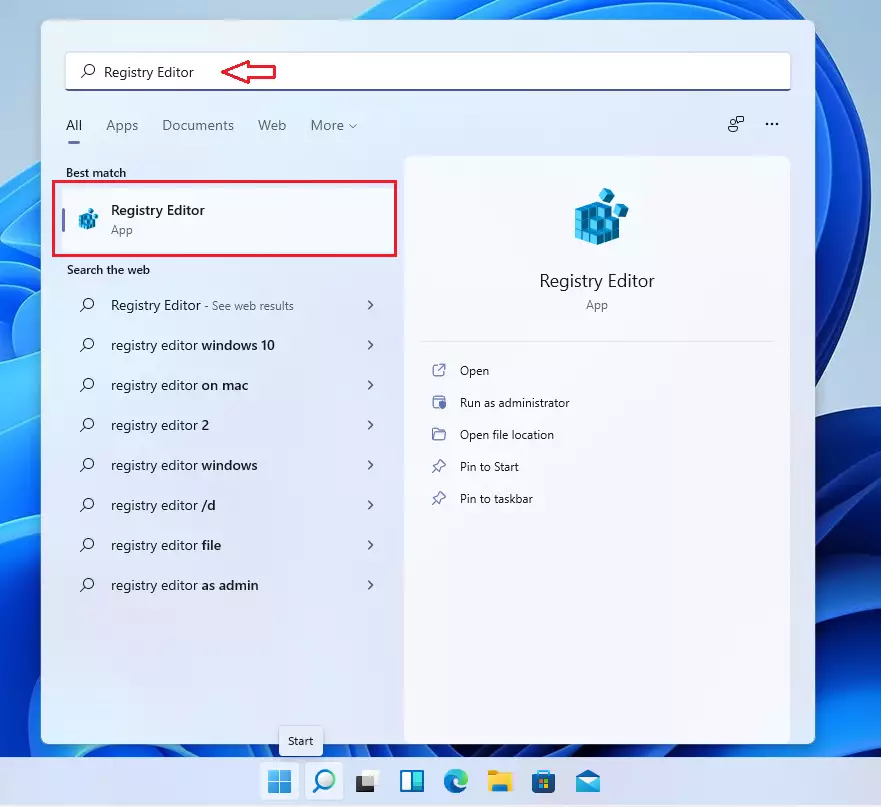
- Click the Start button and type
Registry Editor. - Click the Registry Editor app to open it.
- In Registry Editor, look at the top bar and copy-paste one of these paths, then press Enter:
HKEY_CURRENT_USER\Software\Microsoft\Windows\CurrentVersion\Policiesor
HKEY_LOCAL_MACHINE\SOFTWARE\Microsoft\Windows\CurrentVersion\Policies - In the left panel, right-click on Policies, choose New > Key, and name it
Explorer. - Right-click on the new Explorer key, choose New > DWORD (32-bit) Value.
- Name this new value
NoControlPanel. - Double-click
NoControlPanel, set the value data to1, and click OK. - Repeat the steps for both registry paths above to make sure it applies to all users. ⚠️ Admin privileges required
- Close Registry Editor and restart your computer.
Here’s what it looks like in Registry Editor:
Method 2: Use Group Policy Editor to Block Settings (For Windows 11 Pro or Enterprise)
If your version of Windows 11 includes the Group Policy Editor, you can use it to block access without editing the registry. This method is simpler than Method 1.
What happens when you do this? Users will not be able to open the Settings app or Control Panel.
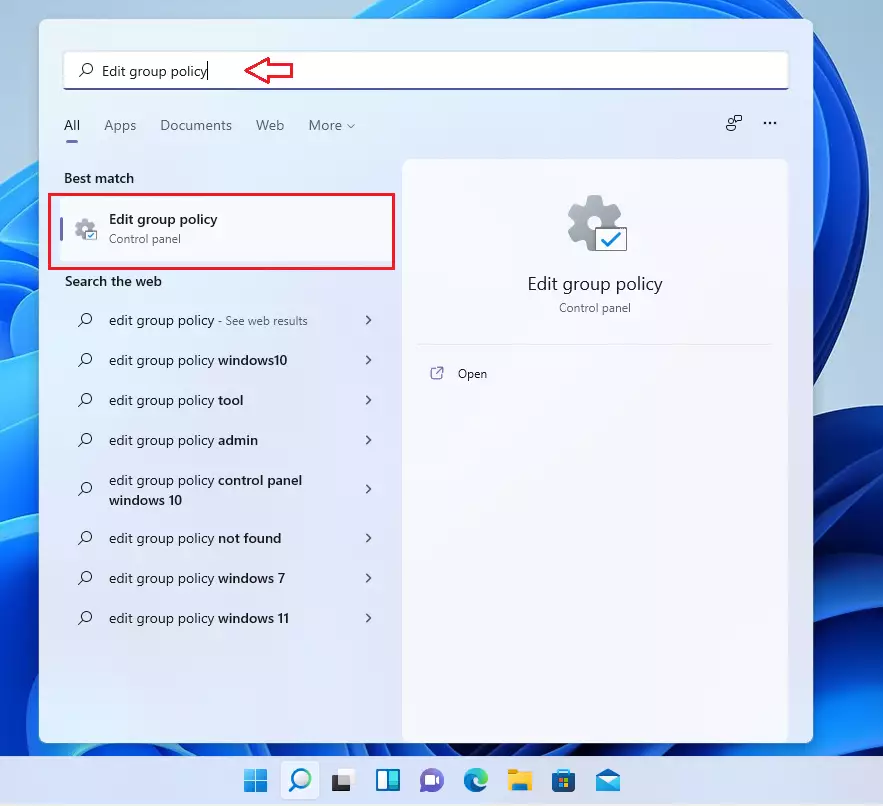
- Click Start, type
Edit group policy, and open the app. ⚠️ Admin privileges required - In the left menu, go to: User Configuration > Administrative Templates > Control Panel
- In the right pane, double-click Prohibit access to Control Panel and PC settings.
- Select Enabled, then click OK.
- Close the Group Policy Editor and restart your PC.
What Happens After You Complete These Steps?
Once you’ve done these steps, users will no longer be able to open the Settings app or Control Panel. If they try, they will see a message saying access is blocked.
Summary
- Restricting access helps protect your computer from unwanted changes.
- The Registry Editor method works on all editions of Windows 11 but is a bit technical.
- The Group Policy Editor is simpler but only available on Windows 11 Pro, Enterprise, or Education editions.
- Always be careful when changing system settings and back up important data.
- By following these simple steps, you can keep your Windows 11 PC safer and prevent accidental or unwanted changes to important settings.
Was this guide helpful?


Leave a Reply