This article explains how to change the time (clock) format in Windows 11.
By default, Windows displays its system time in a 12-hour clock format. However, some prefer to read their clock in a 24-hour military format instead of the standard 12-hour.
If you are one of these folks who like to have their system display military time format, the steps below will show you how to change that so you can enjoy reading clocks in Windows 11.
Whatever you change the time format, it will appear on the Taskbar in the bottom right corner. It may also appear in applications and documents you create unless you override the format in individual programs.
To change the date format in Windows 11, read the post below:
How to change the date format in Windows 11
Below is how to change the time format when using Windows 11.
How to switch to military time format in Windows 11
As mentioned above, Windows displays its system time in a 12-hour clock format. If you prefer to read your clock in a 24-hour military format instead of the standard 12-hour, use the steps below to change it.
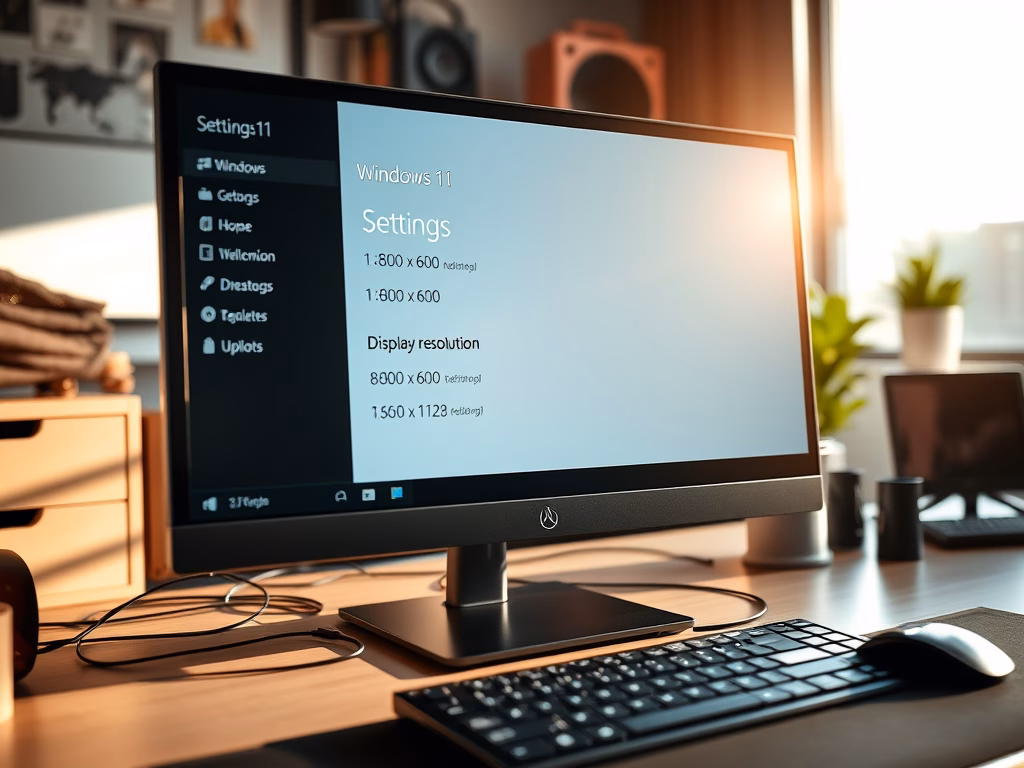
Windows 11 has a centralized location for the majority of its settings. From system configurations to creating new users and updating Windows, all can be done from the System Settings pane.
To get to System Settings, you can use the Windows key + I shortcut or click on Start ==> Settings, as shown in the image below:

Alternatively, you can use the search box on the Taskbar to search for Settings and then select it to open it.
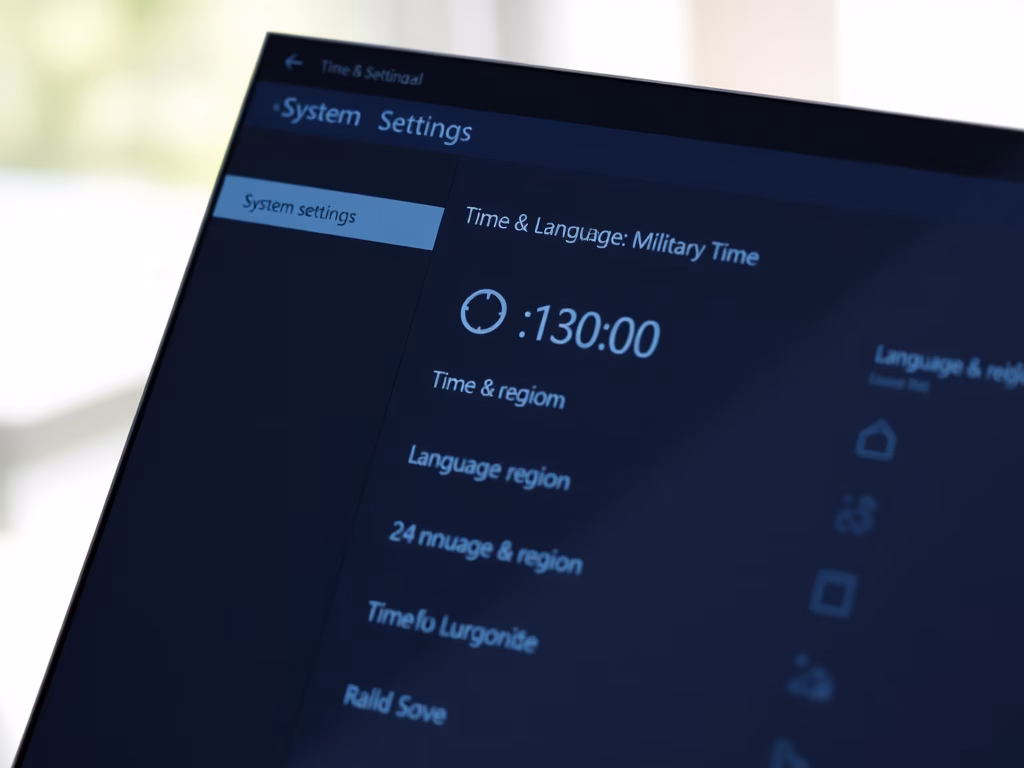
In Windows Settings, click Time & Language, then on the right pane, select the Language & region tile to expand it.

Under Related settings in the Language & Region pane, click Administrative language settings to open the Date and Time format settings pane.

On the Region dialog box, select the Formats tab. This dialog box also allows you to choose built-in date and time formats.

Under the Date and time formats section, use the drop-down option for Short Time. Then, select these options to change to the 24-hour military time format.
Select the H:mm or HH:mm format to use a 24-hour clock.

The new format should be displayed on the Taskbar, similar to the one below.

To change to standard clock format, select either the h:mm tt (default) or hh:mm tt format for a Short time to use a 12-hour clock.
You can use this post to change the date format in Windows 11.
That should do it!
Conclusion:
- Changing the time format in Windows 11 is a straightforward process.
- Users can easily switch between 12-hour and 24-hour military formats through the System Settings.
- The new time format will reflect on the Taskbar and potentially in documents and applications.
- The Language & Region settings allow additional date and time configurations for further customization.
- Choose your preferred time format to enjoy a more personalized experience on your Windows 11 device.
Leave a Reply to Nexor Cancel reply