Enable Apache CGI on Ubuntu 24.04

Enabling Apache’s Common Gateway Interface (CGI) on Ubuntu 24.04 means you can run programs that make your website dynamic.
CGI acts as a translator between your Apache web server and external scripts. These scripts let your website do more than just show plain text and images, allowing it to respond to user actions and connect to backend data.
To get CGI working, you need to turn on a specific Apache module called `cgid` and adjust your website’s configuration files. This process works with Apache version 2.4.57 and later.
Activate the `cgid` module with `sudo a2enmod cgid` and restart Apache. Place your CGI scripts in `/usr/lib/cgi-bin` or configure a custom directory in `/etc/apache2/conf-available/`. Make scripts executable and reload Apache.
Enable the Apache CGI module
Enabling the Apache CGI module on Ubuntu 24.04 uses a single command. After the module is enabled, CGI scripts will automatically run from the `/usr/lib/cgi-bin` folder. Ensure your script is placed in this exact location. The commands to use are `sudo a2enmod cgi`, followed by `sudo systemctl restart apache2`.
sudo a2enmod cgid
sudo systemctl restart apache2
Once enabled, CGI scripts run from the [/usr/lib/cgi-bin] directory by default. Ensure your script is placed here for execution.
For instance, a Perl script named [index.cgi] would go into the /usr/lib/cgi-bin/ directory.
Client requests sent to the URL http://localhost/cgi-bin/index.cgi will execute the script.
This is the default behavior.
If you need to change this default or use a different directory for your CGI scripts, you’ll need to create a custom Apache configuration file and define your settings.
For example, if you want to store your CGI scripts in the [/var/www/html/custom-cgi] directory instead, create an Apache configuration file and specify that new location.
First, create the CGI directory by running the command below.
sudo mkdir /var/www/html/custom-cgi
Next, run the command below to create an Apache configuration file.
sudo nano /etc/apache2/conf-available/custom-cgi.conf
Then, copy the block below, paste it into the file, and save.
<Directory "/var/www/html/custom-cgi">
    Options +ExecCGI
    AddHandler cgi-script .cgi .pl .py .rb
</Directory>
Enable the configuration by running the command below.
Testing your CGI scripts after setting up Apache CGI on Ubuntu 24.04 ensures they work correctly. To test, create a file named `index.cgi` in the `/var/www/html/custom-cgi/` folder. Use `sudo nano /var/www/html/custom-cgi/index.cgi` to create and edit the file, then paste your script. Make the file executable with the following command.
Run the command below to create a blank CGI index file.
sudo nano /var/www/html/custom-cgi/index.cgi
Copy the script below, paste it into the file, and save.
#!/usr/bin/python3

print("Content-type: text/htmln")
print("<html>n<body>")
print("<p style="width: 100%; font-weight: bold; font-size: 60px; text-align: center;">")
print("CGI is Enabled!!!")
print("</p>")
print("</body>n</html>")
sudo chmod 755 /var/www/html/cgi-enabled/index.cgi
Now, open your browser and navigate to the script.
http://example.com/custom-cgi/index.cgi
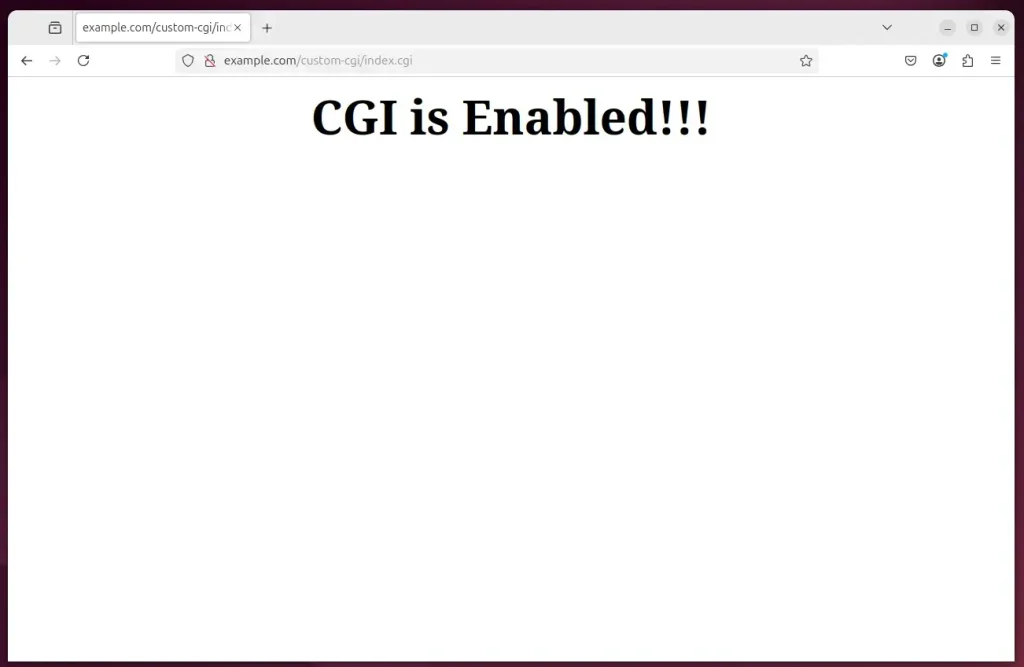
That should do it!
Conclusion:
Enabling the Apache CGI module on Ubuntu 24.04 lets you create dynamic and interactive web applications. Following the steps outlined here will allow you to successfully run CGI scripts on your server.
- CGI scripts facilitate interactive features on websites, enhancing user experience.
- Enabling the CGI module on Apache involves simple commands and configuration adjustments.
- The default CGI script directory is
/usr/lib/cgi-bin, but you can create custom directories. - Familiarity with Apache configuration files is essential for customizing your CGI setup.
- Testing your CGI setup ensures everything works as expected before deploying to a live environment.
Following these steps will equip you to use CGI in web development projects, enabling dynamic content generation through scripts.
Was this guide helpful?

About the Author
Richard
Tech Writer, IT Professional
Richard, a writer for Geek Rewind, is a tech enthusiast who loves breaking down complex IT topics into simple, easy-to-understand ideas. With years of hands-on experience in system administration and enterprise IT operations, he’s developed a knack for offering practical tips and solutions. Richard aims to make technology more accessible and actionable. He's deeply committed to the Geek Rewind community, always ready to answer questions and engage in discussions.


No comments yet — be the first to share your thoughts!