How to Install Apache ActiveMQ on Ubuntu Linux
Apache ActiveMQ on Ubuntu Linux provides a robust message broker for your applications to talk to each other.
It’s an open-source tool built with Java that helps different software pieces communicate using common messaging rules.
This guide walks you through installing ActiveMQ on Ubuntu, specifically versions like 20.04 or 18.04.
You can choose to set up either the older ActiveMQ Classic or the newer Artemis version.
Install Java using `sudo apt update && sudo apt install default-jre`. Download ActiveMQ from Apache, extract it to `/opt/activemq`, create an `activemq` user, and set up a systemd service. Start the service with `sudo systemctl start activemq`.
Install Java
To install Apache ActiveMQ on Ubuntu, you first need to install Java because ActiveMQ is built with it. Open your terminal and run ‘sudo apt update’ to get the latest package information, then type ‘sudo apt-get install default-jre’ to install Java. You can check if Java is working by typing ‘java -version’.
sudo apt update
sudo apt-get install default-jre
After installing Java, the commands below can be used to verify whether Java is installed.
java -version
You should see a similar output as below:
Output:
openjdk version "11.0.5" 2019-10-15
OpenJDK Runtime Environment (build 11.0.5+10-post-Ubuntu-0ubuntu1.118.04)
OpenJDK 64-Bit Server VM (build 11.0.5+10-post-Ubuntu-0ubuntu1.118.04, mixed mode, sharing)
Install Apache ActiveMQ
Now that Java is installed, you can install Apache ActiveMQ on Ubuntu. First, go to your temporary folder in the terminal by typing ‘cd /tmp’. Then, download the latest version using ‘wget http://archive.apache.org/dist/activemq/5.15.8/apache-activemq-5.15.8-bin.tar.gz’. This command downloads the necessary files to your temporary directory.
cd /tmp
wget http://archive.apache.org/dist/activemq/5.15.8/apache-activemq-5.15.8-bin.tar.gz
After that, extract the downloaded folder, move its content to the /opt directory, and create a folder called activemq
tar -xvzf apache-activemq-5.15.8-bin.tar.gz
sudo mv apache-activemq-5.15.8 /opt/activemq
You’ll want to create dedicated user and group accounts to run ActiveMQ effectively. Simply run the commands below to create an ActiveMQ username and a group name.
sudo addgroup --quiet --system activemq
sudo adduser --quiet --system --ingroup activemq --no-create-home --disabled-password activemq
sudo chown -R activemq:activemq /opt/activemq
After that, you will also want to create an ActiveMQ systemd service so you can control starting, stopping, and enabling its service. To do that, simply run the commands below to create a service file.
sudo nano /etc/systemd/system/activemq.service
Then, copy the content below into the file and save it.
[Unit]
Description=Apache ActiveMQ
After=network.target
[Service]
Type=forking
User=activemq
Group=activemq

ExecStart=/opt/activemq/bin/activemq start
ExecStop=/opt/activemq/bin/activemq stop

[Install]
WantedBy=multi-user.target
After saving it, run the commands below to enable the service.
sudo systemctl daemon-reload
sudo systemctl start activemq
sudo systemctl enable activemq
To verify if the service is functioning, run the commands below to check it.
/opt/activemq/bin/activemq status
You should see a similar output as below:
Output:
INFO: Loading '/opt/activemq//bin/env'
INFO: Using java '/usr/bin/java'
ActiveMQ is running (pid '5453')
After installing ActiveMQ, its default configuration file is located at /opt/activemq/conf/activemq.xml. You can open it and modify it to fit your environment.
sudo systemctl restart activemq
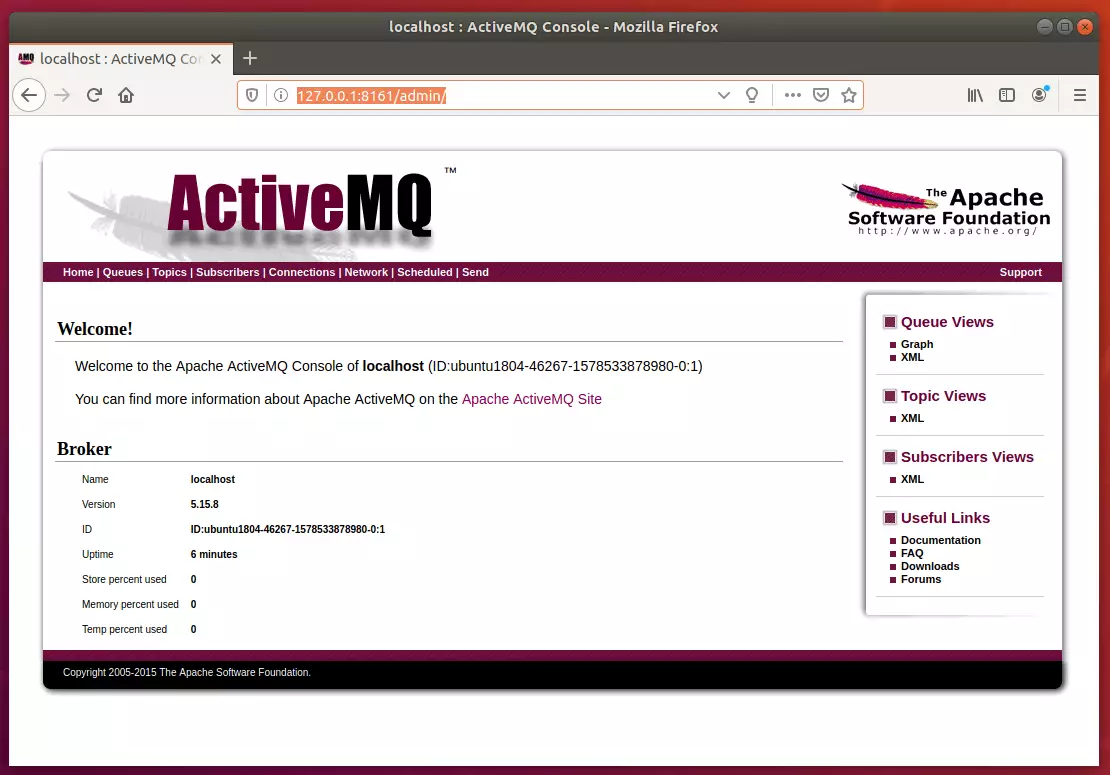
Finally, open your browser and browse to the server hostname or IP address followed by port #8161
http://127.0.0.1:8161/admin/
You should be prompted for a username and password. The default is admin/admin
Username: admin
Password: admin
Log in and begin setting up your
That should do it!
You can also use Apache ActiveMQ with Hawtio using the post below:
Conclusion:
- Apache ActiveMQ is a powerful message broker that enhances communication between applications.
- The installation process on Ubuntu is straightforward, requiring Java and a few command-line instructions.
- Users should ensure they configure the
activemq.xmlfile to meet their specific needs. - Regular monitoring of the service status is recommended to maintain optimal performance.
- Access the web interface at
http://127.0.0.1:8161/admin/to manage and monitor your message broker effectively. - With the installation complete, users can leverage ActiveMQ’s features to improve application integration and messaging capabilities.
Was this guide helpful?

About the Author
Richard
Tech Writer, IT Professional
Richard, a writer for Geek Rewind, is a tech enthusiast who loves breaking down complex IT topics into simple, easy-to-understand ideas. With years of hands-on experience in system administration and enterprise IT operations, he’s developed a knack for offering practical tips and solutions. Richard aims to make technology more accessible and actionable. He's deeply committed to the Geek Rewind community, always ready to answer questions and engage in discussions.

No comments yet — be the first to share your thoughts!