
If your Windows 11 computer isn’t working right and quick fixes don’t help, you can repair it by doing an “In-place upgrade.” This means reinstalling Windows but keeping all your files, apps, and settings safe.
There are other ways to fix Windows too, like resetting your PC without deleting your data. You can learn more about that here: Reset Windows 11 without losing data.
For the In-place upgrade, you need a copy of Windows 11 called an “ISO file.” This file must match your current Windows edition, language, and version or be newer. You also need at least 20 GB of free space on your main Windows drive.
Steps to Repair Windows 11 with an In-place Upgrade
Before you begin, please check these important things:
- Turn off or uninstall any antivirus or security software you installed.
- Turn off BitLocker encryption if it’s enabled.
- Download a full Windows 11 ISO file if you don’t have one.
- Mount (open) the ISO file on your computer.
Once you have done these, follow these simple steps:
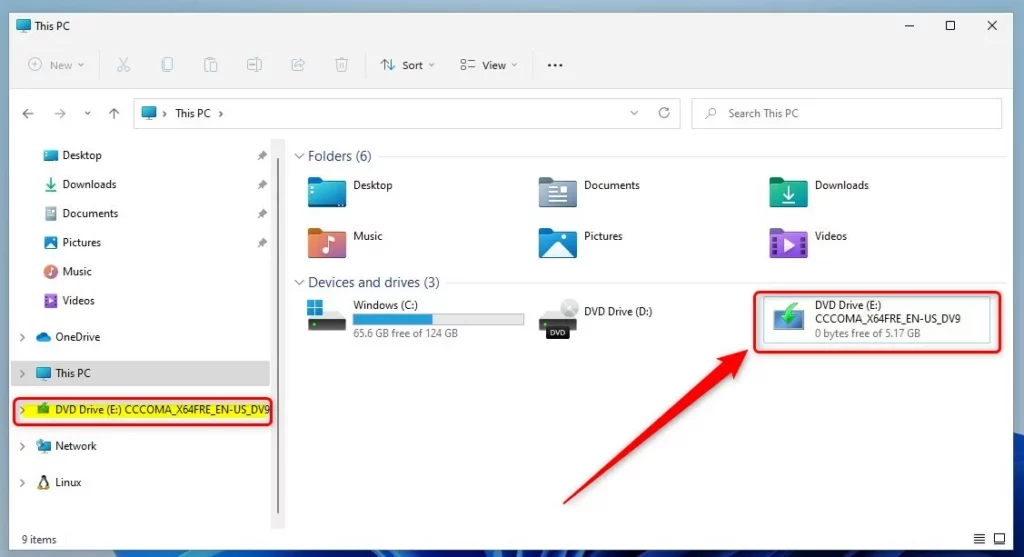
1. Open the Windows 11 ISO file
Double-click the ISO file you downloaded. It will open like a new drive on your computer.
2. Run the setup program
Inside the opened ISO, find and double-click setup.exe to start the Windows installer.
If you see a pop-up asking for permission (User Account Control), click Yes.
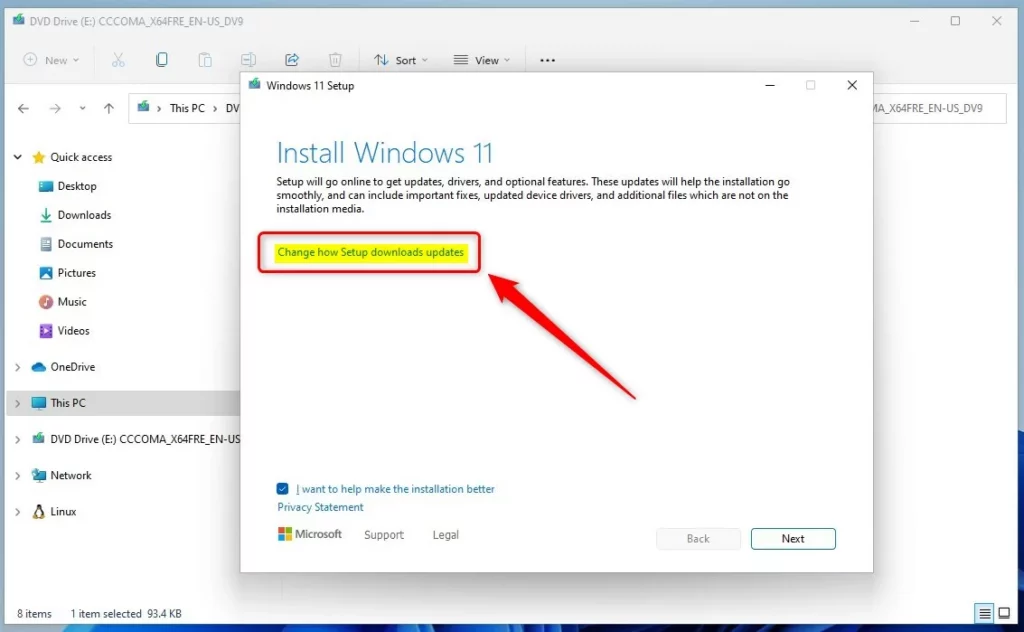
3. Change update settings
When the setup window opens, click the link that says “Change how Setup downloads updates”.
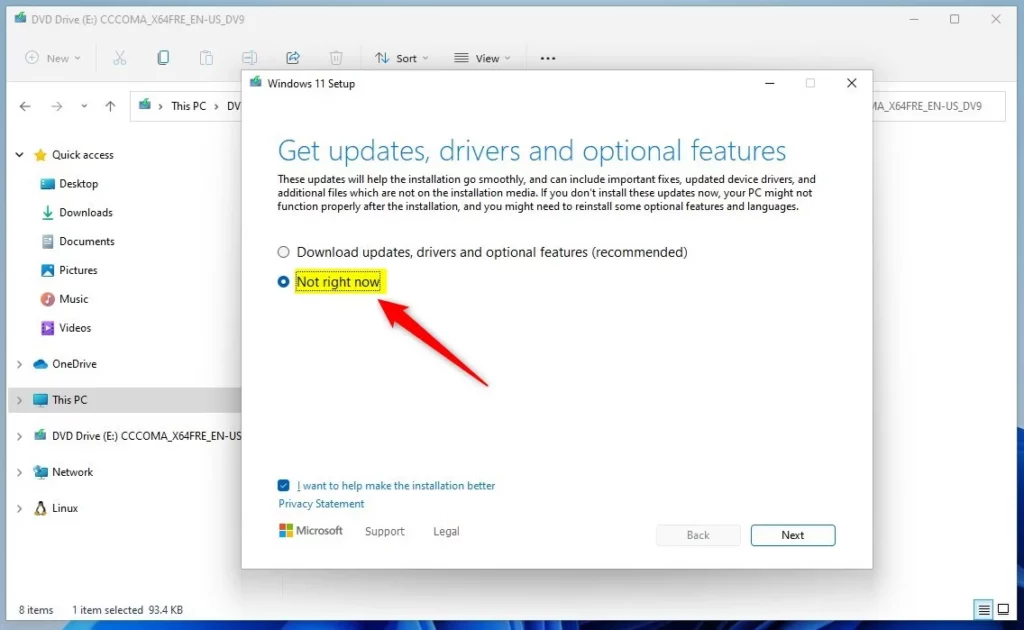
4. Choose Not right now for updates
In the next window, select Not right now. This means the setup won’t download updates, drivers, or extra features during install.
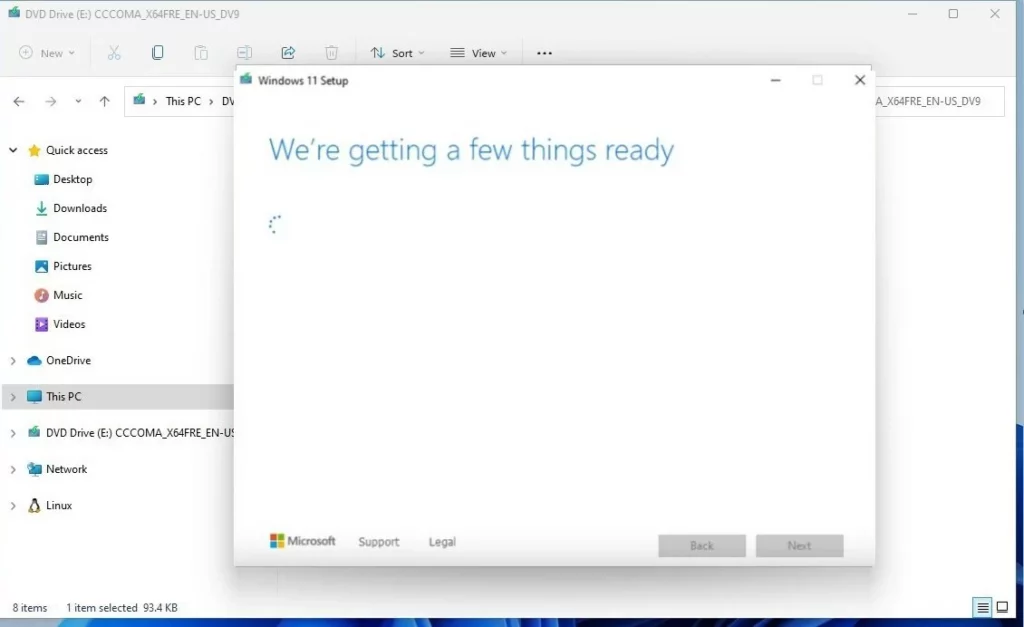
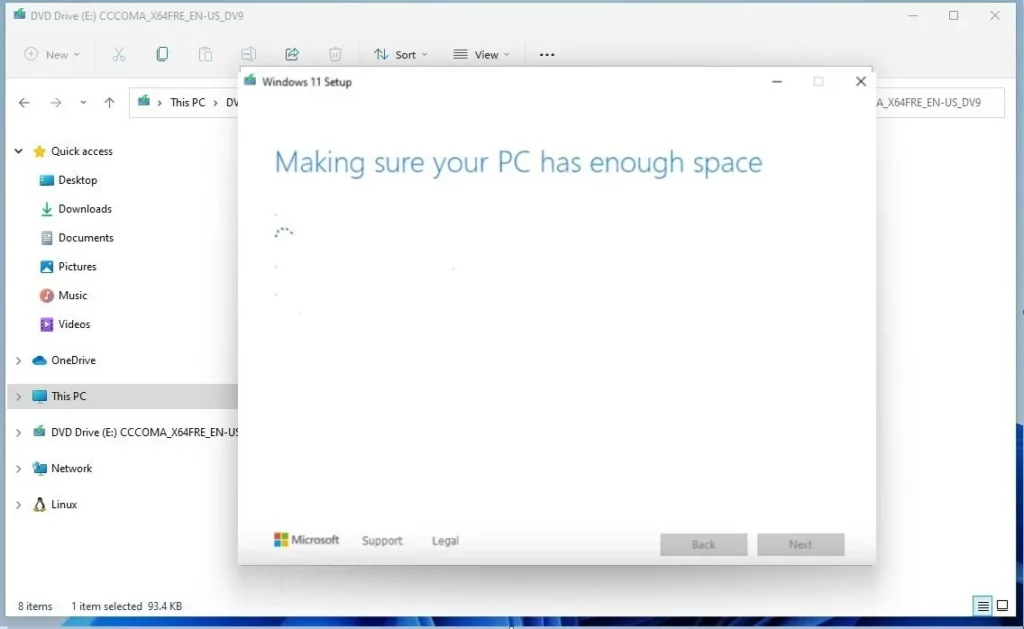
5. Let Windows check your PC
The setup will now check your computer to make sure it’s ready for the upgrade. It will check for enough free space and other requirements.
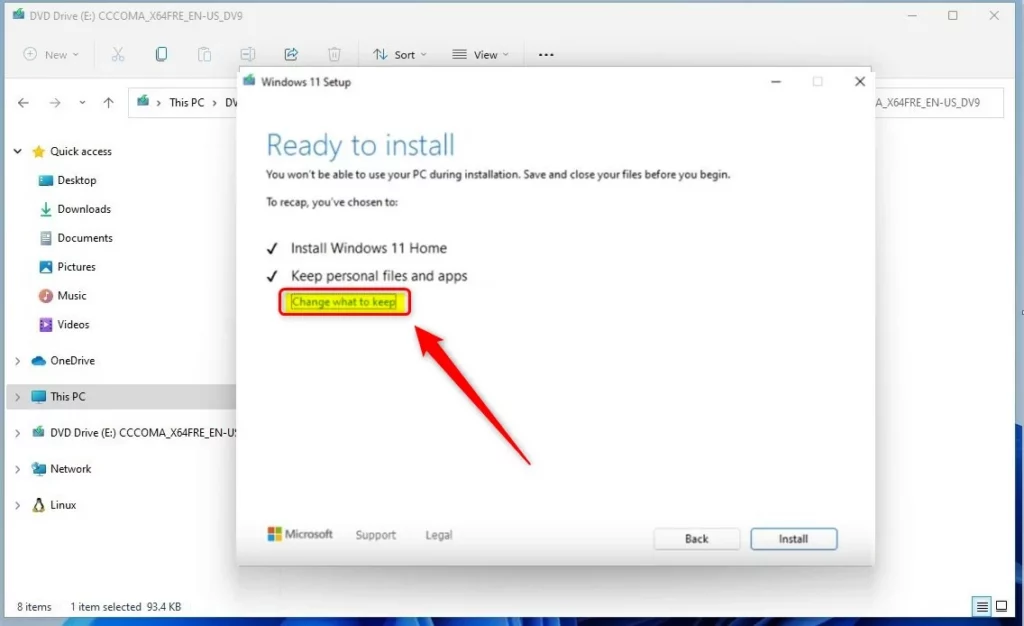
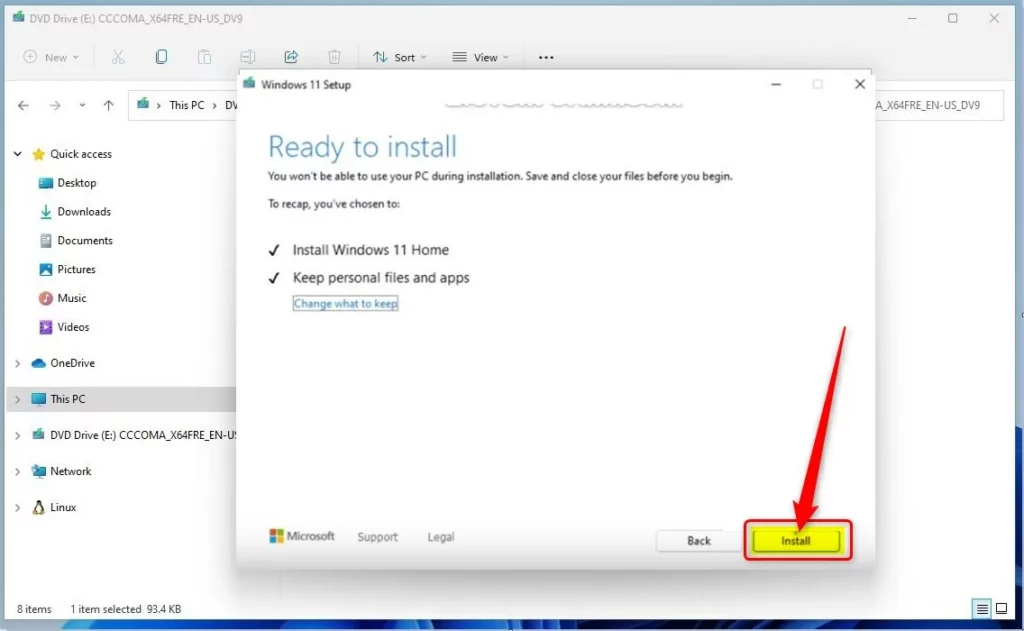
6. Choose what to keep
When you see the Ready to install window, click the link that says Change what to keep.
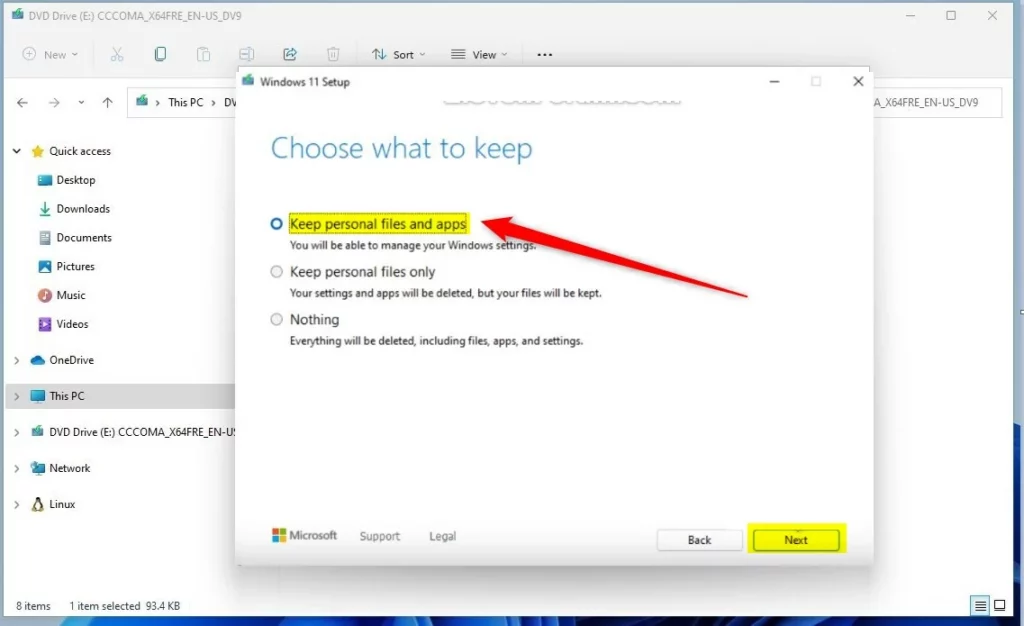
7. Select Keep personal files and apps
In the next window, pick Keep personal files and apps to make sure nothing gets deleted.
8. Start the upgrade
Click the Install button to begin the repair process.
9. Wait for the repair to finish
Your PC will now upgrade Windows 11 while keeping your files and apps safe. This can take some time, and your computer may restart a few times.

10. Done!
When finished, you will be able to log back into your PC. Your files and apps should still be there, and many Windows problems may be fixed.
Summary
- This guide helps you repair Windows 11 without losing your files, apps, or settings.
- Doing an In-place upgrade is a safe way to fix Windows problems when nothing else works.
- If you have questions or want to share tips, feel free to leave a comment where you found this guide.

Leave a Reply