How to Install Snipe-IT with Apache on Ubuntu Linux

Snipe-IT with Apache on Ubuntu Linux creates a free system for managing your IT equipment.
Snipe-IT is a web tool made with PHP that helps you keep track of all your computers, software, and accessories. Apache is the program that serves up this web tool, making it accessible through your web browser on your Ubuntu computer.
This setup is perfect for anyone looking to organize their IT assets easily, especially if you’re using Ubuntu 18.04 or 16.04. It gives you a simple online place to see everything your organization uses.
Install Apache with `sudo apt install apache2`, MariaDB with `sudo apt install mariadb-server`, and PHP 7.2 with related modules using `sudo apt install php7.2 libapache2-mod-php7.2 php7.2-common php7.2-gmp php7.2-curl php7.2-intl php7.2-mbstring php7.2-xmlrpc php7.2-mysql php7.2-gd php7.2-bcmath php7.2-xml php7.2-cli php7.2-zip php7.2-sqlite`.
Install Apache HTTP
Installing Apache HTTP on Ubuntu is straightforward using terminal commands. Apache is the web server software that lets Snipe-IT run, making your inventory management site accessible online.
To install Apache2 HTTP on the Ubuntu server, run the commands below.
sudo apt update
sudo apt install apache2
After installing Apache2, the commands below can stop, start, and enable the Apache2 service to always start up with the server boots.
sudo systemctl stop apache2.service
sudo systemctl start apache2.service
sudo systemctl enable apache2.service
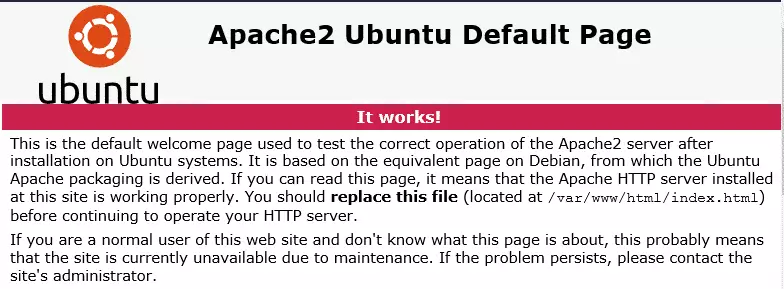
To determine if the Apache2 HTTP server is installed, open your web browser and type in the server’s IP or hostname.
When you see a page similar to the one below, Apache2 is installed and working.
http://localhost
Install MariaDB Database Server
You need to install MariaDB on Ubuntu because Snipe-IT uses a database to keep all its information safe. MariaDB is a trusted database server that will securely store your inventory data.
To install MariaDB, run the commands below.
sudo apt install mariadb-server mariadb-client
After installing MariaDB, the commands below can stop, start, and enable the service to start when the server boots.
Run these on Ubuntu
sudo systemctl stop mariadb.service
sudo systemctl start mariadb.service
sudo systemctl enable mariadb.service
sudo mysql_secure_installation
When prompted, answer the questions below by following the guide.
- Enter current password for root (enter for none): Just press the Enter
- Set root password? [Y/n]: Y
- New password: Enter password
- Re-enter new password: Repeat password
- Remove anonymous users? [Y/n]: Y
- Disallow root login remotely? [Y/n]: Y
- Remove test database and access to it? [Y/n]: Y
- Reload privilege tables now? [Y/n]: Y
Restart MariaDB server
To test if MariaDB is installed, type the commands below to log on to the MariaDB server.
sudo mysql -u root -p
Then, type the password you created above to sign on. If successful, you should see a MariaDB welcome message.
Install PHP 7.2 and Related Modules
Snipe-IT requires PHP version 7.2 to work correctly, and installing it on Ubuntu involves adding a special software source. This ensures your system has the exact PHP version needed for Snipe-IT to run smoothly.
Run the commands below to add the below third party repository to upgrade to PHP 7.2
sudo apt-get install software-properties-common
sudo add-apt-repository ppa:ondrej/php
Then update and upgrade to PHP 7.2
sudo apt update
Next, run the commands below to install PHP 7.2 and related modules.
sudo apt install php7.2 libapache2-mod-php7.2 php7.2-common php7.2-gmp php7.2-curl php7.2-intl php7.2-mbstring php7.2-xmlrpc php7.2-mysql php7.2-gd php7.2-bcmath php7.2-xml php7.2-cli php7.2-zip php7.2-sqlite
After installing PHP 7.2, run the commands below to open the PHP default config file for Apache2.
sudo nano /etc/php/7.2/apache2/php.ini
Then, save the changes on the following lines below in the file. The value below is an ideal setting to apply in your environment.
file_uploads = On
allow_url_fopen = On
short_open_tag = On
memory_limit = 256M
upload_max_filesize = 100M
max_execution_time = 360
max_input_vars = 1500
date.timezone = America/Chicago
After making the change above, please save the file and close it.
To test PHP 7.2 settings with Apache2, create a phpinfo.php file in the Apache2 root directory by running the commands below
sudo nano /var/www/html/phpinfo.phpThen, type the content below and save the file.
<?php phpinfo( ); ?>
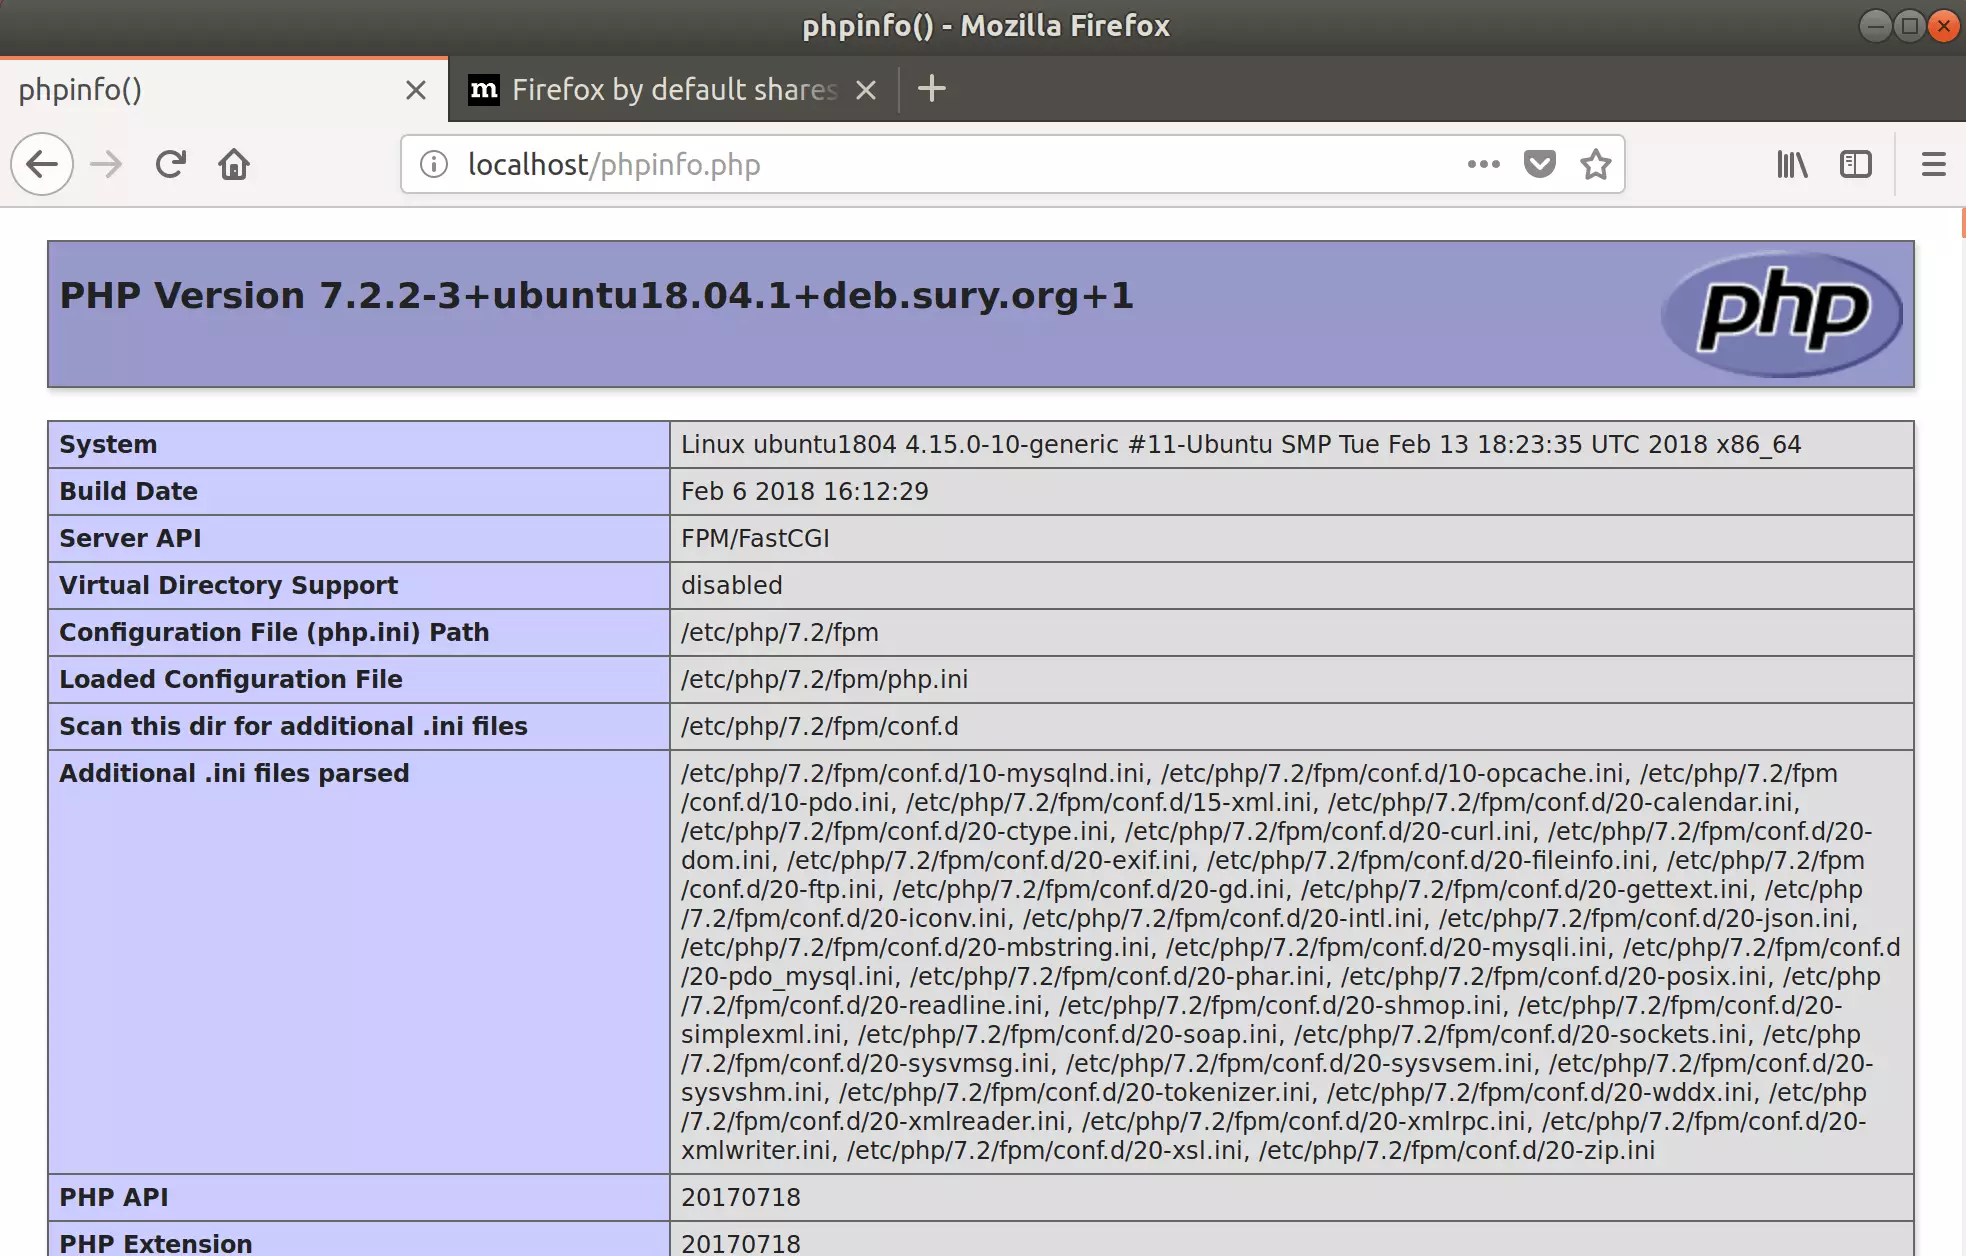
Save the file. Then browse to your server hostname followed by /phpinfo.php
http://localhost/phpinfo.php
You should see the PHP default test page.
Create Snipe-IT Database
After setting up the necessary software, you’ll create a new database for Snipe-IT using the MariaDB server on Ubuntu. This dedicated ‘snipeit’ database will hold all your asset inventory details.
Run the commands below to log on to MariaDB. When prompted for a password, type the root password you created above.
sudo mysql -u root -p
Then, create a database called snipeit
CREATE DATABASE snipeit;Create a database user called snipeituser with a new password
CREATE USER 'snipeituser'@'localhost' IDENTIFIED BY 'new_password_here';
Then, grant the user full access to the snippet database.
GRANT ALL ON snipeit.* TO 'snipeituser'@'localhost' WITH GRANT OPTION;
Finally, save your changes and exit.
FLUSH PRIVILEGES;
EXIT;
Download Snipe-IT Latest Release
Getting the latest Snipe-IT version on Ubuntu involves installing tools like Curl and Composer first. You then download the software directly from its official source to ensure you have the newest features and fixes.
sudo apt install curl git
curl -sS https://getcomposer.org/installer | sudo php -- --install-dir=/usr/local/bin --filename=composer
After installing curl and Composer above, change into the Apache2 root directory and download Snipe-IT packages from Github.
cd /var/www/
sudo git clone https://github.com/snipe/snipe-it snipeit
sudo cp /var/www/snipeit/.env.example /var/www/snipeit/.env
Next, edit the .env file created above and make the highlighted changes to suit your environment.
sudo nano /var/www/snipeit/.env
Make the highlighted changes.
# --------------------------------------------
# REQUIRED: BASIC APP SETTINGS
# --------------------------------------------
APP_ENV=production
APP_DEBUG=false
APP_KEY=ChangeMe
APP_URL=example.com
APP_TIMEZONE='UTC'
APP_LOCALE=en
MAX_RESULTS=500

# --------------------------------------------
# REQUIRED: DATABASE SETTINGS
# --------------------------------------------
DB_CONNECTION=mysql
DB_HOST=127.0.0.1
DB_DATABASE=snipeit
DB_USERNAME=snipeituser
DB_PASSWORD=type_password_here
DB_PREFIX=null
DB_DUMP_PATH='/usr/bin'
DB_CHARSET=utf8mb4
DB_COLLATION=utf8mb4_unicode_ci

# --------------------------------------------
# OPTIONAL: SSL DATABASE SETTINGS
Save the file and exit.
Next, return to the Snipe-IT root directory and update all packages via Composer.
cd /var/www/snipeit
sudo composer install --no-dev --prefer-source
From the Snipe-IT directory, run the commands below:
sudo php artisan key:generate
It should prompt and show you an application key.
**************************************
*     Application In Production!     *
**************************************

 Do you really wish to run this command? (yes/no) [no]:
 > yes

Application key [base64:6KnX/HGkNNcUGw2uucxBKT8+OwQ58yBp7vfa7sfwpDg=] set successfully.
To do that, run the commands below:
sudo chown -R www-data:www-data /var/www/snipeit/
sudo chmod -R 755 /var/www/snipeit/
Configure Apache
Configuring Apache for Snipe-IT involves creating a specific file called ‘snipeit.conf’ in the correct Apache directory on Ubuntu. This setup tells Apache how visitors can reach your Snipe-IT installation online.
sudo nano /etc/apache2/sites-available/snipeit.confThen copy and paste the content below into the file and save it. Replace the highlighted line with your domain name and directory root location.
<VirtualHost *:80>
     ServerAdmin admin@example.com
     DocumentRoot /var/www/snipeit/public
     ServerName example.com
     ServerAlias www.example.com

     <Directory /var/www/snipeit/public/>
        Options +FollowSymlinks
        AllowOverride All
        Require all granted
     </Directory>

     ErrorLog ${APACHE_LOG_DIR}/error.log
     CustomLog ${APACHE_LOG_DIR}/access.log combined

</VirtualHost>
Save the file and exit.
Enable the Snipe-IT and Rewrite Module
After configuring the VirtualHost above, please enable it by running the commands below.
sudo a2ensite snipeit.conf
sudo a2enmod rewrite
sudo systemctl restart apache2.service
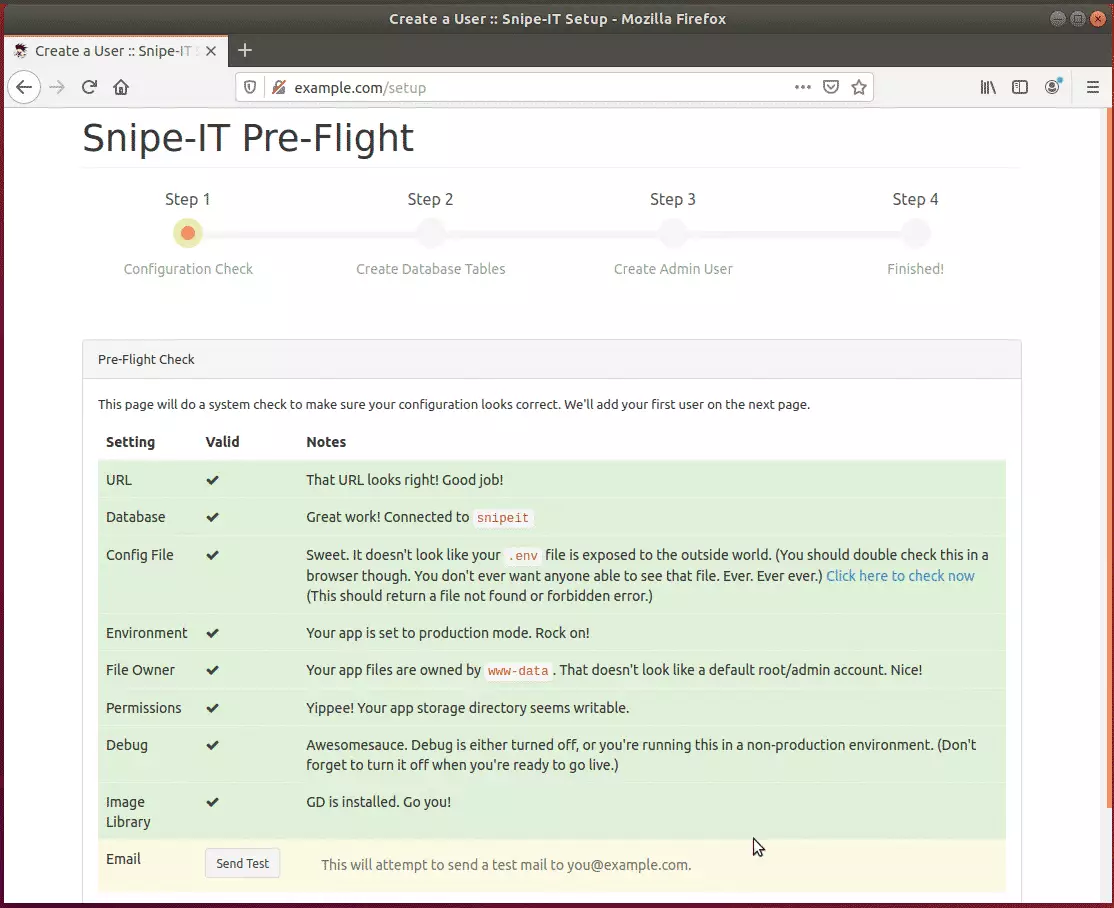
Then open your browser and browse to the server domain name or hostname. This is often localhost but can be a hostname or IP address. Your server admin or hosting company will have this information available.
http://example.com/
Continue with the installation wizard, validate that all requirements are met, and continue.
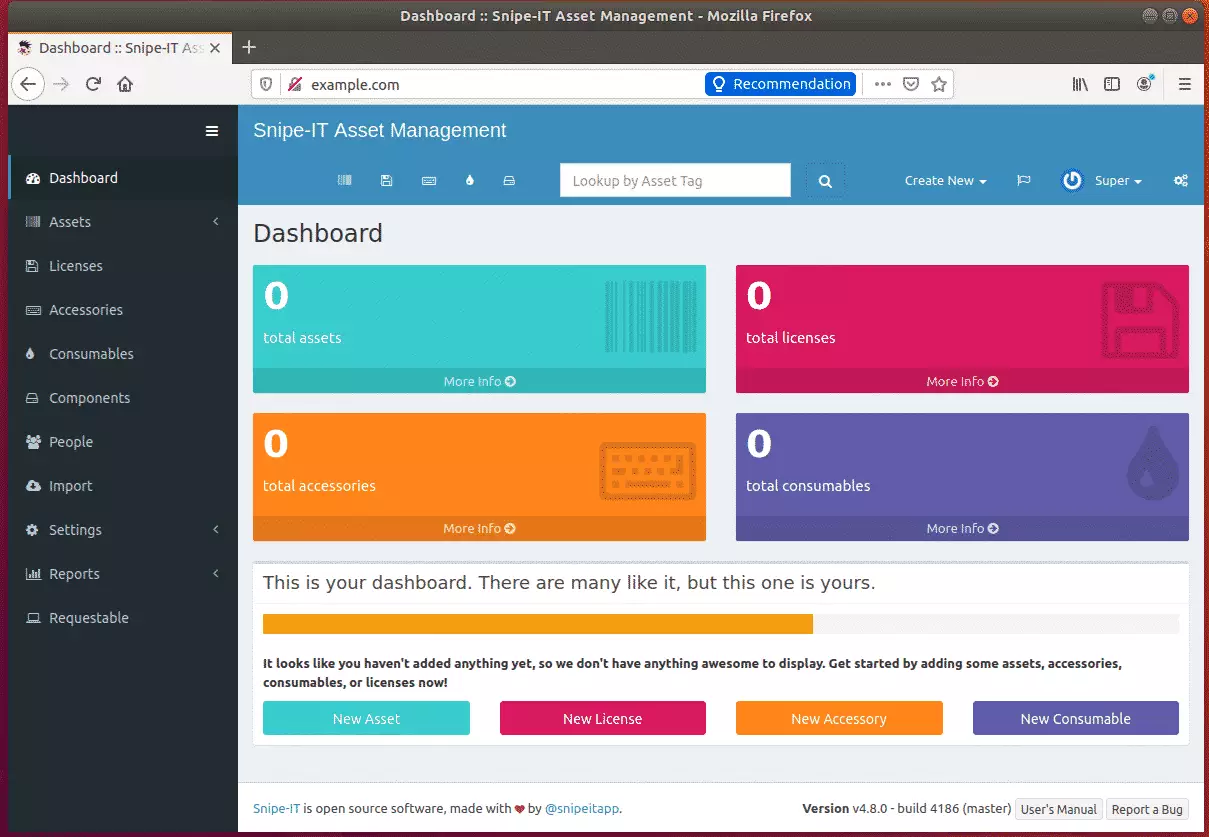
Next, create a system admin account to manage the platform.
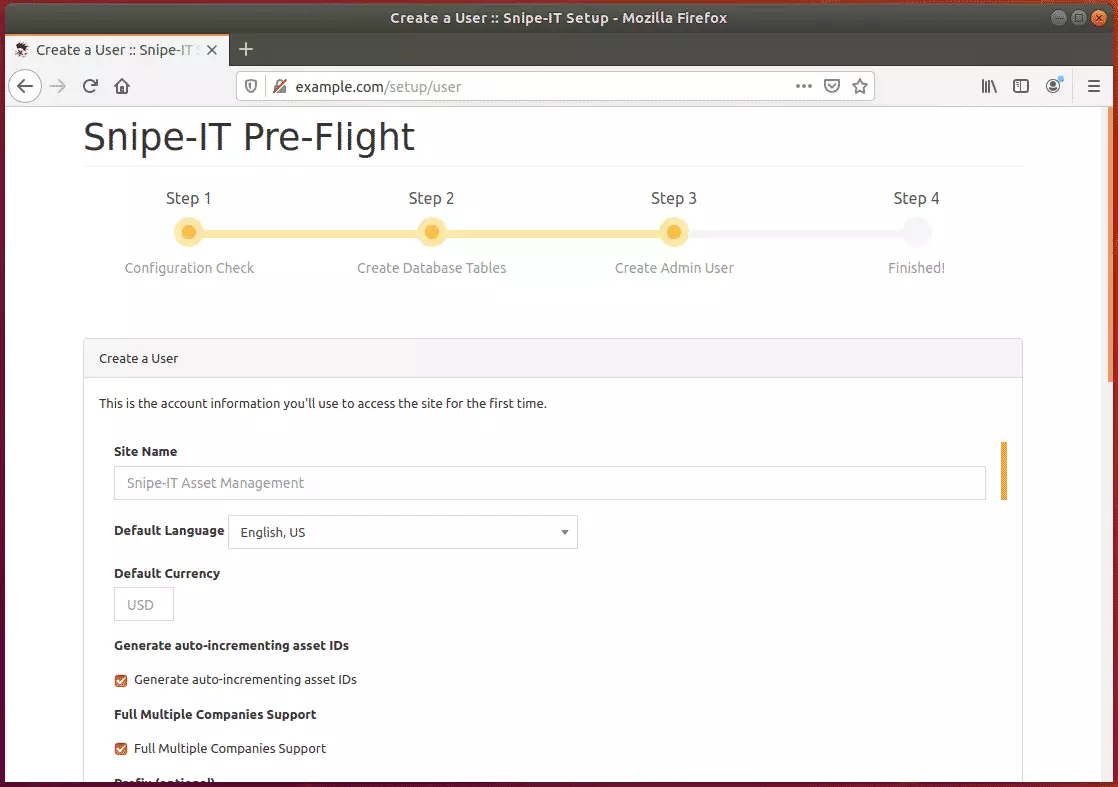
After installing, log in and start to begin managing your IT assets.
Conclusion:
You have learned how to install Snipe-IT on Ubuntu with an Apache2 HTTP server. If you find any errors above, please leave a comment below.
Thanks,
Was this guide helpful?

About the Author
Richard
Tech Writer, IT Professional
Richard, a writer for Geek Rewind, is a tech enthusiast who loves breaking down complex IT topics into simple, easy-to-understand ideas. With years of hands-on experience in system administration and enterprise IT operations, he’s developed a knack for offering practical tips and solutions. Richard aims to make technology more accessible and actionable. He's deeply committed to the Geek Rewind community, always ready to answer questions and engage in discussions.


Hi,,
After following all the instructions and without error, I cannot get to open the Setup Page.It says “Not Found. The requested URL was not found on this server. ”
any missing Command or wrong configuration?
thank you.
I got the same thing. Working on a solution.
any solution? I got the same thing
The workaround that did the trick for me was editing the default apache conf files (000-default.conf and default-ssl.conf) and adding the following:
AllowOverride All
Reason being that went testing .htaccess (putting in junk) did not cause a website crash so that meant it wasn’t even being read. I also changed the DocumentRoot in both to reflect the snipeit path.
Now everything works.
After the command “sudo a2ensite snipeit.conf”
Add a command “sudo a2dissite 000-default.conf” to disable the dafault page of apache.
Couldn’t get the key generate when running sudo php artisan key:generate, i check the openssl is already install on php. So not sure what else is missing. It doesnt have the vendor folder and it just say failed to open stream.
When I reached the part “sudo composer install –no-dev –prefer-source” I got the below error.
[sudo] password for snipeit:
Do not run Composer as root/super user! See https://getcomposer.org/root for details
Continue as root/super user [yes]?
Installing dependencies from lock file
Verifying lock file contents can be installed on current platform.
Warning: The lock file is not up to date with the latest changes in composer.json. You may be getting outdated dependencies. It is recommended that you run `composer update` or `composer update `.
Your lock file does not contain a compatible set of packages. Please run composer update.
Problem 1
– adldap2/adldap2 is locked to version v10.3.1 and an update of this package was not requested.
– adldap2/adldap2 v10.3.1 requires ext-ldap * -> it is missing from your system. Install or enable PHP’s ldap extension.
To enable extensions, verify that they are enabled in your .ini files:
– /etc/php/7.4/cli/php.ini
– /etc/php/7.4/cli/conf.d/10-mysqlnd.ini
– /etc/php/7.4/cli/conf.d/10-opcache.ini
– /etc/php/7.4/cli/conf.d/10-pdo.ini
– /etc/php/7.4/cli/conf.d/15-xml.ini
– /etc/php/7.4/cli/conf.d/20-bcmath.ini
– /etc/php/7.4/cli/conf.d/20-calendar.ini
– /etc/php/7.4/cli/conf.d/20-ctype.ini
– /etc/php/7.4/cli/conf.d/20-curl.ini
– /etc/php/7.4/cli/conf.d/20-dom.ini
– /etc/php/7.4/cli/conf.d/20-exif.ini
– /etc/php/7.4/cli/conf.d/20-ffi.ini
– /etc/php/7.4/cli/conf.d/20-fileinfo.ini
– /etc/php/7.4/cli/conf.d/20-ftp.ini
– /etc/php/7.4/cli/conf.d/20-gd.ini
– /etc/php/7.4/cli/conf.d/20-gettext.ini
– /etc/php/7.4/cli/conf.d/20-gmp.ini
– /etc/php/7.4/cli/conf.d/20-iconv.ini
– /etc/php/7.4/cli/conf.d/20-intl.ini
– /etc/php/7.4/cli/conf.d/20-json.ini
– /etc/php/7.4/cli/conf.d/20-mbstring.ini
– /etc/php/7.4/cli/conf.d/20-mysqli.ini
– /etc/php/7.4/cli/conf.d/20-pdo_mysql.ini
– /etc/php/7.4/cli/conf.d/20-phar.ini
– /etc/php/7.4/cli/conf.d/20-posix.ini
– /etc/php/7.4/cli/conf.d/20-readline.ini
– /etc/php/7.4/cli/conf.d/20-shmop.ini
– /etc/php/7.4/cli/conf.d/20-simplexml.ini
– /etc/php/7.4/cli/conf.d/20-sockets.ini
– /etc/php/7.4/cli/conf.d/20-sysvmsg.ini
– /etc/php/7.4/cli/conf.d/20-sysvsem.ini
– /etc/php/7.4/cli/conf.d/20-sysvshm.ini
– /etc/php/7.4/cli/conf.d/20-tokenizer.ini
– /etc/php/7.4/cli/conf.d/20-xmlreader.ini
– /etc/php/7.4/cli/conf.d/20-xmlrpc.ini
– /etc/php/7.4/cli/conf.d/20-xmlwriter.ini
– /etc/php/7.4/cli/conf.d/20-xsl.ini
– /etc/php/7.4/cli/conf.d/20-zip.ini
You can also run `php –ini` inside terminal to see which files are used by PHP in CLI mode.
You need to manually install the php-ldap version for your version of php, so it would be php7.4-ldap (sudo apt install php7.4-ldap)
Not Found
The requested URL was not found on this server.
Apache/2.4.29 (Ubuntu) Server at 18.218.104.250 Port 80