

This article explains turning data on or off roaming with a cellular connection in Windows 11.
If your device has a built-in SIM or eSIM card with network connectivity, you can connect to a cellular data network anywhere there’s a cellular signal.
Cellular connections work similarly to Wi-Fi and hotspot connections, where you can connect to available networks simply by knowing the connection credentials. Once connected, you can browse, send emails, and perform other network activities.
You shouldn’t need to change the cellular settings if your cellular data connection works correctly. However, if you’re having cellular connection problems, changing one or more settings may help.
One setting you can change is the data roaming options. This determines if your cellular data connection stays on when your Windows 11 device is outside your mobile operator’s Network.
Change Cellular Data Roaming Options
As described above, Windows lets you change your cellular data roaming options to prevent data roaming charges or use cellular networks in data roaming areas when you turn it on.
Here’s how to turn it on or off in Windows 11.
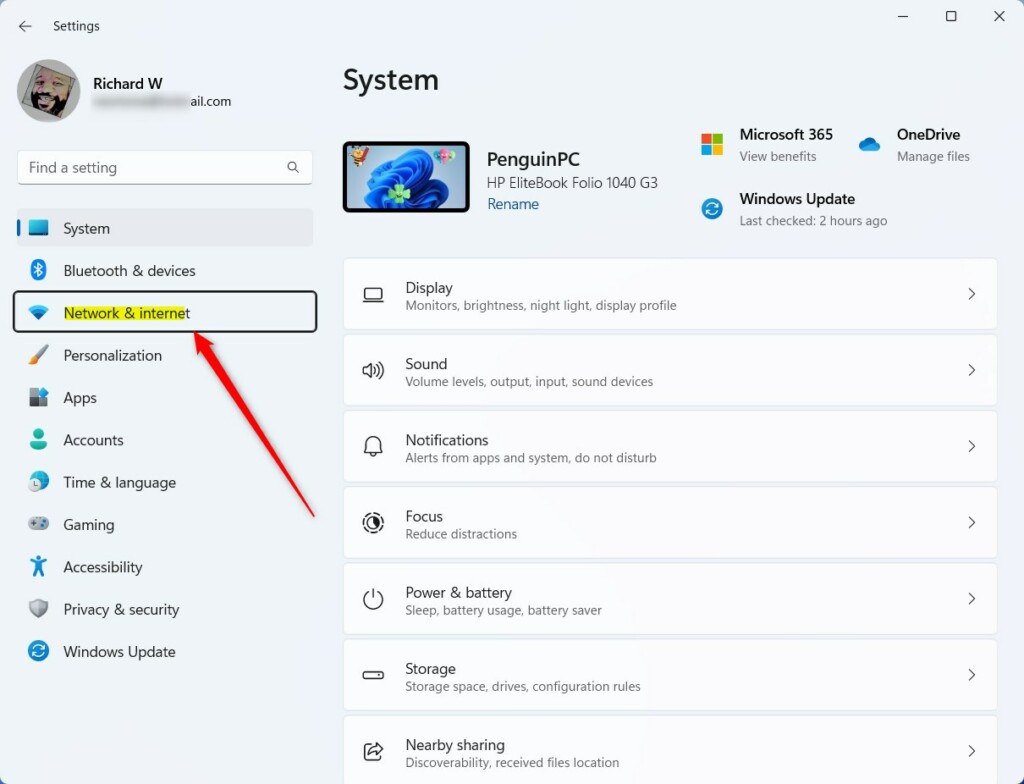
First, open the Windows Settings app.
You can do that by clicking on the Start menu and selecting Settings. Or press the keyboard shortcut (Windows key + I) to launch the Settings app.
When the Setting app opens, click the Network & internet button on the left.
Select the Cellular tile on the right to expand it.
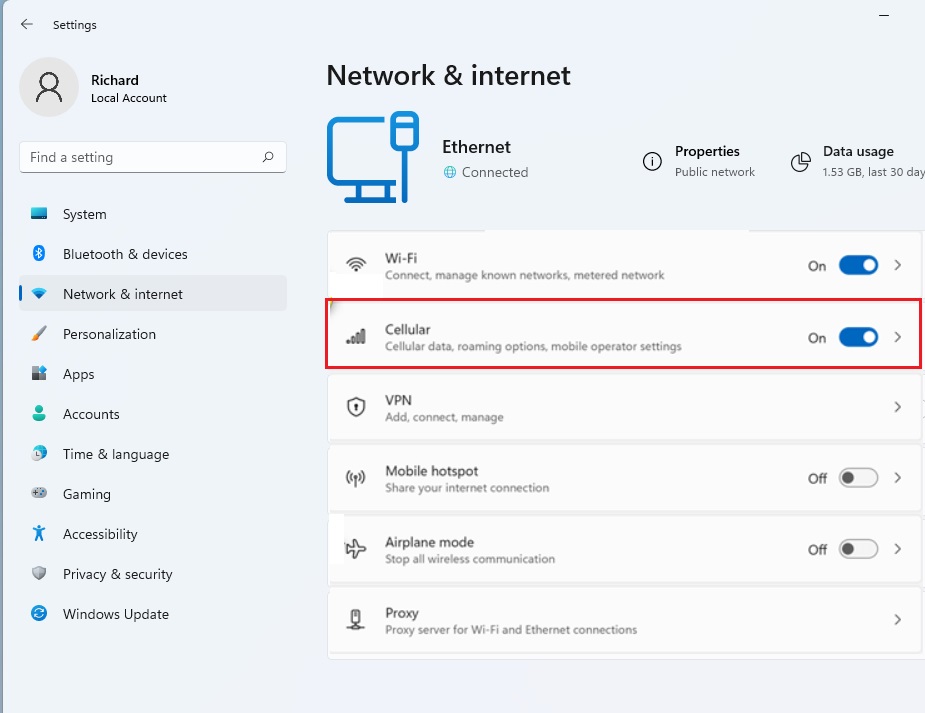
Click and expand the Cellular tile on the Network & internet settings pane.
Next, select the “Data roaming options” tile on the Cellular settings pane, then change the option to “Don't roam” to disable it.
Exit and Settings app when you are done.
Change the Data Roaming option with Cellular via Registry Editor
Another way to change the data roaming options with a cellular connection is to use the Windows Registry editor.
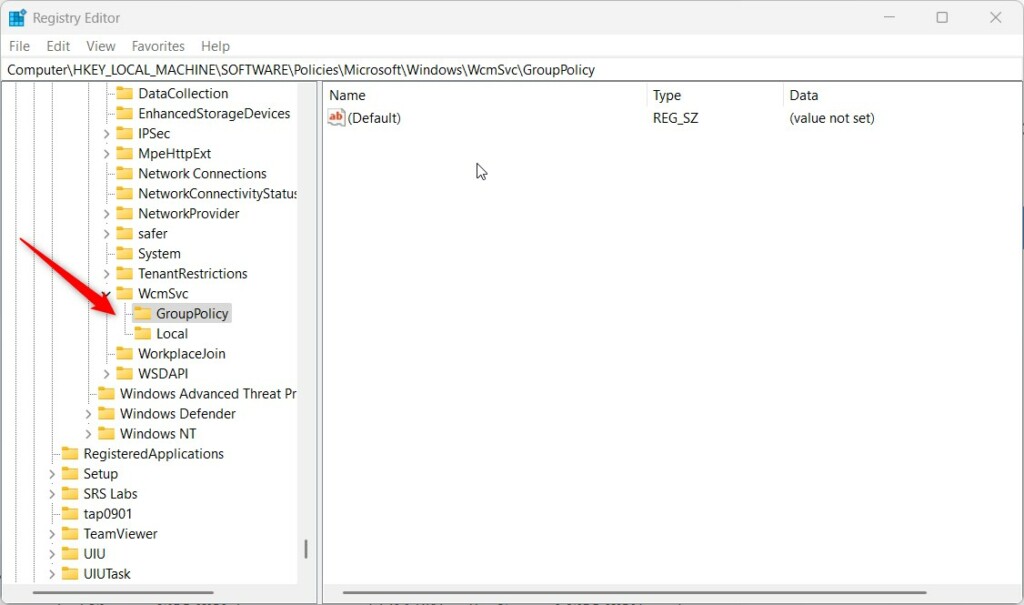
To do that, open the Windows Registry editor and navigate to the folder key below.
HKEY_LOCAL_MACHINE\SOFTWARE\Policies\Microsoft\Windows\WcmSvc\GroupPolicy
If you don’t see the GroupPolicy folder key, right-click on the WcmSvc parent key, then create the subkey (GroupPolicy) folder.
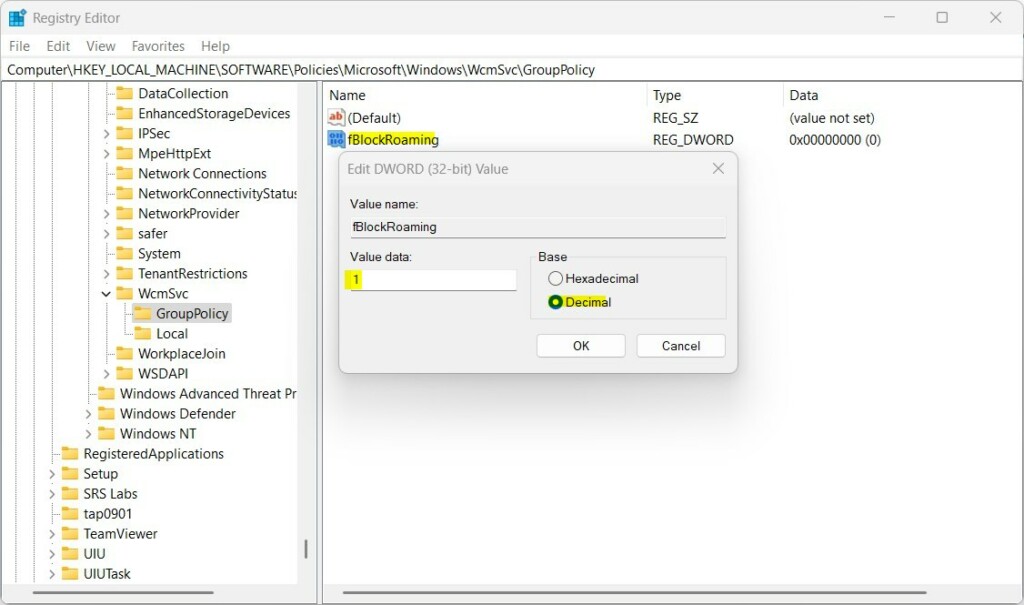
Right-click the GroupPolicy folder key’s right pane and select New -> String Value. Type a new item named fBlockRoaming.
Double-click the new item you created (fBlockRoaming) and update the Value data:
- To disable data roaming, type 1.
- To enable data roaming, delete the fBlockRoaming item.
That should do it. Restart your computer for the changes to apply.
Disable or enable data roaming using Local Group Policy Editor
Yet another way to enable or disable data roaming with a cellular connection is via the Local Group Policy Editor.
To do that, first, open Local Group Policy Editor by clicking on the Start and searching for Edit group policy, as highlighted below.
Then, select Edit group policy under Best match to launch Local Group Policy Editor.

In the left pane of Local Group Policy Editor, expand the tree:
Computer Configuration > Administrative Templates > Network > Windows Connection Manager
In the Windows Connection Manager details pane on the right, local and double-click the setting Prohibit connection to roaming Mobile Broadband networks.

On the Prohibit connection to roaming Mobile Broadband networks setting window, choose one of the options below:
- Not Configured – Same as Disabled. Data roaming is allowed.
- Enabled – All automatic and manual connection attempts to roaming provider networks are blocked.
- Disabled – Clients are allowed to connect to roaming provider Mobile Broadband networks.

Select OK.
Close Local Group Policy Editor.
That should do it!
Reference:
Conclusion:
- The article provides detailed guidance on changing data roaming options in Windows 11, catering to various preferences and technical capabilities.
- Users are given step-by-step instructions to modify settings through the Windows Settings app and alternative routes like the Windows Registry editor and Local Group Policy Editor.
- In addition, the reference link directs readers further to support and information from Microsoft’s official documentation.
- Readers are encouraged to engage with the content by offering feedback or additional insights via the comments section, fostering a community-driven approach to troubleshooting and user support.

Leave a Reply