This article explains how to turn Windows Device Portal (WDP) on or off in Windows 11.
WDP is a feature in Windows that lets you configure and manage the settings for the device over a network or USB connection or locally via a web browser. You can turn on Windows Device Portal to provide advanced diagnostic tools for troubleshooting and viewing the real-time performance of your Windows device.
Using WDP, one can perform the following actions:
You can use the WDP for the following:
- Manage device settings (similar to the Windows Settings app).
- See and manipulate a list of running processes
- Install, delete, launch, and terminate apps
- Change Wi-Fi profiles, view signal strength, and see ipconfig details
- View live graphs of CPU, memory, I/O, network, and GPU usage
- Collect process dumps
- Collect ETW traces
- Manipulate the isolated storage of sideloaded apps
You may want to turn it on to access and manage your Windows 10 device remotely. On the other hand, you may want to turn it off if you don’t need remote access and want to ensure that your device is inaccessible from the internet.
Enable or disable Windows Device Portal (WDP)
As described above, users can turn on Developer Mode in Windows and use Windows Device Portal (WDP) to provide advanced diagnostic tools for troubleshooting and viewing the real-time performance of their Windows device.
Here’s how to turn on WDP in Windows 11.
First, you must turn on Developer Mode in Windows. To do that, read the post below.
Turn on or off Developer Mode in Windows 11
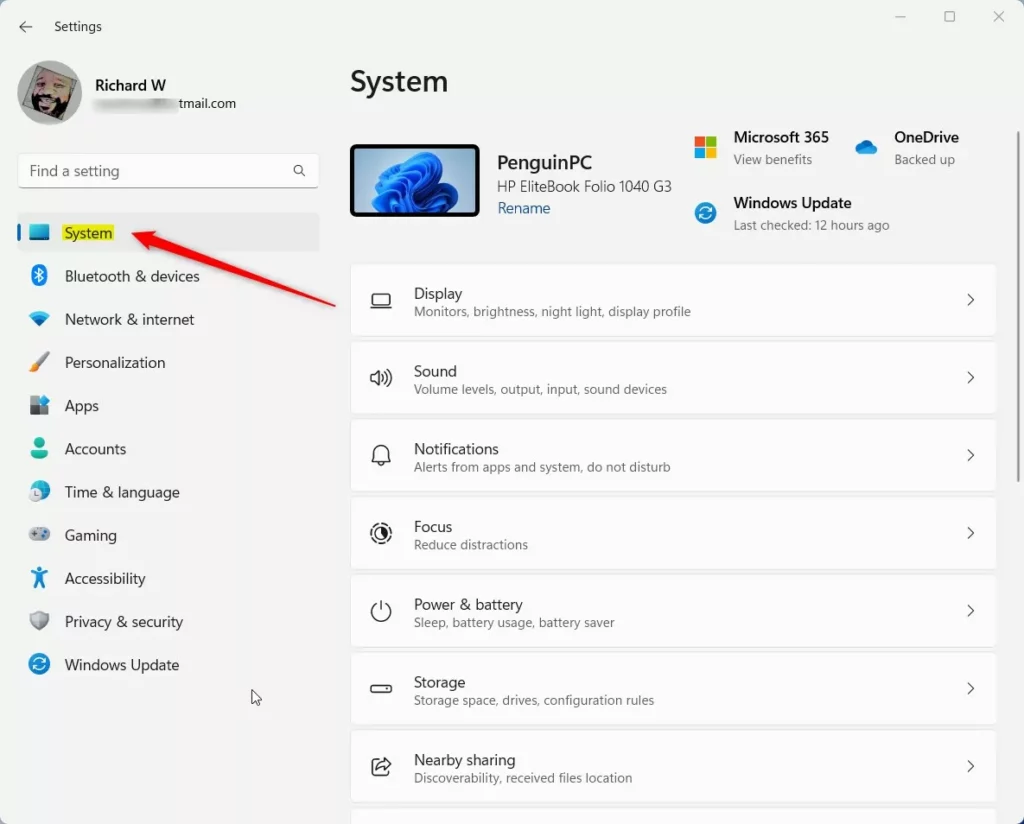
Once Developer Mode is turned on, open the Windows Settings app.
You can do that by clicking on the Start menu and selecting Settings. Or press the keyboard shortcut (Windows key + I) to launch the Settings app.
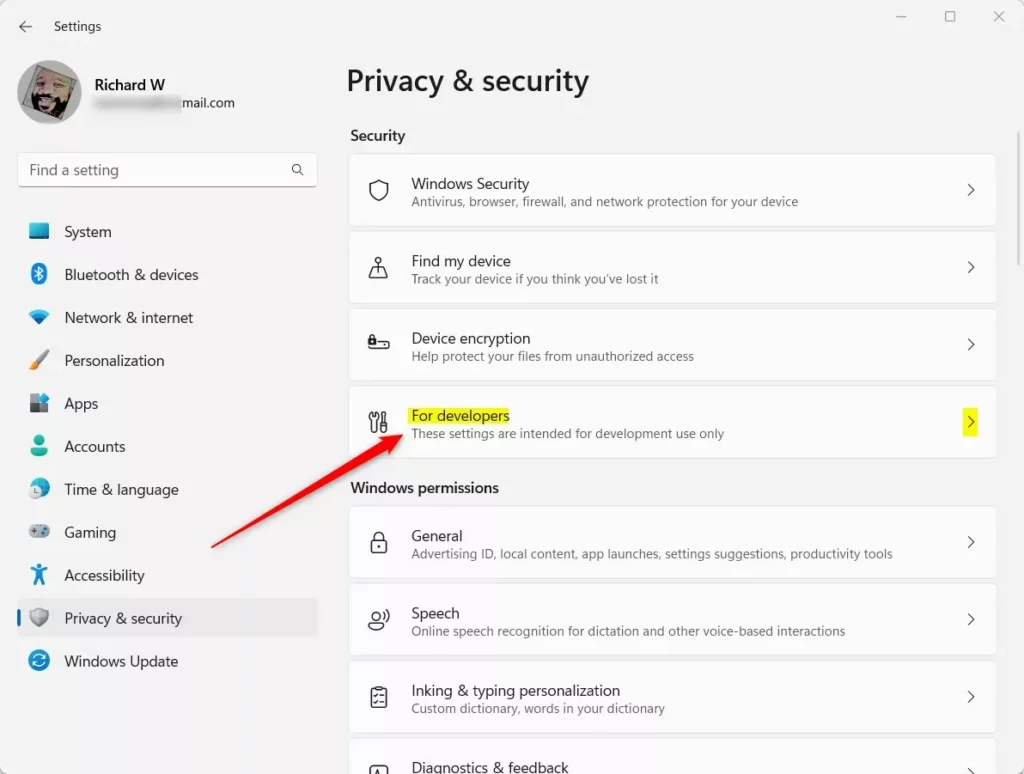
When the Setting app opens, click the Accessibility button on the left.
Select the For developer tile on the right to expand it.
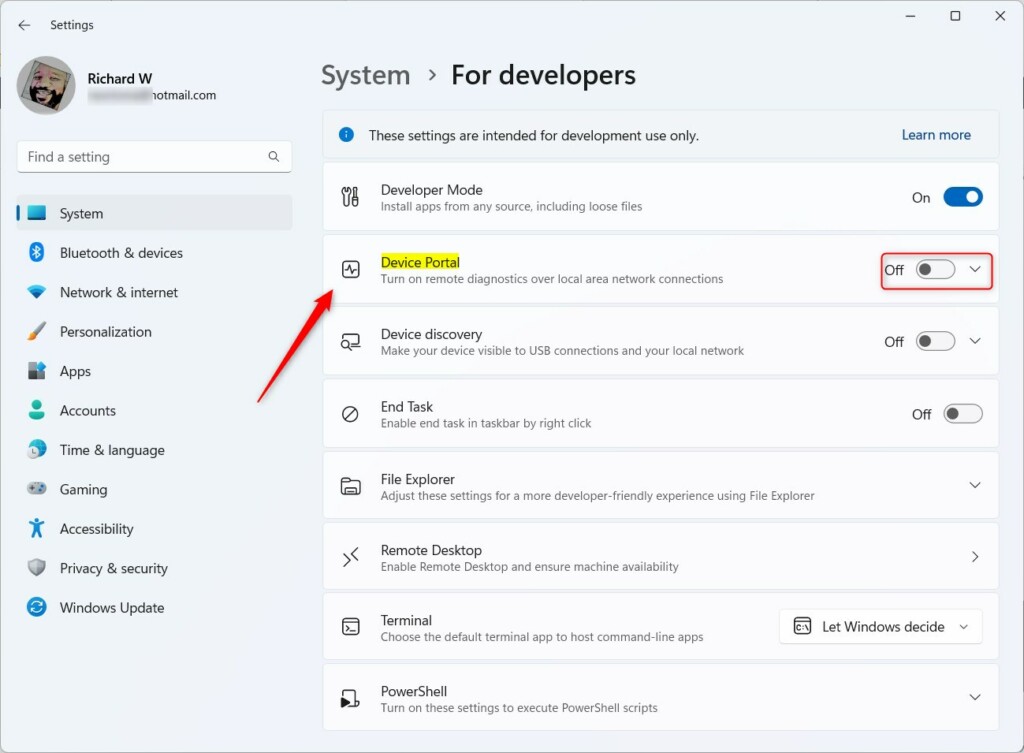
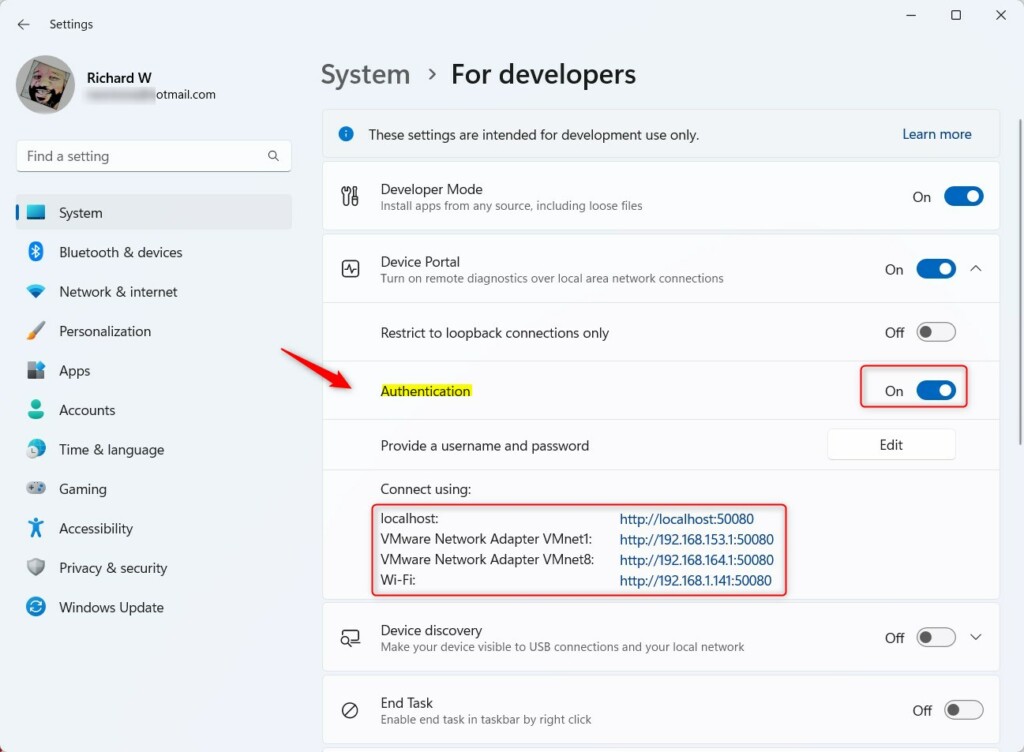
On the System -> For developer setting pane under Developer Mode, select the “
Device Portal” tile.
Then, toggle the switch to the On position to enable it.
To disable it, toggle the switch to the Off position.
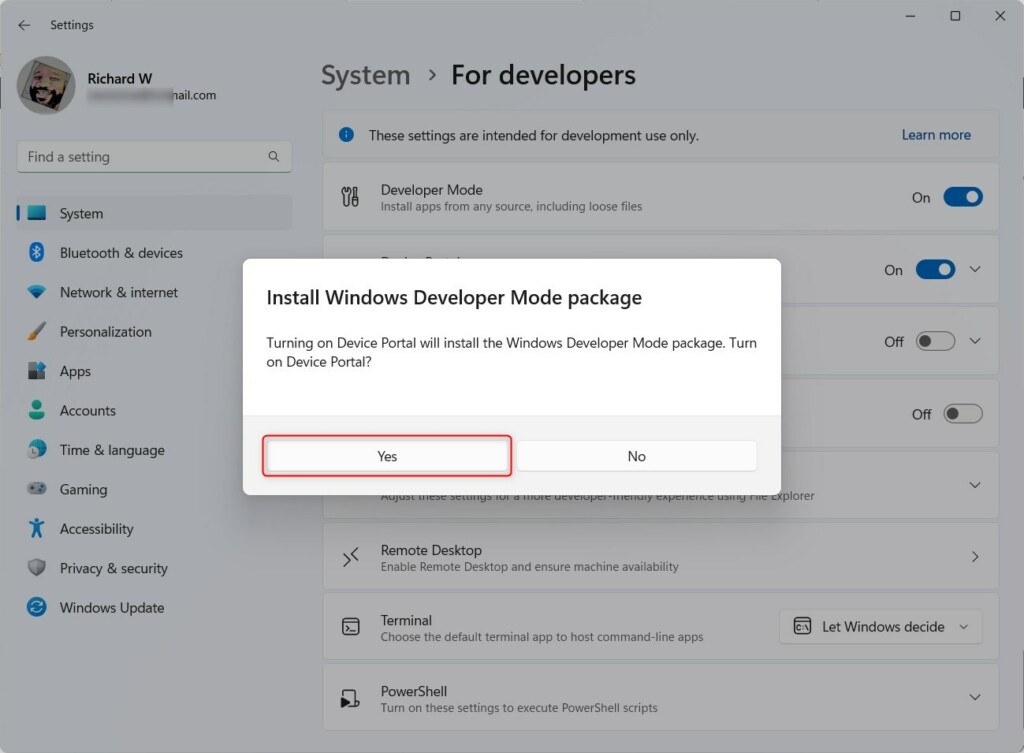
When you turn it on for the first time, Windows will prompt you to download and install the Windows Developer Mode package.
Click Yes to download the package.
Once the Device Portal is enabled, you can turn on or off ‘Authentication’ so that users must type a username and password to access the Device Portal.
The connection address will also be displayed.
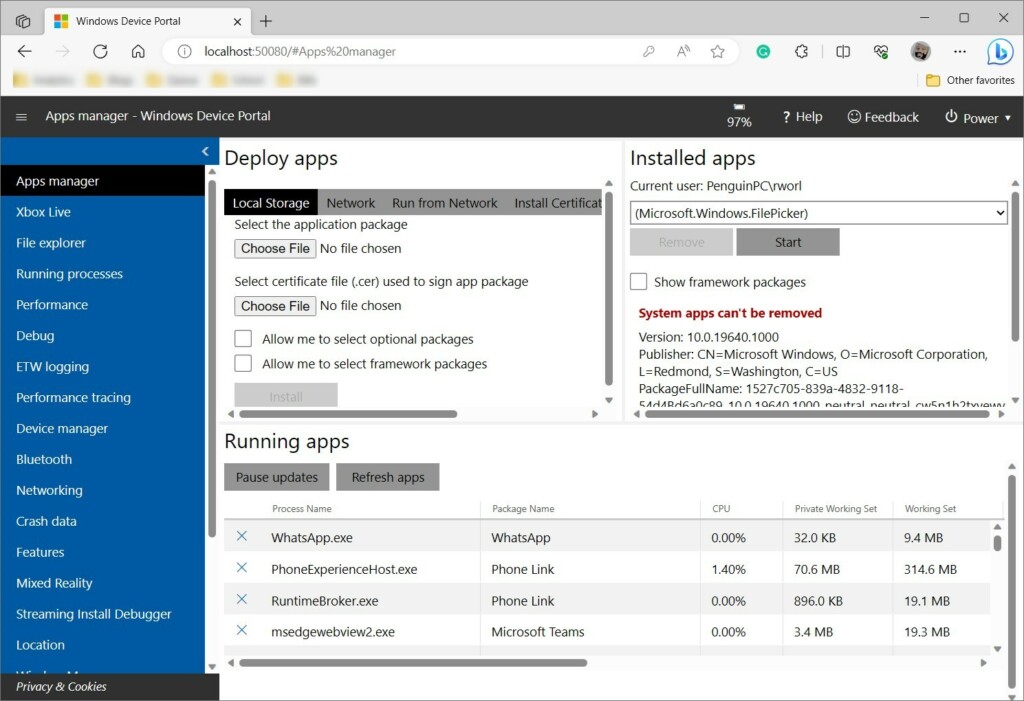
Open your browser and browse to the local host address to log in.
That should do it!
Source:
Conclusion:
- Enabling Windows Device Portal (WDP) allows remote access and advanced diagnostic tools to manage your Windows 11 device seamlessly.
- Following the steps outlined in this article, you can easily turn on or off WDP in Windows 11, adapting it to your specific needs.
- The ability to toggle the ‘Authentication’ feature in WDP ensures additional security by requiring a username and password for access.
- Whether for troubleshooting or device management, WDP offers a comprehensive set of tools for users to leverage effectively.
If you find any errors above or have something to add, please use the comments form below.

Leave a Reply to How to limit the Device Portal to only loopback connections in Windows 11 - Geek Rewind Cancel reply