How to Set up OpenSSH Key-Pair Authentication in Ubuntu 26.04

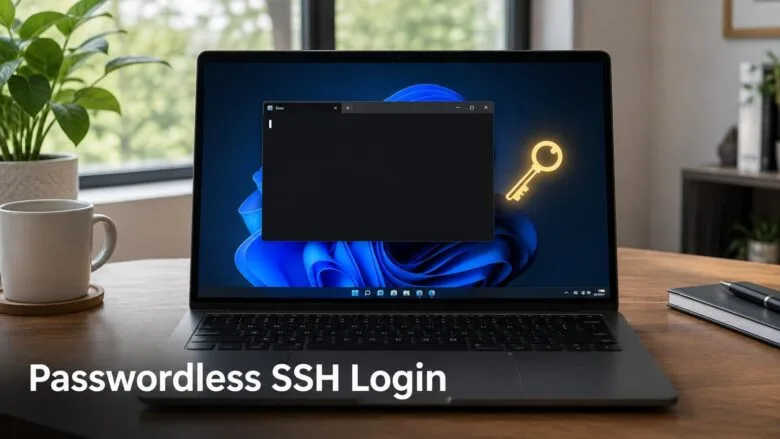
SSH key-pair authentication lets you log in to an Ubuntu server from Windows 11 without typing a password. Your PC keeps a private key, and the server keeps a matching public key. When the two match, the server lets you in.
Ubuntu 26.04 uses OpenSSH, which is the SSH tool built into Windows 11 as well. You create the key pair with ssh-keygen in PowerShell, then copy the public key into the ~/.ssh/authorized_keys file on the server. After that, a normal ssh command connects you straight in.
Once the key works, you can turn off password login on the server for extra safety. Keep the private key safe, because anyone who has it can log in as you. Test your key login in a second window before you turn off passwords, so you do not lock yourself out.
Create an Ed25519 key pair in PowerShell with ssh-keygen -t ed25519, then copy the public key file, id_ed25519.pub, into ~/.ssh/authorized_keys on your Ubuntu server. Connect with ssh USERNAME@192.0.2.10 and you reach the server prompt without the account password. Your private key stays on your Windows PC and never leaves it.
How key-pair authentication works
A key pair is two linked files. The private key stays on your Windows PC. The public key goes on the server. When you connect, the server checks that your PC holds the matching private key, so no password crosses the network.
The examples use USERNAME for your account on the server and 192.0.2.10 for its IP address. Replace both with your own values.
Check that the OpenSSH client is installed on 🪟 Windows 11
Windows 11 includes the OpenSSH client by default. Confirm it is present before you start.
- Right-click the Start button and select Terminal.
- Run this command to check the client version:Code
ssh -V
- Look at the output. A version string means the client is installed.
If Windows says the command isn't recognized, open Settings System Optional features and select View features. Search for OpenSSH Client and install it.
Create the key pair on your Windows PC
This step generates the private and public key files in your user profile. You don't need administrator rights.
- Open Terminal (PowerShell).
- Run this command to create an Ed25519 key (a modern, compact key type):Code
ssh-keygen -t ed25519
- At the Enter file in which to save the key prompt, press Enter to accept the default location,
C:\Users\USERNAME\.ssh\id_ed25519. - Type a passphrase when prompted, then type it again to confirm. A passphrase protects the private key if someone copies the file. You can press Enter twice to skip it, but a passphrase is safer.
- Look for a message saying your identification and public key were saved. You now have
id_ed25519(private) andid_ed25519.pub(public).
.pub extension.That file is your private key.
Copy the public key to the Ubuntu server
Windows has no ssh-copy-id tool, so you paste the key onto the server by hand. You log in with your password one last time to do it.
Copy the public key to the clipboard
This puts the public key on your clipboard, ready to paste. In PowerShell, run:
Get-Content $env:USERPROFILE\.ssh\id_ed25519.pub | Set-Clipboard
To read the key on screen instead, run the same command without | Set-Clipboard. The key is one line that starts with ssh-ed25519.
Add the key on the server
- Connect to the server with your password:Code
ssh USERNAME@192.0.2.10
- If SSH asks you to trust the host's fingerprint, type
yes, then enter your password. - Create the
.sshfolder and restrict it to your account:Codemkdir -p ~/.ssh
chmod 700 ~/.ssh - Open the key file in the nano editor:Code
nano ~/.ssh/authorized_keys
- Paste the key from your clipboard by right-clicking in the terminal window. The key must stay on a single line.
- Press Ctrl+O, press Enter to save, then press Ctrl+X to exit.
- Restrict the file so only you can read and write it:Bash / Shell
chmod 600 ~/.ssh/authorized_keys
- Type
exitto close the session.
SSH ignores the key file if its permissions are too open, so run both chmod commands.
Test the key login
- In PowerShell on Windows, connect again:Code
ssh USERNAME@192.0.2.10
- Enter your key passphrase if you set one. You reach the server prompt without being asked for the account password.
If the server still asks for the account password, run ssh -v USERNAME@192.0.2.10 and read the lines about offered keys. Permissions on the server are the most common cause.
Stop typing the passphrase every time with ssh-agent
ssh-agent is a Windows service that holds your unlocked private key in memory, so you enter the passphrase once instead of on every connection. Starting the service requires an elevated (administrator) window.
- Right-click Start and select Terminal (Admin). Select Yes at the User Account Control prompt.
- Set the service to start manually, then start it:PowerShell
Get-Service ssh-agent | Set-Service -StartupType Manual
Start-Service ssh-agent - Close the admin window and open a normal Terminal window.
- Add your key to the agent:Code
ssh-add $env:USERPROFILE\.ssh\id_ed25519
- Enter the passphrase once. The agent remembers the key for later connections.
To start the agent automatically at every sign-in, use -StartupType Automatic instead of Manual in step 2.
Turn off password login on the server (optional)
Once key login works, disabling passwords stops anyone from guessing yours. This step requires sudo (administrator rights on the server).
If you lock yourself out, you need console access (a direct connection to the server that does not use SSH) to fix it.
- Connect to the server using your key.
- Create a configuration override file:Bash / Shell
sudo nano /etc/ssh/sshd_config.d/99-keys-only.conf
- Add this line:Code
PasswordAuthentication no
- Press Ctrl+O, Enter, then Ctrl+X.
- Check the file for errors. No output means the syntax is valid:Bash / Shell
sudo sshd -t
- Confirm the active value:ExpectBash / Shell
sudo sshd -T | grep -i passwordauthentication
passwordauthentication no. If it saysyes, another file in the folder, such as one created by cloud-init (a tool that sets up a server the first time it starts), takes priority. SSH uses the first value it reads, so rename your file so it sorts earlier, for example00-keys-only.conf. - Apply the change:Bash / Shell
sudo systemctl restart ssh
- Open a second PowerShell window and connect with
ssh USERNAME@192.0.2.10. It logs in with your key.
If this didn't work
To undo the lockdown, delete the override file with sudo rm /etc/ssh/sshd_config.d/99-keys-only.conf and run sudo systemctl restart ssh to bring password login back. If key login keeps failing, check the server log with sudo journalctl -u ssh -e. It names the permission or ownership problem. Next, consider restricting SSH to specific users or setting up port forwarding.
Does my Ubuntu Server require SSH key authentication?
No, Ubuntu Server does not require SSH key authentication by default. Password login stays enabled out of the box, so anyone who knows a valid account password can connect. Key authentication is optional, but it is the safer choice for remote logins. After your key works, you can turn off password login in the SSH configuration.
How secure is SSH key authentication?
SSH key authentication is much harder to break than a password. A key is a long string of random data that cannot be guessed, so brute-force attempts fail. Security depends on keeping the private key safe. Anyone who copies it can log in as you, so store it only on your own PC and protect it with a passphrase.
Does OpenSSH use a private key?
Yes. OpenSSH uses a private key on your client computer and a matching public key on the server. When you connect, the client proves it holds the private key without sending it over the network. The server checks that proof against the public key stored in authorized_keys.
What is a SSH key pair?
An SSH key pair is two linked files that work together to log you in. The private key stays on your own computer and must stay secret. The public key goes on the server. The server lets you in only when the two match, so no password is sent.
Was this guide helpful?

About the Author
Richard
Tech Writer, IT Professional
Richard is a writer at Geek Rewind who turns complex IT tasks into clear, step-by-step guides. He draws on years of hands-on experience in system administration and enterprise IT operations, focusing on Windows, Linux and WordPress: the problems people actually run into, and the fixes that work. His server and WordPress guides come from systems he runs himself. Richard builds and maintains the platform behind Geek Rewind, from its Ubuntu servers and Nginx configuration to its custom WordPress plugins. Many new tutorials start with readers' questions, and he's always glad to answer them in the comments.
No comments yet — be the first to share your thoughts!