

This article explains how to set up on-device encryption in Google Chrome.
Google Chrome is a cross-platform web browser developed by Google. It and Microsoft Edge share the same codebase. They are practically identical in basic functionalities, using browsing activities, including history and other browsing data, to provide personalized ads, search, shopping, and news.
Chrome has added a new feature called on-device encryption that turns your device (phones, tablets, passkey, etc.) into a key that locks your passwords before saving them to Google Password Manager.
Encryption makes the info you save to Google more secure. When you enable on-device encryption, the unique key used to encrypt your data makes it impossible for anyone else to read it. Then, the only way to read the information is by unlocking it with the same unique key.
Once on-device encryption is set up, you can use your Google password or the screen lock for compatible phones or tablets to unlock your password or passkey. This means that only you can see your passwords. It also means that if you lose the key, you could lose your passwords, too.
The steps below show you how to set up On-device encryption in Google Chrome.
Turn On or Off on-device encryption in Google Chrome
As mentioned above, Google Chrome adds a new feature to make it impossible for anyone to see your passwords once encrypted using a unique key.
It is called on-device encryption. The steps below show you how to set it up in Google Chrome.
Here’s how to set it up.
First, open the Google Chrome browser.
Then click on the Customize and Control (3 vertical dots button) in the top right corner and select Settings.

On the Settings page on the left panel, click the Autofil and passwords link on the left.

Next, select the “Google Password Manager” tile on the right to open it.

Users can also use the URL below in the address bar to go directly to Google Chrome Password Manager.
chrome://password-manager/passwords
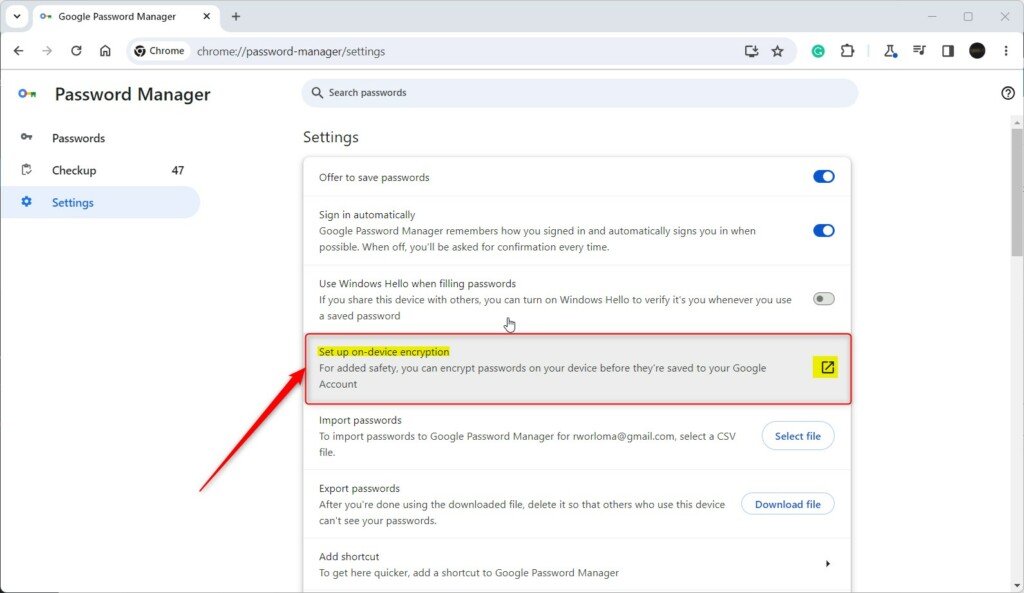
Select the Settings link on the Password Manager page under the left navigation menu.
Then click the Set up on-device encryption link Settings highlighted below.
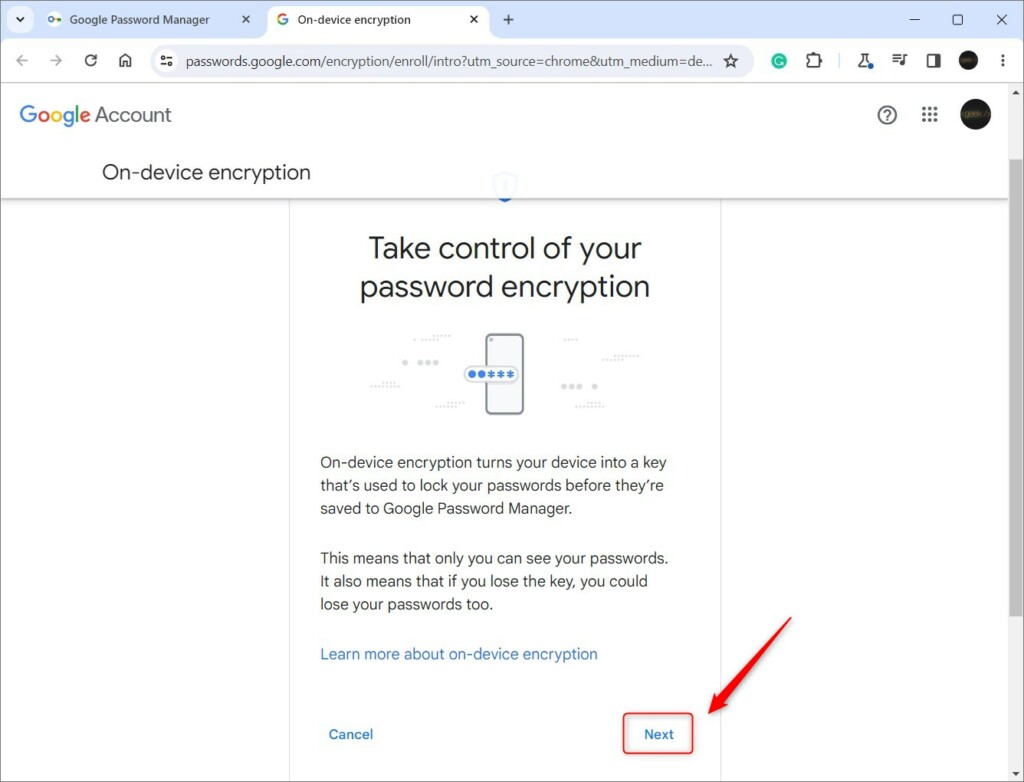
Click the Next button to continue setting up on-device encryption in Google Chrome.
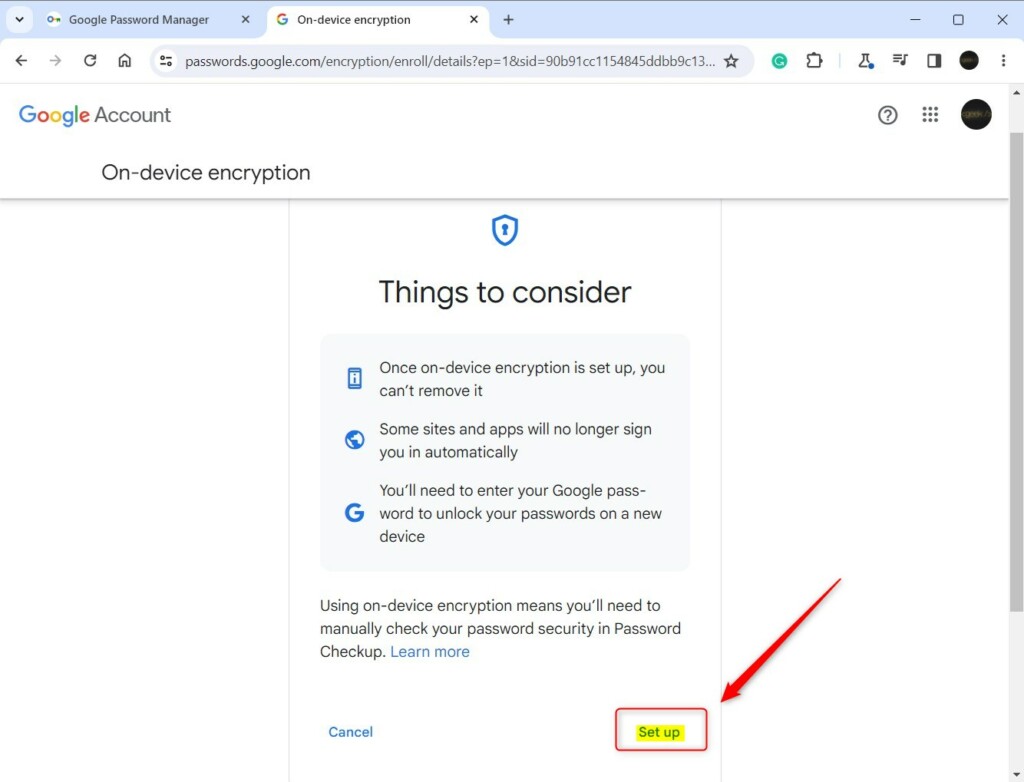
Read the “Things to consider” list and click the Set up button when ready.
If your device supports passkey, use the on-device encryption with passkey. Windows Hello authentication is used to identify you before accessing the Password Manager.
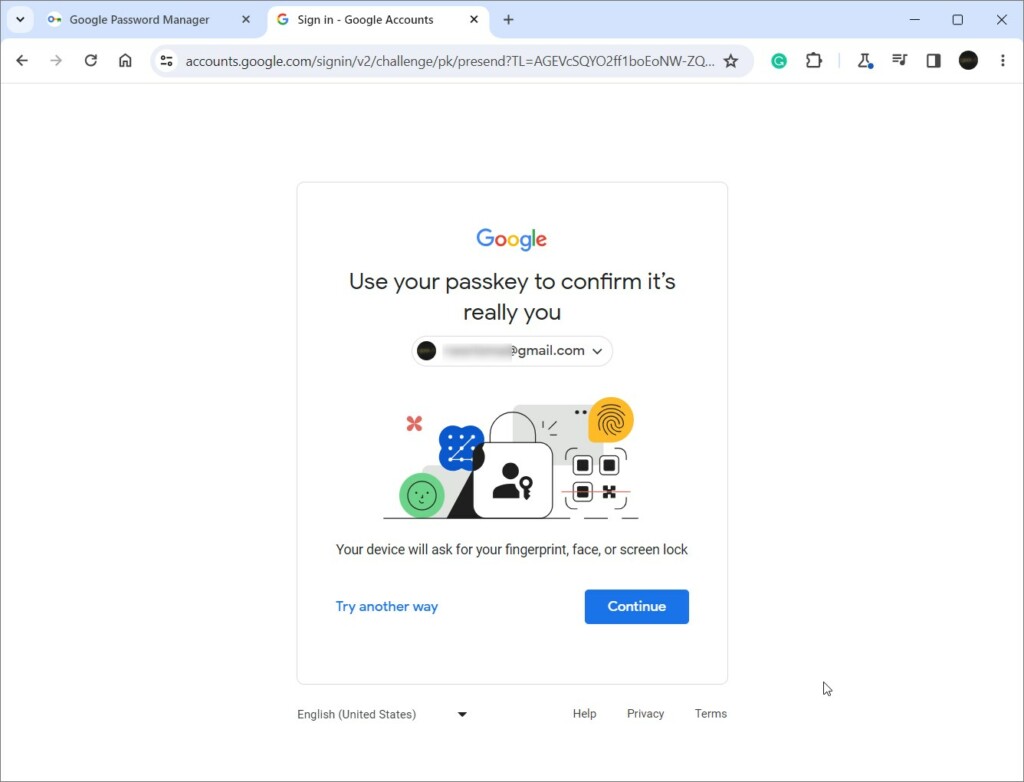
A mobile phone, iPad, or tablet can also be used as a unique device with a passkey.

Once a device is connected, a prompt will appear on the selected device to confirm your identity using a fingerprint, PIN, or other means.
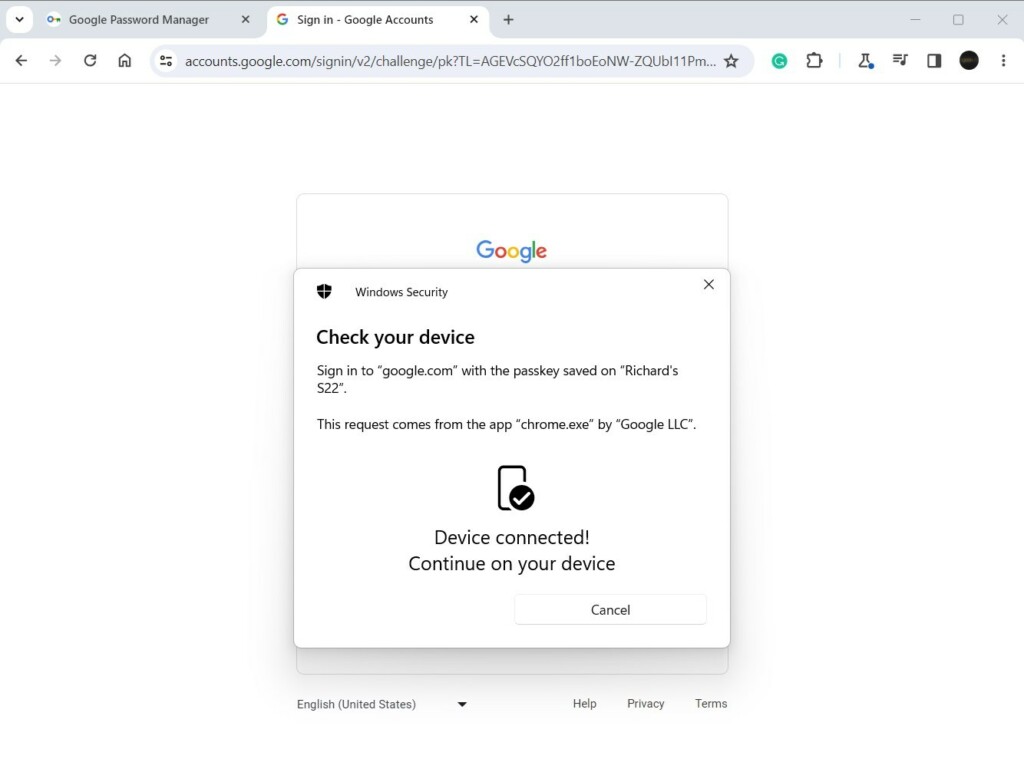
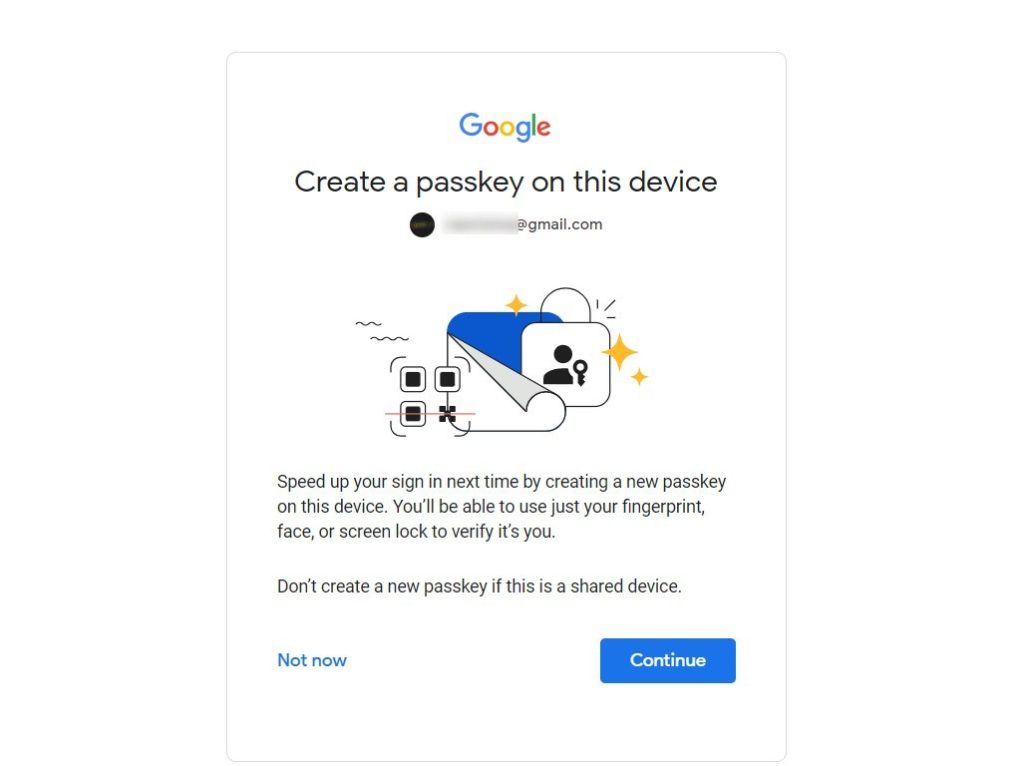
Once you have identified your identity, click Continue to create a passkey.
When all is done, you should see a Done button. Click it to complete the setup.
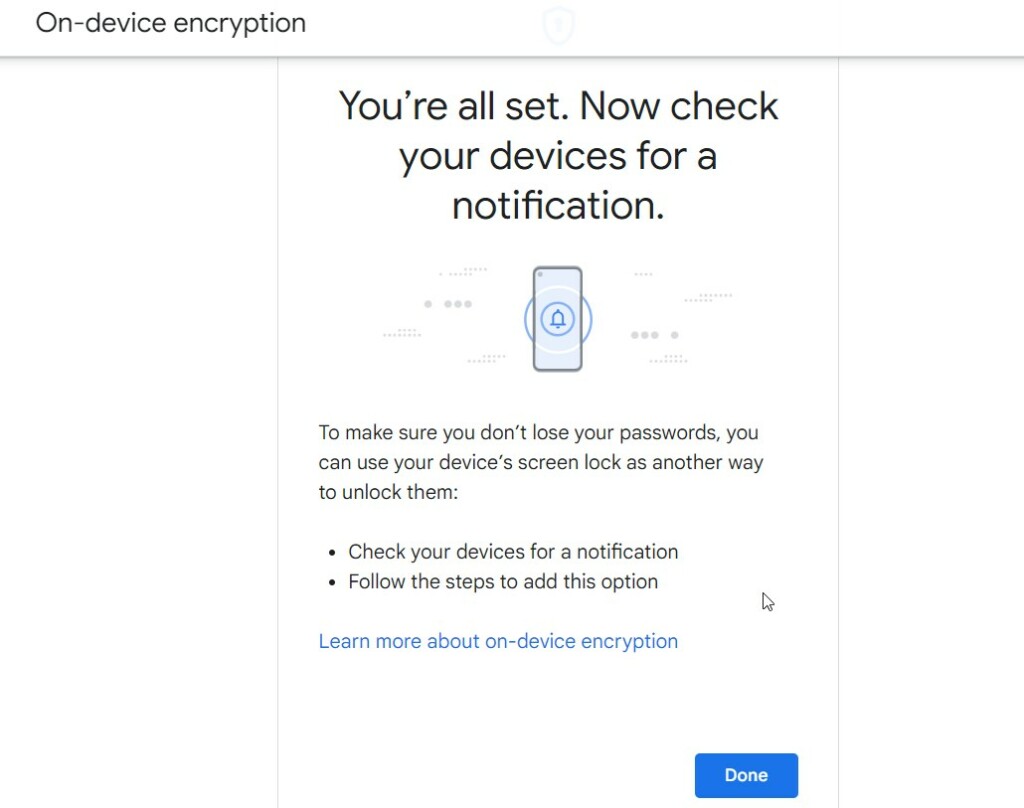
Your passwords are now encrypted on your device.
That should do it!
Reference:
Conclusion:
- On-device encryption in Google Chrome provides an additional layer of security for your saved passwords, making them accessible only with a unique key.
- Following the simple steps outlined in this article, you can enable on-device encryption and ensure your passwords are protected against unauthorized access.
- This feature is especially valuable for users who prioritize the security of their personal information while using Google Chrome.
- If you encounter any issues or wish to contribute additional insights, your feedback is greatly appreciated via the comments section below.

Leave a Reply