How to Install Fleet Osquery Manager on Ubuntu Linux

Fleet OSquery Manager on Ubuntu Linux lets you manage and keep an eye on all your computers from one place.
This manager gives you a handy web page to run live questions, collect info about your devices, and find security risks across your whole system. It uses OSquery, which acts like a powerful database for your computer’s information, letting you ask questions about your system data just like you would a regular database.
With this setup, you get a clear, real-time view and control over every machine in your network. For instance, you can quickly find all Ubuntu 22.04 LTS computers running an old version of a security package.
Install MariaDB Database Server
Fleet Osquery Manager requires a database to store its information. Installing MariaDB on your Ubuntu system is a common way to set this up. You’ll need to run a few commands to get MariaDB installed and running correctly.
Run these commands to install it:
sudo apt update
sudo apt install mariadb-server
After installation, make sure the service starts whenever your computer turns on:
sudo systemctl stop mariadb
sudo systemctl start mariadb
sudo systemctl enable mariadb
Setup Fleet Database
Once MariaDB is installed, you need to set up a dedicated database for Fleet Osquery Manager. This involves running a security script to protect your database and then creating the specific database that Fleet will use.
sudo mariadb-secure-installation
CREATE DATABASE fleetdb;
CREATE USER ‘fleetuser’@’localhost’ IDENTIFIED BY ‘your_strong_password’;
GRANT ALL PRIVILEGES ON fleetdb.* TO ‘fleetuser’@’localhost’;
FLUSH PRIVILEGES;
EXIT;
Install Redis Server
Fleet uses Redis, an in-memory data structure store often used for caching and message brokering, to handle quick data tasks. Install it with this command:
sudo apt install redis
sudo systemctl enable redis-server
sudo systemctl start redis-server
Install Fleet Osquery Manager
Docker Deployment (Recommended)
Here’s how to get started with Docker Deployment:
First, install Docker on your Ubuntu system. Then, create a folder for your configuration and run Fleet as a container. This keeps your setup isolated and simple to update.
Manual Binary Installation
Installing Fleet Osquery Manager directly on Ubuntu without using Docker is possible by downloading the latest version. This method uses a simple script to fetch and unpack the necessary files for installation.
LATEST_VERSION=$(curl -s https://api.github.com/repos/fleetdm/fleet/releases/latest | grep tag_name | cut -d ‘”‘ -f 4)
curl -LO https://github.com/fleetdm/fleet/releases/download/$LATEST_VERSION/fleet_$LATEST_VERSION_linux.tar.gz
tar xf fleet_$LATEST_VERSION_linux.tar.gz
sudo cp fleet /usr/local/bin/
Systemd Service
To ensure Fleet Osquery Manager runs continuously in the background on your Ubuntu system, you need to set up a systemd service. This involves creating a configuration file that tells systemd how to start, stop, and manage the Fleet service.
sudo nano /etc/systemd/system/fleet.service
Add this configuration:
[Unit]
Description=Fleet Osquery Manager
After=network.target
[Service]
User=fleet
ExecStart=/usr/local/bin/fleet serve –config /etc/fleet/fleet.yml
Restart=always
[Install]
WantedBy=multi-user.target
Enable and start the service:
sudo systemctl daemon-reload
sudo systemctl enable fleet
sudo systemctl start fleet
Configure Nginx Reverse Proxy
Configuring Nginx as a reverse proxy for Fleet OSquery Manager on Ubuntu is a recommended step. This setup helps manage secure connections using SSL certificates and directs traffic to the Fleet application running on your server.
sudo apt install nginx certbot python3-certbot-nginx
Create an Nginx configuration file that points to your server’s domain and forwards traffic to your Fleet port (usually 8080). Use Certbot to automatically attach your SSL certificate to the site.
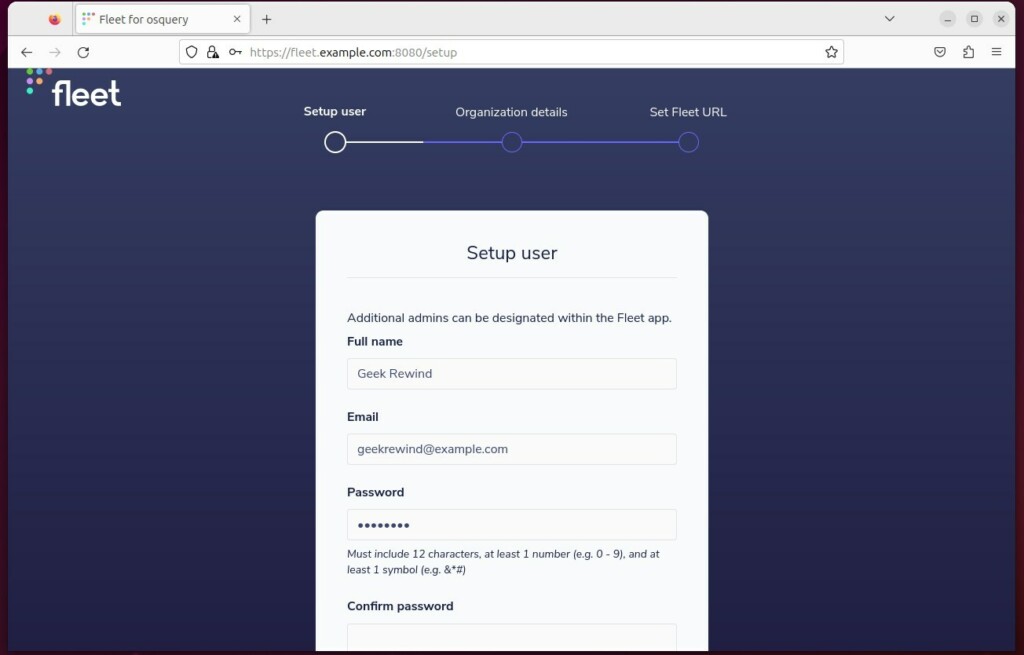
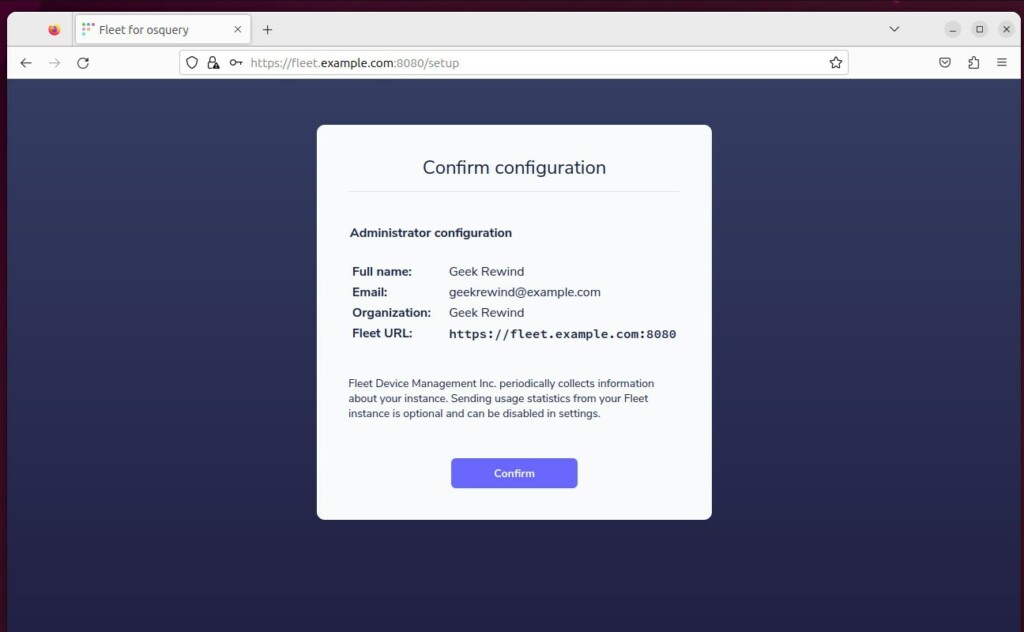
Once finished, visit your domain in a web browser to finalize the setup.
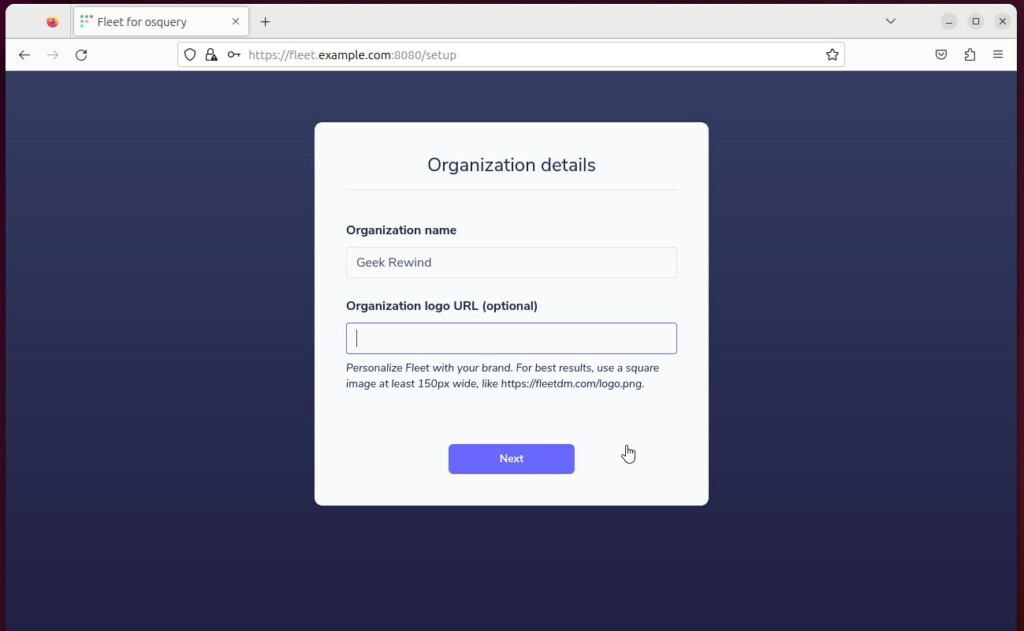
Follow the screen prompts to create your admin account.
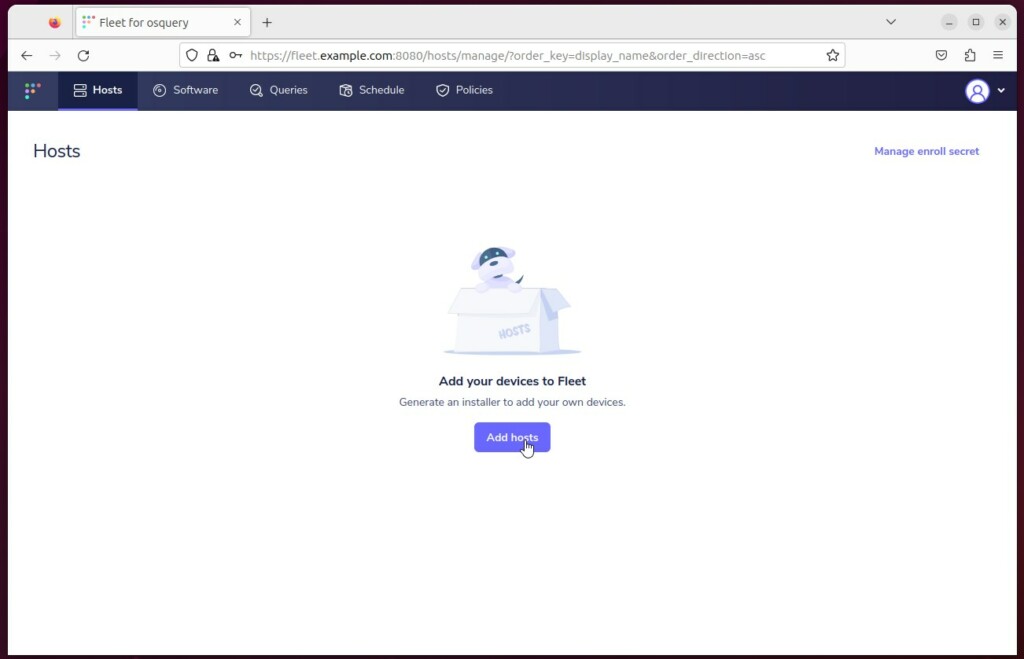
You can now add your devices to the dashboard.
Conclusion
You have successfully installed the Fleet OSquery Manager. Your system is now ready to track and manage your devices securely. By using modern tools like Docker and Nginx, you have ensured that your management platform remains stable and safe for years to come.
[Unit] [Service] [Install] [1] [5395] [5395]
What is fleet Osquery?
Fleet is an open source management system for osquery, the cross-platform agent that allows you to ask anything of your endpoints, from laptops to servers and containers.
What software is used for fleet management?
Fleetio is a comprehensive fleet management software solution designed to streamline operations, enhance maintenance workflows and provide actionable insights for businesses of all sizes. Trusted by thousands of organizations worldwide, Fleetio has become a leading choice for fleet optimization.
Was this guide helpful?

About the Author
Richard
Tech Writer, IT Professional
Richard, a writer for Geek Rewind, is a tech enthusiast who loves breaking down complex IT topics into simple, easy-to-understand ideas. With years of hands-on experience in system administration and enterprise IT operations, he’s developed a knack for offering practical tips and solutions. Richard aims to make technology more accessible and actionable. He's deeply committed to the Geek Rewind community, always ready to answer questions and engage in discussions.


No comments yet — be the first to share your thoughts!