How to GitLab on Ubuntu 24.04

You install GitLab on Ubuntu 24.04 to create your own self-hosted Git repository manager.
GitLab is a comprehensive DevOps platform that provides source code management, CI/CD pipelines, and issue tracking for your development workflow. It’s an essential tool for streamlining your software development lifecycle.
This guide helps you set up GitLab Community Edition, the free and open-source version, on Ubuntu 24.04 LTS. You’ll get a powerful, self-hosted solution for managing all your projects.
Install GitLab on Ubuntu 24.04 by first ensuring OpenSSH and an SMTP server are set up. Then, install necessary packages, download the GitLab repository script, and finally install GitLab using apt. Run `sudo gitlab-ctl reconfigure` to complete the setup.
Install OpenSSH
Before you can install GitLab on Ubuntu, you’ll need OpenSSH server set up. If you haven’t already done so, check out our guide on how to install it on Ubuntu.
How to install OpenSSH server on Ubuntu
Once that’s done, you can move on.
Install SMTP server
Before you install GitLab, you’ll need a way to send emails, and that means setting up an SMTP server. A simple way to do this on Ubuntu is by installing the Postfix MTA server, which will handle all your outgoing mail.
How to install Postfix on Ubuntu
After that’s complete, you’re ready for the main event: installing GitLab.
Install GitLab
Now it’s time to install GitLab on your Ubuntu 24.04 system. You’ll start by running a command to get some needed packages, then download the GitLab repository script, and finally use that script to install GitLab itself.
Start by installing some recommended packages with this command:
sudo apt install ca-certificates tzdata perl
Then, download the GitLab repository installer using this command:
curl -O https://packages.gitlab.com/install/repositories/gitlab/gitlab-ee/script.deb.sh
sudo bash ./script.deb.sh
Finally, install GitLab itself by running this command:
sudo apt update
sudo apt install gitlab-ee
If everything went well, you will get a success message like the one below.
       *.                  *.
      ***                 ***
     *****               *****
    .******             *******
    ********            ********
   ,,,,,,,,,***********,,,,,,,,,
  ,,,,,,,,,,,*********,,,,,,,,,,,
  .,,,,,,,,,,,*******,,,,,,,,,,,,
      ,,,,,,,,,*****,,,,,,,,,.
         ,,,,,,,****,,,,,,
            .,,,***,,,,
                ,*,.


     _______ __  __          __
    / ____(_) /_/ /   ____ _/ /_
   / / __/ / __/ /   / __ `/ __
  / /_/ / / /_/ /___/ /_/ / /_/ /
  ____/_/__/_____/__,_/_.___/


Thank you for installing GitLab!
Configure GitLab next by running the command below.
sudo gitlab-ctl reconfigure
Access GitLab
Once GitLab is installed, you can access it from any computer on your network by opening a web browser. Just type in your server’s IP address or hostname, then log in with the root username and the initial password found in the file.
Enter the root for username and the initial password in the file.
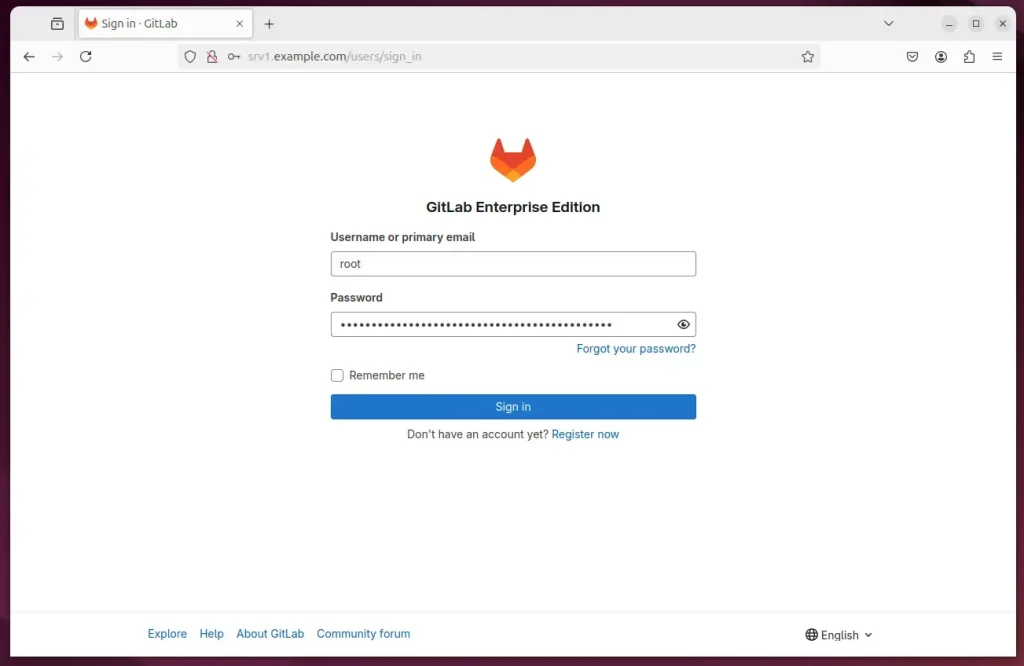
Login and start using GitLab.

That should do it!
Conclusion:
Installing GitLab on Ubuntu 24.04 provides a robust platform for managing your software development projects. Here are the key takeaways from the installation process:
- Prerequisites: Ensure that both the OpenSSH server and an SMTP server (like Postfix) are installed before proceeding.
- Installation Steps: Follow the steps to install necessary packages, download the GitLab repository installer, and install GitLab using the provided commands.
- Configuration: Remember to run the configuration command to set up GitLab properly after installation.
- Access: You can access your newly installed GitLab instance via its IP address or hostname in a web browser.
- Temporary Password: Don’t forget to note down the temporary root password
/etc/gitlab/initial_root_passwordfor your first login.
With these steps completed, you can use GitLab effectively for your development needs!
Was this guide helpful?

About the Author
Richard
Tech Writer, IT Professional
Richard, a writer for Geek Rewind, is a tech enthusiast who loves breaking down complex IT topics into simple, easy-to-understand ideas. With years of hands-on experience in system administration and enterprise IT operations, he’s developed a knack for offering practical tips and solutions. Richard aims to make technology more accessible and actionable. He's deeply committed to the Geek Rewind community, always ready to answer questions and engage in discussions.


No comments yet — be the first to share your thoughts!