
This article provides instructions on how to enable the built-in administrator accounts in Windows 11.
Every Windows 11 computer includes a hidden built-in administrator account that is disabled by default. During the setup of a new computer, you are prompted to create a user account.
The first account you create is automatically added to the administrators group and is granted administrator privileges. This account has special privileges that enable you to perform tasks that a regular user account cannot, such as installing software and making system-wide changes.
Enable the built-in administrator account from the command line
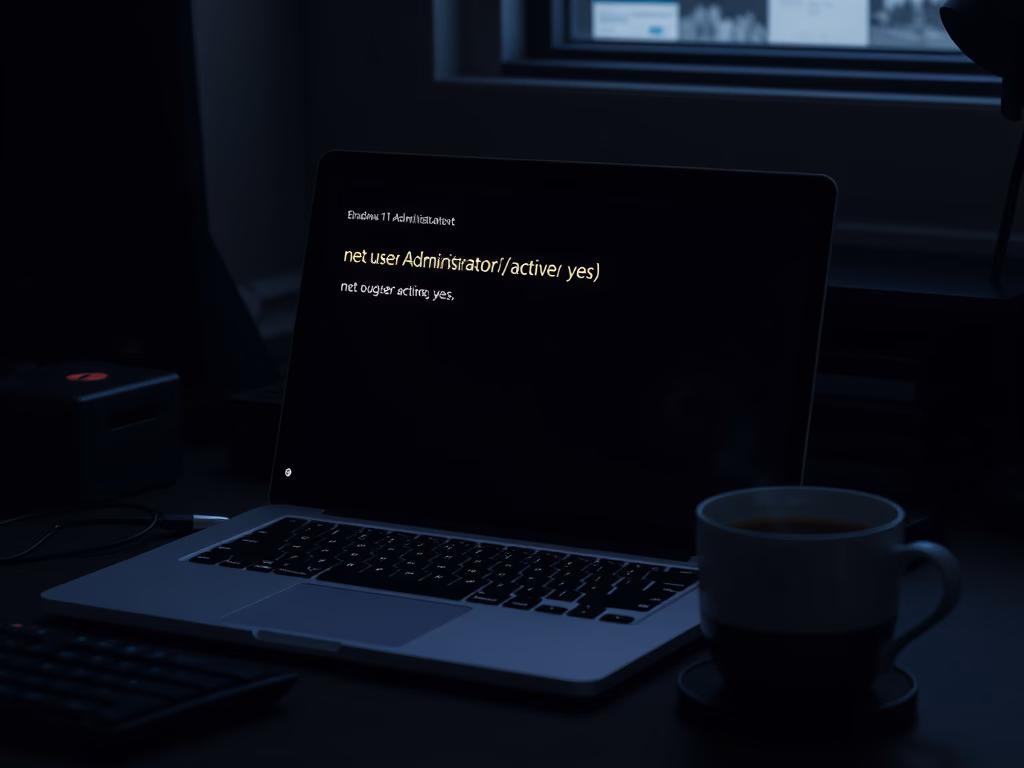
To enable the built-in administrator account from the command line prompt, open it as an administrator, as shown in the image below.

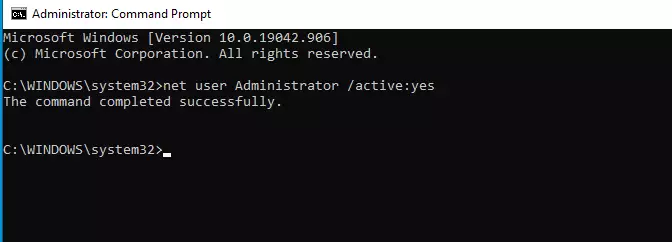
When the command prompt opens, run the commands below to enable the built-in administrator account in Windows 11.
net user Administrator /active:yes
After running the command, you should get a success message like the one below.
That will enable the account. However, you won’t be able to log in with it since you don’t know the password.
To enable the built-in administrator account and create a new password for it, run the commands below:
net user Administrator type_strong_passwore_here /active:yes
Please type_strong_password_here with the password you want to use with the administrator account.
You should now be able to log out of your current account and log in using the built-in administrator account, which was originally disabled and hidden.
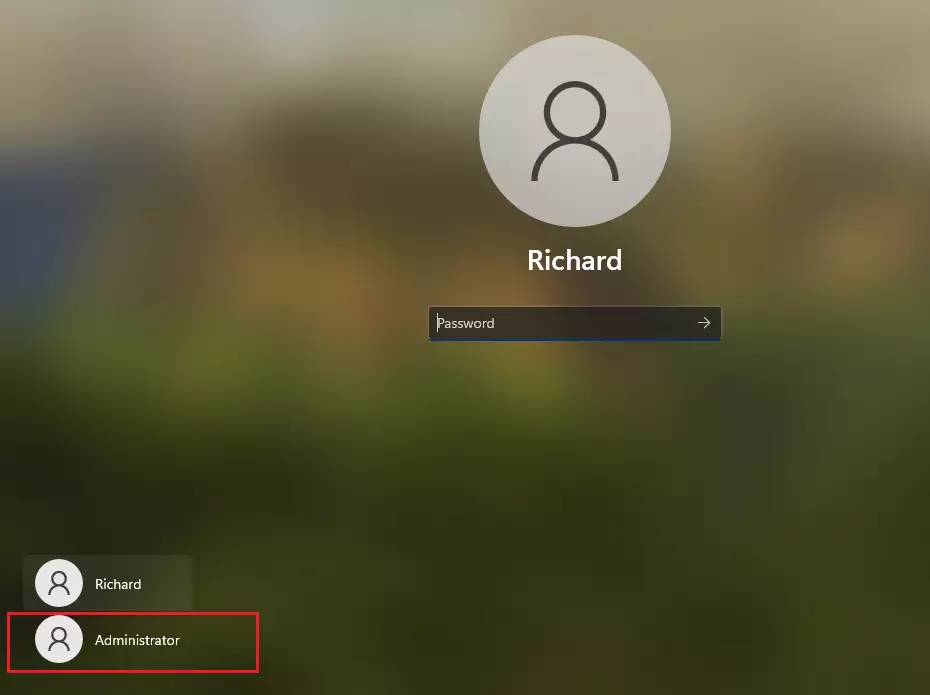
After enabling the account, you should be able to log in as the built-in administrator.
Disable the built-in administrator account
If you wish to deactivate the built-in administrator account, simply run the commands below from an elevated command prompt window.
net user Administrator /active:no
Executing the command above will deactivate and conceal the built-in administrator account in Windows.
Conclusion:
- Enabling the built-in administrator account in Windows 11 provides full control over system settings and resources.
- It can be a useful troubleshooting tool if your primary account is corrupted or locked.
- Care should be taken when using this account, as it lacks the same UAC protections in regular accounts.
- Remember to set a strong password for the administrator account to enhance security.
- Disabling the built-in account when not in use is recommended to maintain system security.
Leave a Reply