How to Delete Windows.old Folder in Windows 11

You can delete the Windows.old folder in Windows 11 to reclaim significant storage space on your C: drive.
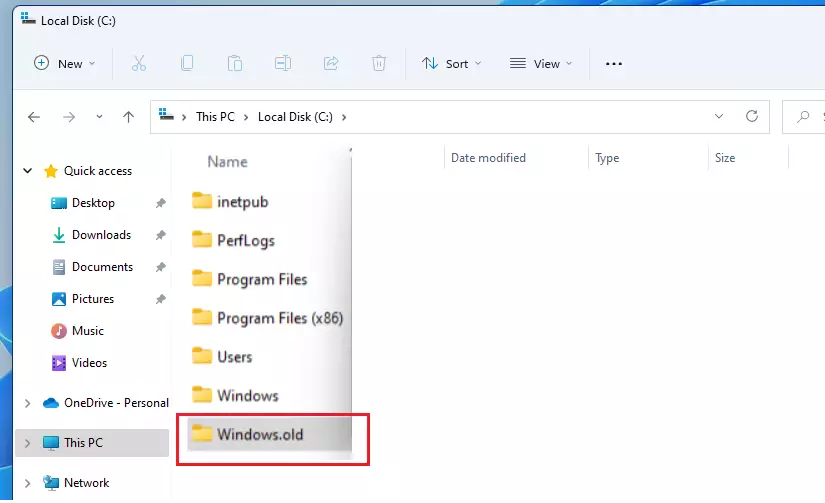
The Windows.old folder is a backup created automatically after a major Windows upgrade, such as moving from Windows 10 to Windows 11. It contains your previous operating system files, allowing you to roll back if necessary within a 10-day window.
The Windows.old folder, after a 10-day automatic deletion period or user confirmation of no rollback need, can be safely removed. This folder frequently occupies over 20 gigabytes of storage space, making its deletion a common disk cleanup action.
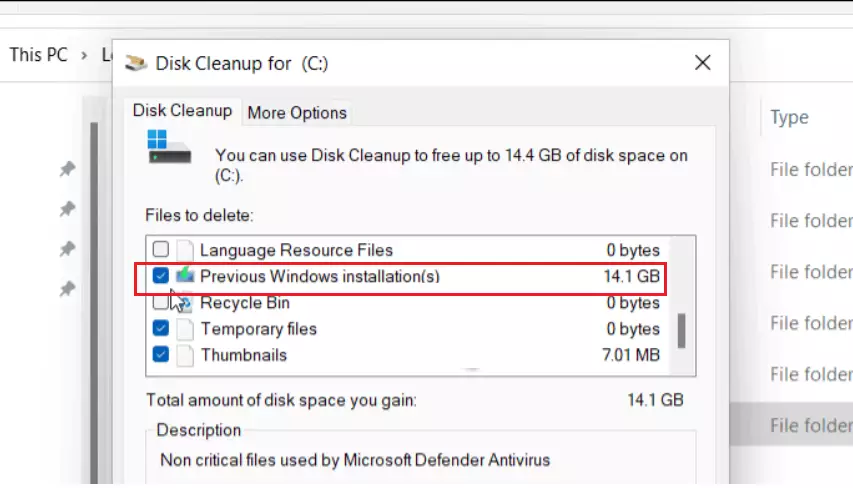
Use Disk Cleanup by searching for it, clicking “Cleanup system files,” checking “Previous Windows installation(s),” and clicking OK. Alternatively, use Command Prompt with administrator privileges and type `rd /s /q 📁C:\Windows.old`.
Why delete the Windows.old folder?
The Windows.old folder stores files from your previous Windows version after an upgrade, but it can take up a lot of space, often 10GB to 30GB.
What happens when done?
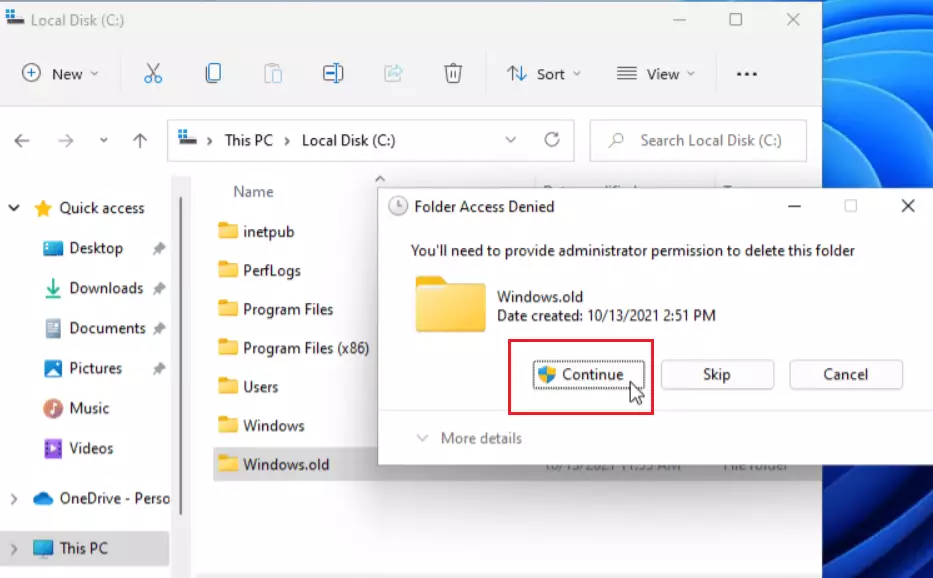
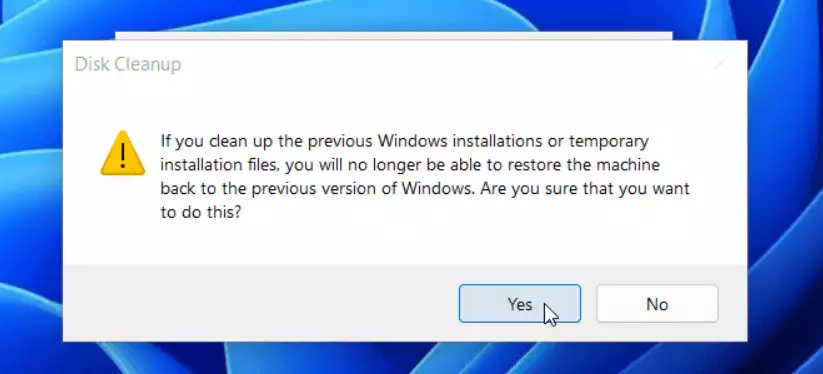
Deleting the Windows.old folder frees up a lot of space on your computer. However, once it’s gone, you won’t be able to easily go back to your old version of Windows using the Settings app. This action is permanent, so make sure you don’t need to roll back before you proceed.
How to use Disk Cleanup (Recommended)
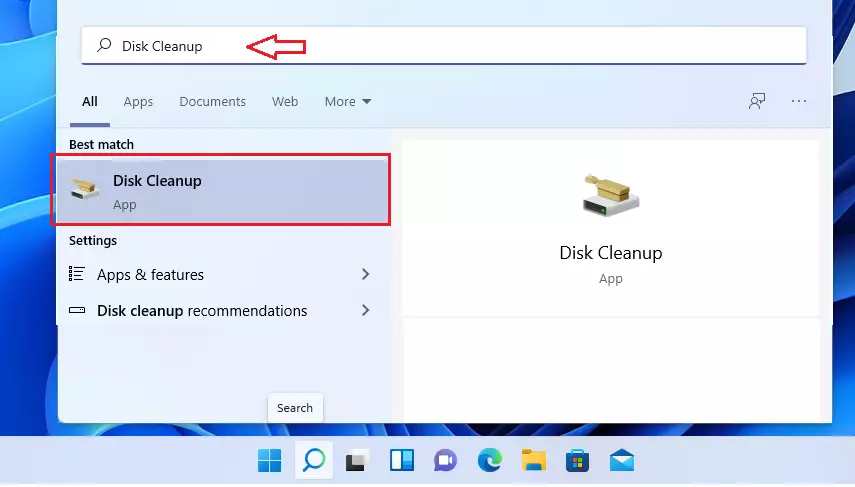
The easiest and safest way to delete the Windows.old folder is by using the built-in Disk Cleanup tool. Windows knows how to handle this process correctly, ensuring everything is removed properly. Just search for Disk Cleanup in the Start menu, select it, and then click the ‘Cleanup System Files’ option to begin.
- Click the Start button and search for Disk Cleanup.
- Select the app from the list.
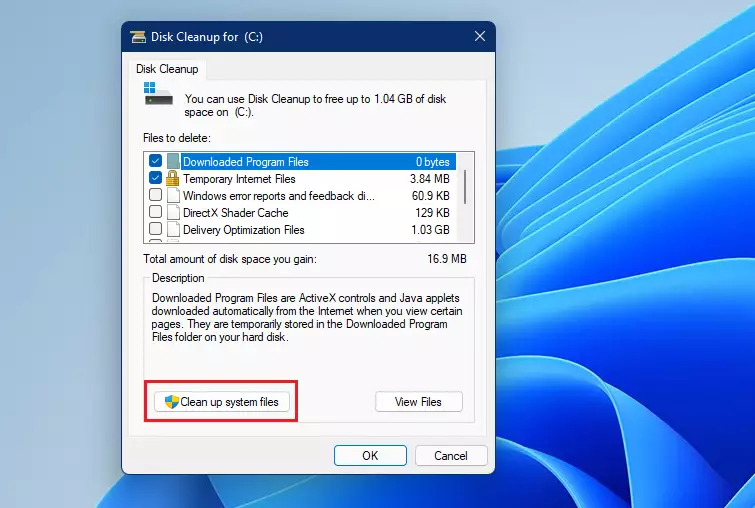
- Click the Cleanup System Files button. (Requires administrator privileges).
- The tool will scan your drive. This might take a few minutes.
- Look for Previous Windows installation(s) in the list.
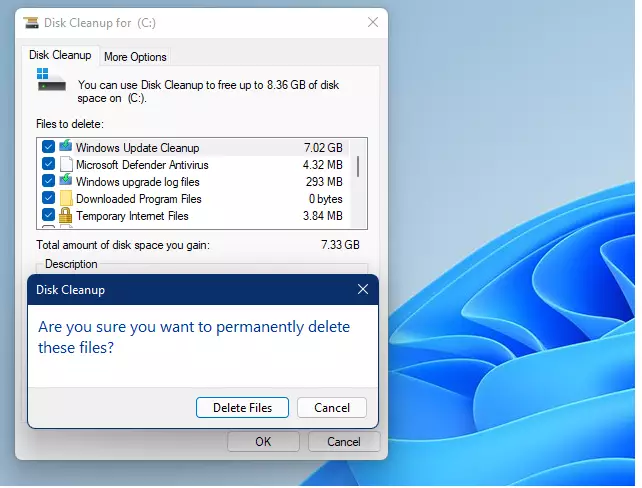
- Check the box and click OK.
How to use Command Prompt for stubborn files
If you’re having trouble deleting the Windows.old folder using normal methods, the Command Prompt can help force its removal. You’ll need to open it as an administrator by searching for ‘cmd’, right-clicking the result, and choosing ‘Run as administrator’. Then, type the command `rd /s /q 📁C:\Windows.old` and press Enter.
- Search for cmd in the Start menu.
- Right-click it and select Run as administrator.
- Type the following command and press Enter: ⚠️WarningThe "rd /s /q 📁C:\Windows.old" command instructs Windows to delete the Windows.old folder. This command removes the folder and all its contents without needing your confirmation, making the process quick.
Automating cleanup with Storage Sense
You can let Windows handle this automatically. Go to Settings > System > Storage > Storage Sense. Turn it on, and Windows will automatically delete temporary files and old installation folders when you are low on space.
Troubleshooting: What if it still won’t delete?
If you still see the folder, run the System File Checker. Open Command Prompt as an administrator and type
sfc /scannow
to repair any system file issues that might be preventing the deletion. For more details, visit the official Microsoft Support page.
Summary
The Windows.old folder holds files from your previous Windows version, and you can delete it to free up storage space if you don’t plan to revert.Is it safe to delete Windows.old?
Yes, it is perfectly safe to delete the Windows.old folder if you are satisfied with your current Windows 11 installation. It contains temporary system files from your previous OS. Deleting it simply removes the ability to easily roll back your system to the older version using built-in Windows tools.


No comments yet — be the first to share your thoughts!