

This guide shows students and new users how to back up and restore important files and folders in Windows 11.
Why Back Up Your Files?
Backing up your files means making copies and storing them in a safe place. If you lose the original files on your computer, you can restore the missing files from the backed-up copy.
Learning to back up and restore important files and folders in Windows 11 is crucial for protecting your data. Unexpected events happen. Hardware can fail. Malware can attack. Files can get deleted by accident. By backing up your files, you create copies and store them somewhere safe. You can restore them if the original files are lost or damaged.
This saves you time and effort in recovering or recreating lost data from scratch. Having backups of your important files is always a good practice to prevent data loss.
What Happens When You Back Up Your Files?
Windows 11 has a built-in backup tool that protects your important files. You can use this tool to automatically back up your files. Or you can manually copy files to a backup location instead of using an application. However, letting Windows back up your important files automatically is usually your best option.
How to Back Up Your Files in Windows 11
What Files Should You Back Up?
Your priority should be to back up important files. Back up files that would be difficult to replace. Files like emails, financial documents, and family photos are irreplaceable.
Other less important data includes your profile, installed software, and system settings. You can replace these later. But you will have to spend time restoring things to their original state.
Back Up Files to OneDrive Online
One of the easiest ways to back up Windows 11 is to use OneDrive online storage. OneDrive lets you save and access your files and photos from any device, anywhere.
You will need a Microsoft Account to set up OneDrive on your machine. Go to the link below to create a Microsoft Account.
Microsoft account Sign in – Microsoft OneDrive (live.com)
You can sign up for free. You get 5GB of free storage space. You can always upgrade to larger sizes when you need more storage space.
Once you’re signed up and ready, continue below to set up Windows backup.
Step 1: Open Windows Settings
Windows 11 has a centralized location for most of its settings. Everything can be done from system configurations to creating new users and updating Windows from its Settings pane.
To get to System Settings, use the Windows key + I shortcut. Or click on Start → Settings, as shown in the image below:
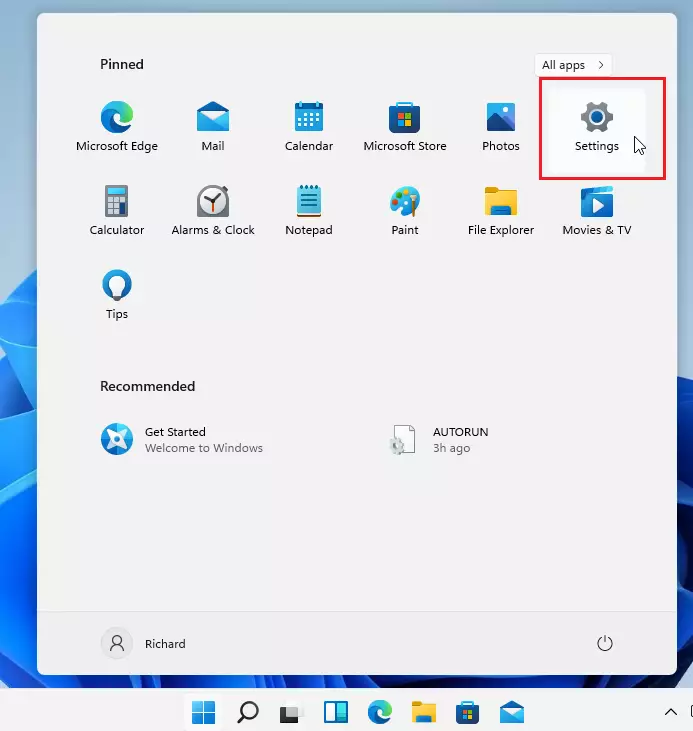
Alternatively, you can use the search box on the taskbar to search for Settings. Then select to open it.
Step 2: Go to Storage Settings
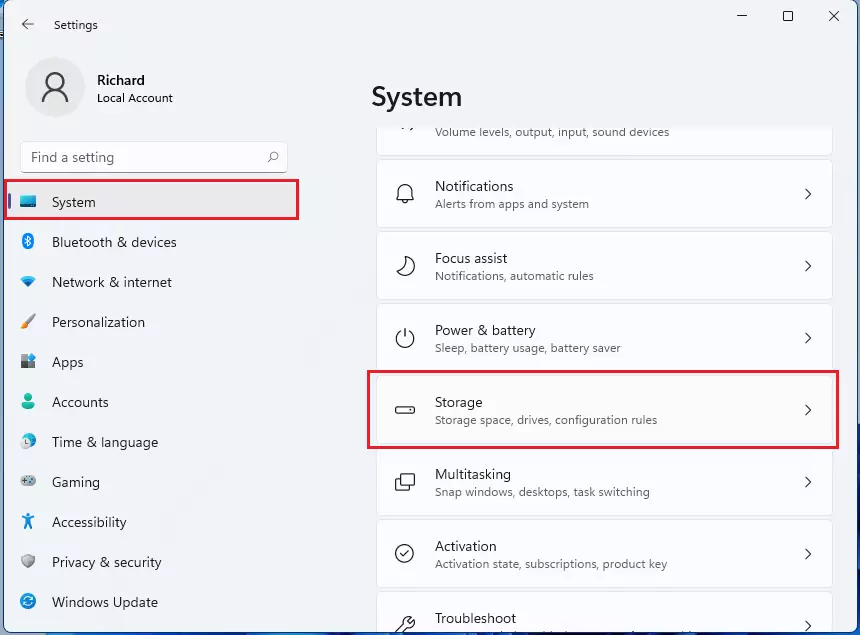
Windows Settings pane should look similar to the image below. In Windows Settings, click System. Then select Storage on the right pane of your screen, as shown in the image below.
Step 3: Select Advanced Storage Settings
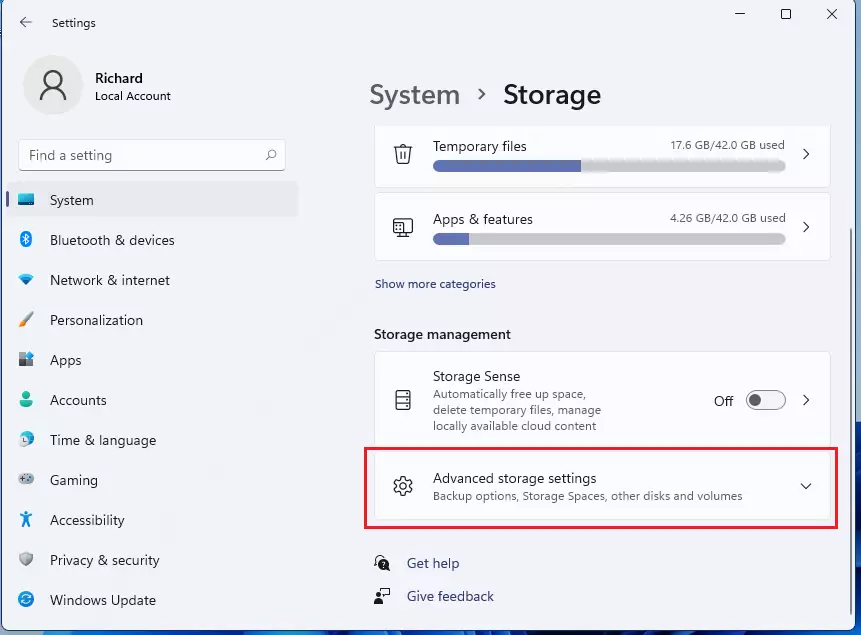
On the System storage settings page, click on Advanced storage settings.
Step 4: Choose Backup Options
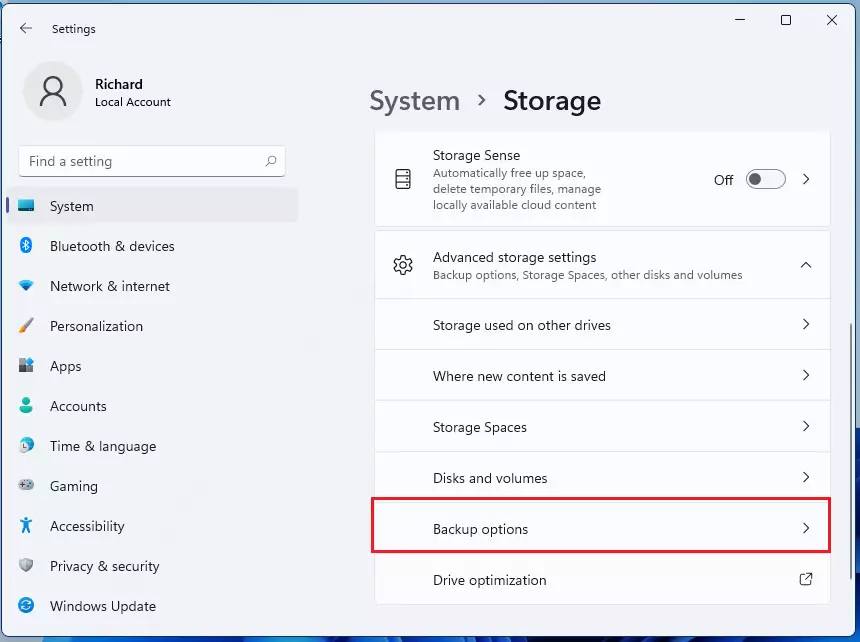
Under Advanced storage settings, select Backup options.
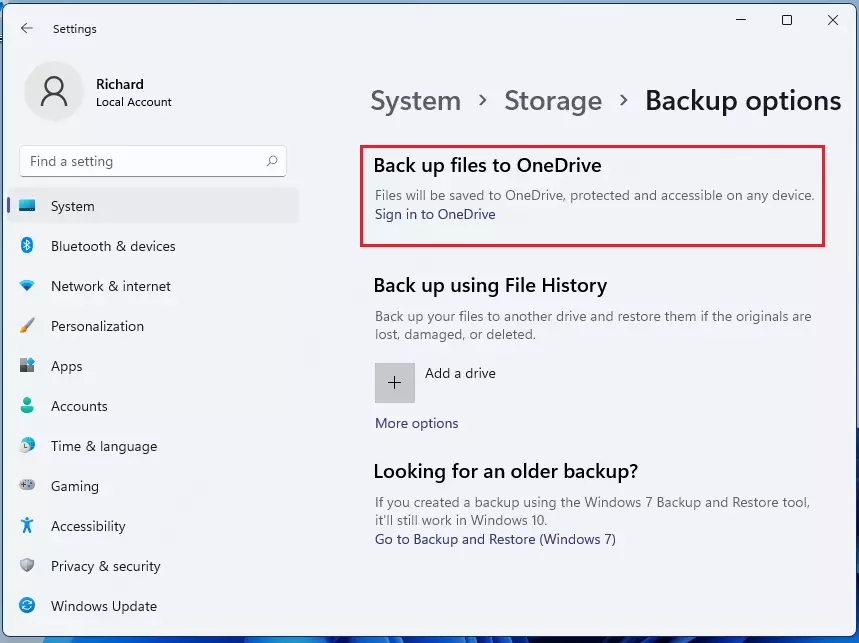
Step 5: Sign In to OneDrive
On the Backup options settings page, choose to back up files to OneDrive. Then click on the link that reads “Sign in to OneDrive.”
You will be prompted to enter your OneDrive account email address and password to sign in.
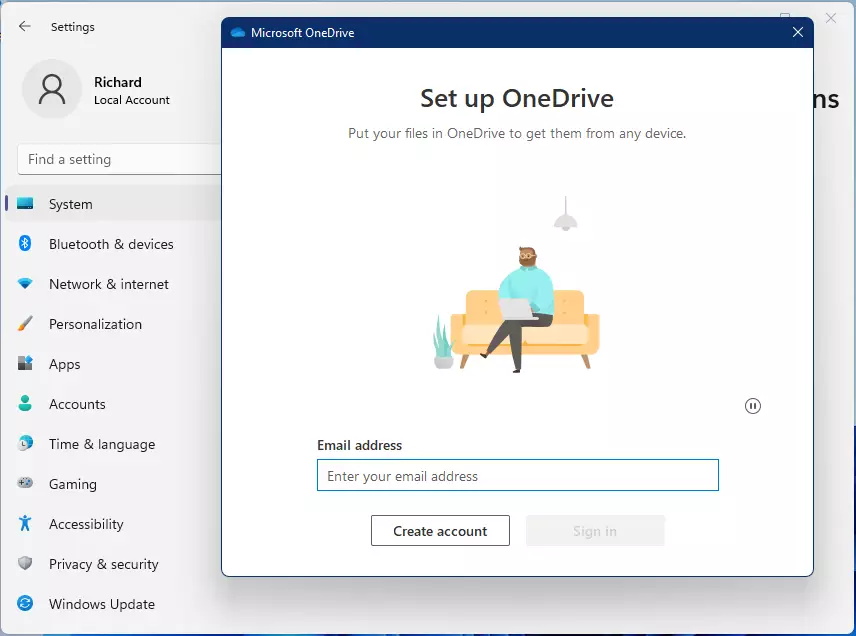
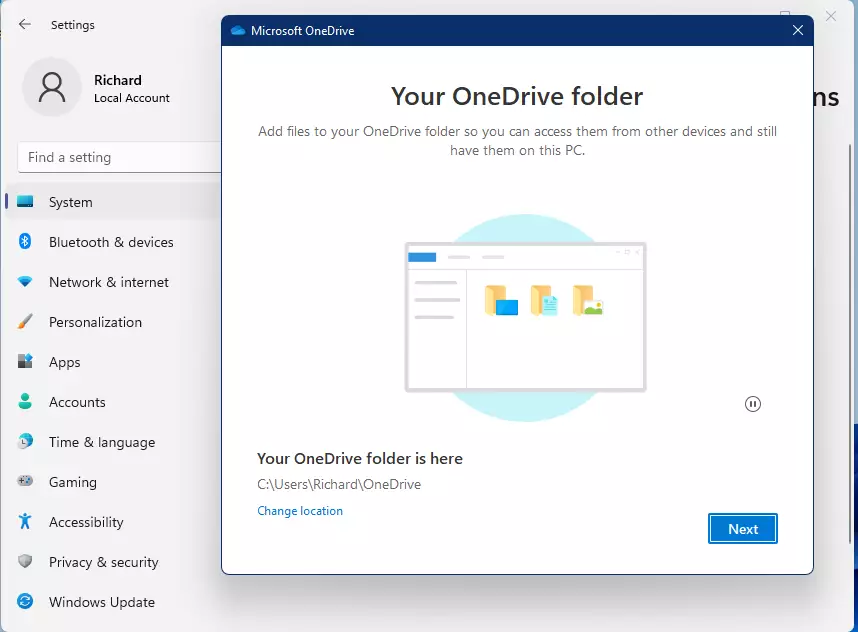
Continue with the setup wizard after logging into your OneDrive account correctly.
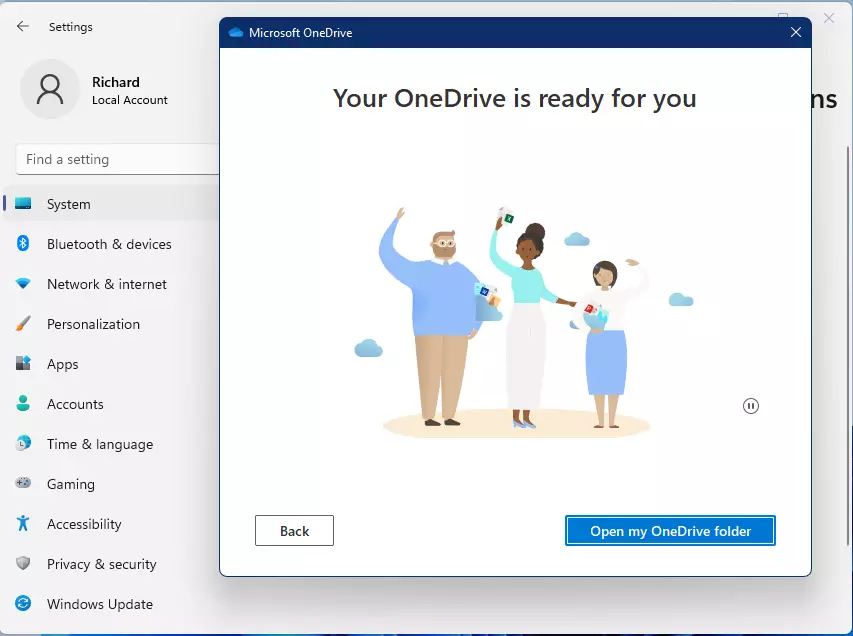
When you finish the setup wizard, you should see a screen telling you that OneDrive is ready to use and the setup is complete.
Back Up Windows 11 to External Drives
You can back up Windows to external drives and restore them if the original is lost, damaged, or deleted. Insert or connect the external drive to your computer.
In Windows Settings → System → Storage → Advanced Backup options, select Back up using File History. This is instead of going to OneDrive, as mentioned above.
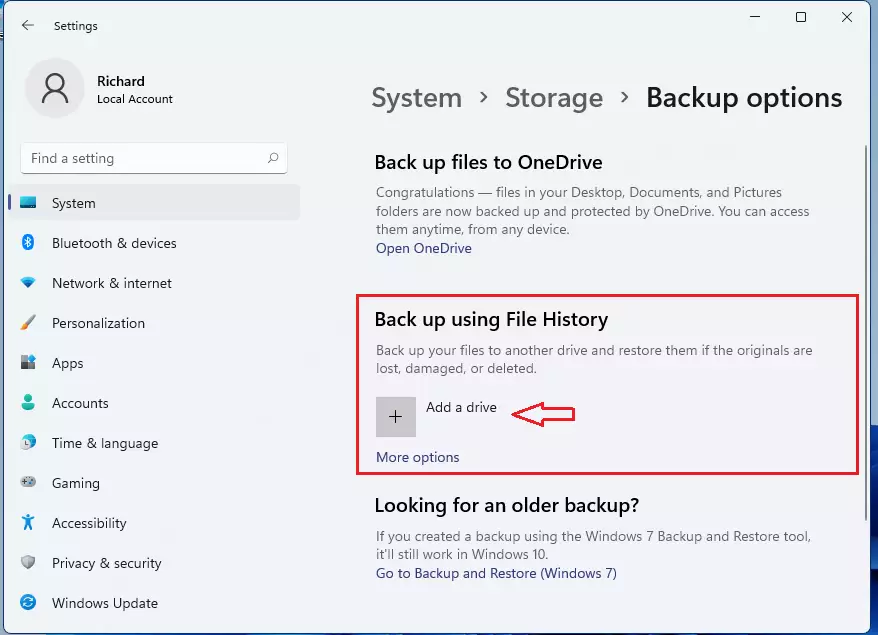
Once you click the Add a Drive button, you will be prompted to select the external drive to back up to. Choose the drive you have connected to Windows.
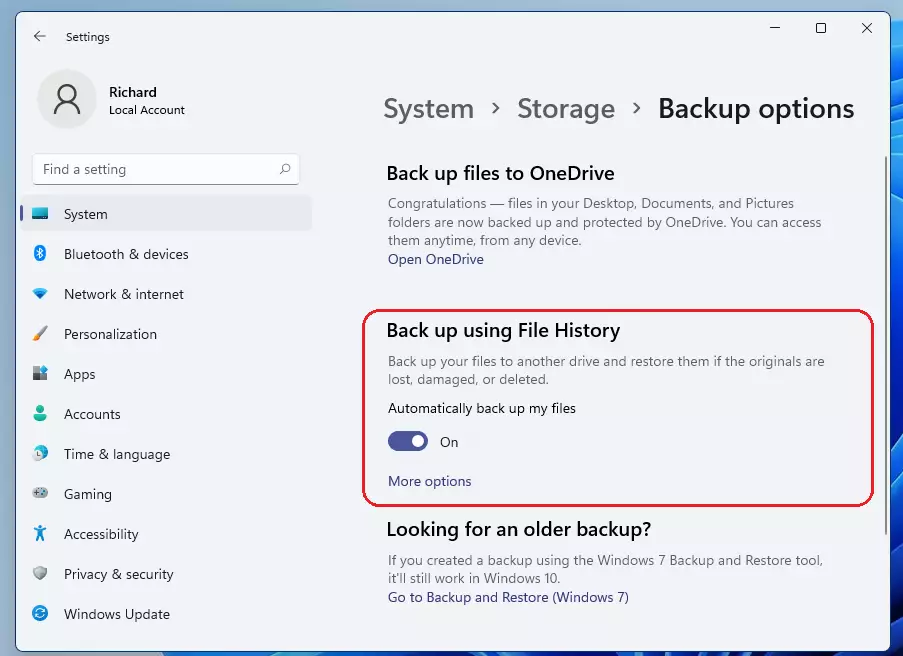
When you select a drive, you’re set. Every hour, Windows backs up everything in your user folder (C:\Users\username).
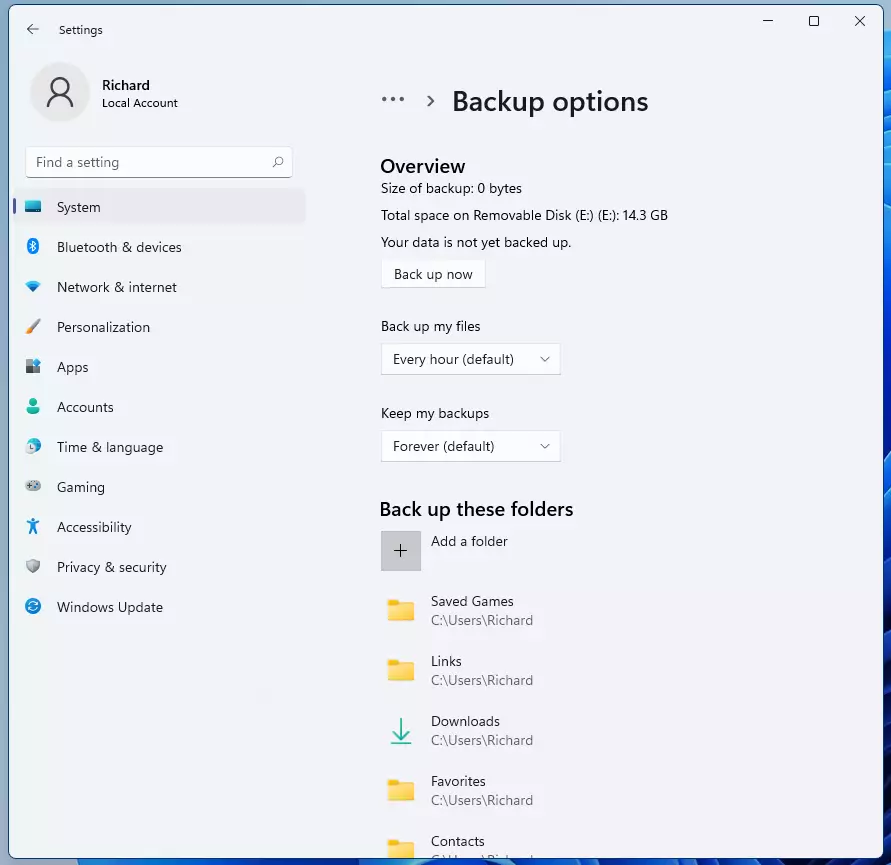
Step 6: Change Backup Settings (Optional)
To change which files get backed up or how often backups happen, go to More Options.
⚠️ Admin privileges may be required: More options let you set up how and when files are backed up.
When you’re done, save and exit.
Summary
- Backing up your files in Windows 11 is crucial for data protection.
- Use built-in tools like OneDrive and File History for automated backup processes.
- Prioritize important files such as documents, photos, and critical data for backup.
- Regular backups can save time and effort in recovering lost files.
- Always ensure you have a reliable method for restoring your backups when needed.
- Stay proactive about data safety to prevent potential data loss in the future.


Leave a Reply