
Windows 11 has a feature called Automatic Maintenance. Why does it matter? It helps your computer stay healthy by doing important tasks. These tasks include installing updates, checking for security issues, and cleaning up your disk.
This maintenance usually runs every day at 2 AM when you’re not using your computer. It works quietly in the background, so it doesn’t interrupt you.
By default, Automatic Maintenance is turned on. But what happens if you disable it? Your computer won’t automatically stay updated and protected. If you want to stop it—for example, if it interrupts your work—you can disable it. Or, if you want to keep your computer updated and running well, you can keep it enabled.
If you want, you can change the time it runs or start it manually whenever you like.
How to Turn Automatic Maintenance On or Off in Windows 11
Here are simple steps to disable or enable this feature using the Windows Registry Editor. The Registry Editor is a place where Windows stores important settings. Be careful when changing settings here.
Step 1: Open the Windows Registry Editor
- Press Windows key + R on your keyboard. A box will pop up.
- Type
regeditand press Enter. - ADMIN REQUIRED: If a message asks for permission, click Yes.
Step 2: Go to the Maintenance Settings
In the Registry Editor, find this path:
Computer\HKEY_LOCAL_MACHINE\SOFTWARE\Microsoft\Windows NT\CurrentVersion\Schedule\MaintenanceYou can expand the folders on the left to get there.
Step 3: Change the Maintenance Setting
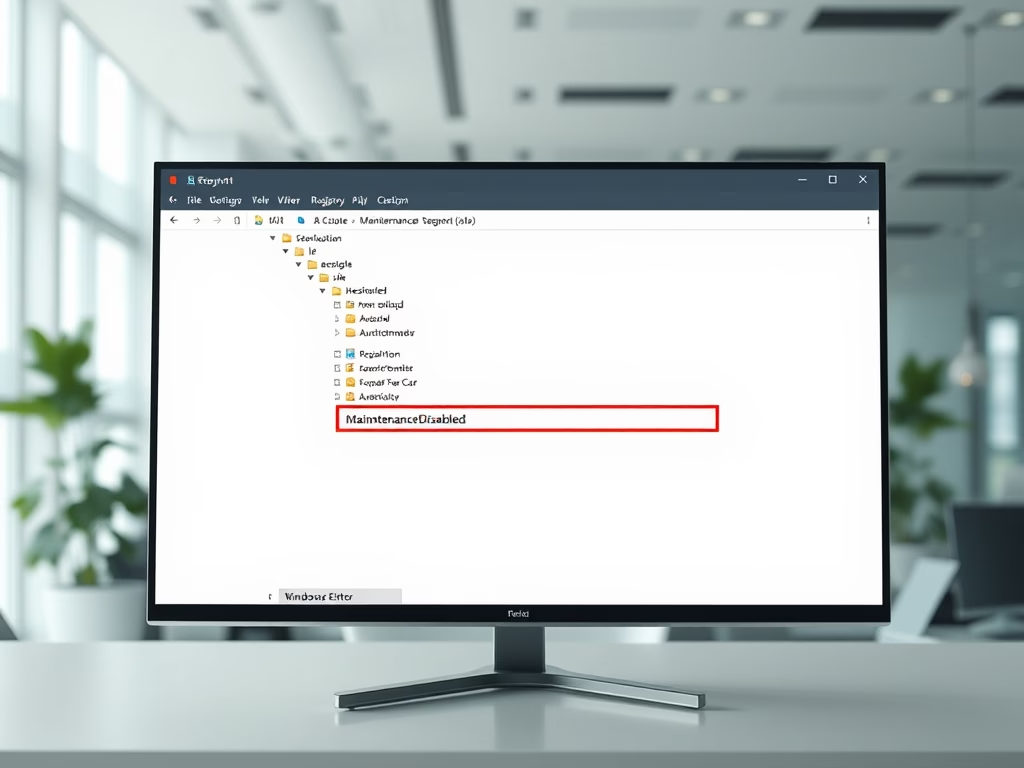
- Look for a setting called
MaintenanceDisabledin the right panel. - Double-click it to open.
- To disable Automatic Maintenance, change the value to
1and click OK. - To enable Automatic Maintenance, set the value to
0or delete this item.
Note: If you don’t see MaintenanceDisabled, you can create it:
- Right-click on an empty space in the right panel.
- Choose New > DWORD (32-bit) Value.
- Name it
MaintenanceDisabled. - Set the value to
1to disable.

Step 4: Restart Your Computer
To make sure the change works, restart your PC.
Summary
- Automatic Maintenance keeps your PC updated and running smoothly.
- You can turn it off if it bothers you or turn it on to stay protected.
- Use the Registry Editor carefully to enable or disable this feature.
- Remember to restart your computer after making changes.
- Adjust the maintenance schedule or run it manually if you want more control.
If you want to learn more or see step-by-step guides with pictures, check out the full tutorials here:
Schedule Automatic Maintenance on Windows 11
Change Automatic Maintenance Time
Manually Start or Stop Automatic Maintenance
Feel free to ask questions or share your tips below!

Leave a Reply