How to Enable or Disable Win32 Long Paths in Windows 11

This article explains how to enable Win32 Long Paths in Windows 11.
You can enable or disable Win32 Long Paths in Windows 11 through the Settings app. Navigate to System > Advanced and toggle the “Enable long paths” option. Alternatively, use the Group Policy Editor or Registry Editor for more advanced control.
What Are Win32 Long Paths?
Win32 Long Paths is a Windows feature that lets your apps handle file paths much longer than the old 260-character limit. This means you can work with deeply nested folders or very long file names without hitting that old limit, making it easier to manage your files.
Starting with Windows 10 version 1607 and later, Microsoft added support for long paths. Now apps can access paths up to about 32,767 characters long.
Why does this matter? If you work with deeply nested folders or very long file names, you hit that old 260-character wall. This feature removes that barrier.
What happens when you enable it? Only apps that are designed to use this feature will benefit. Developers have to update their apps to support long paths.
Method 1Enable Win32 Long Paths Using Settings
You can turn on Win32 long paths easily using the Windows Settings app. Just open Settings, go to System, then Advanced, and toggle the ‘Enable long paths’ option to on.
- Open the Settings app. Click the Start menu and select Settings. Or press Windows key + I.
- Click System on the left side.
- Select Advanced on the right to expand it.
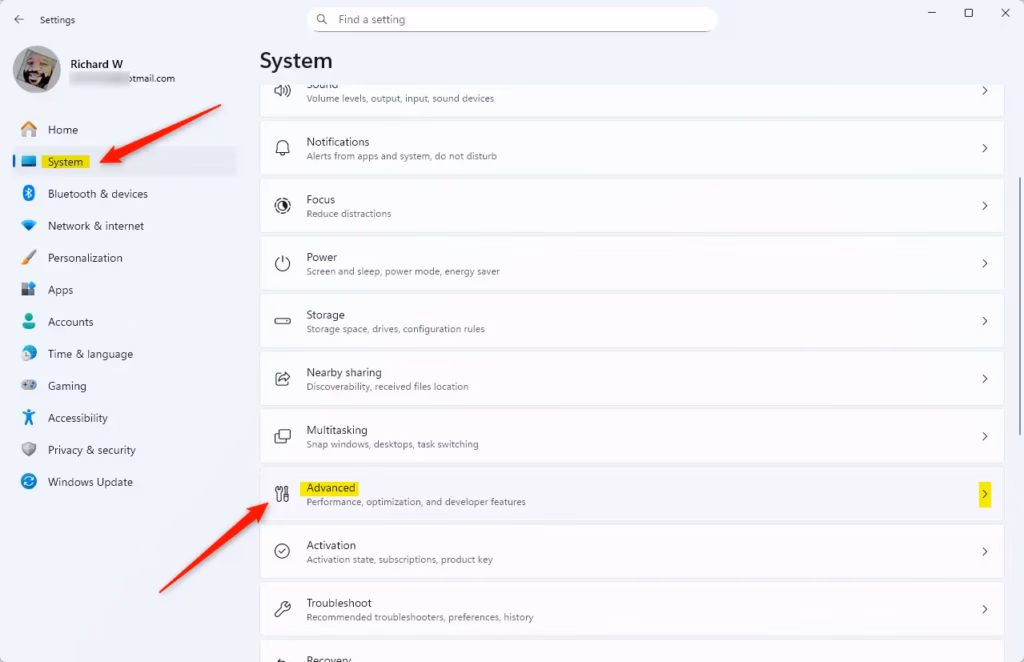
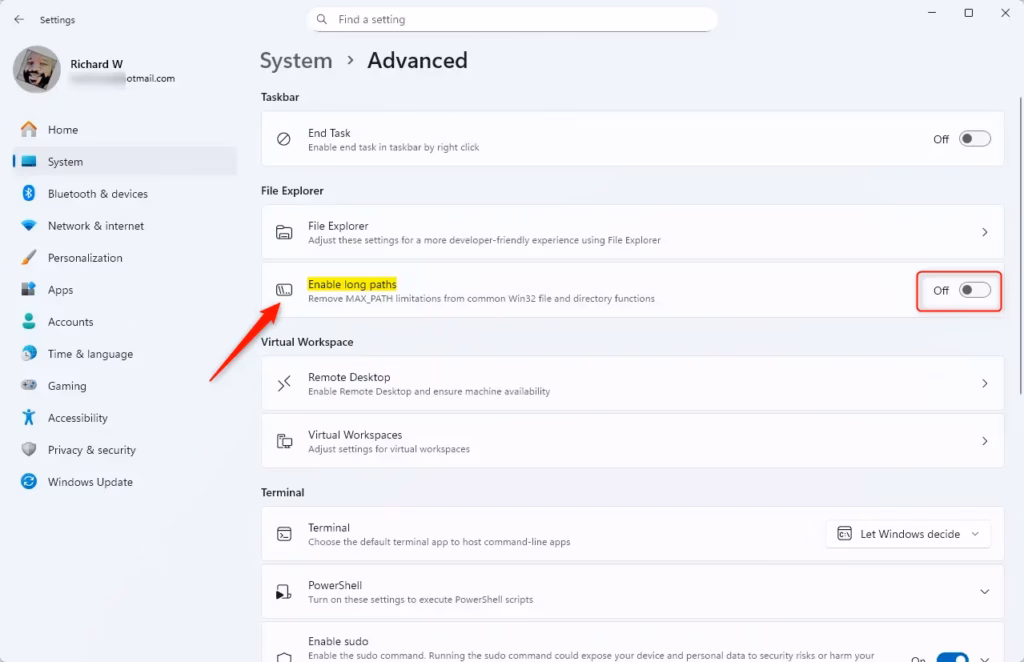
- Find the Enable long paths tile.
- Toggle the button on to enable it or off to disable it .
- Close Settings when you’re done.
Method 2Enable Win32 Long Paths in Group Policy Editor
If you have admin rights, you can turn on Win32 long paths using the Local Group Policy Editor. Open it, go to the Filesystem folder, and then double-click the ‘Enable Win32 long paths’ setting to change it.
- [ADMIN] Open the Local Group Policy Editor. Search for
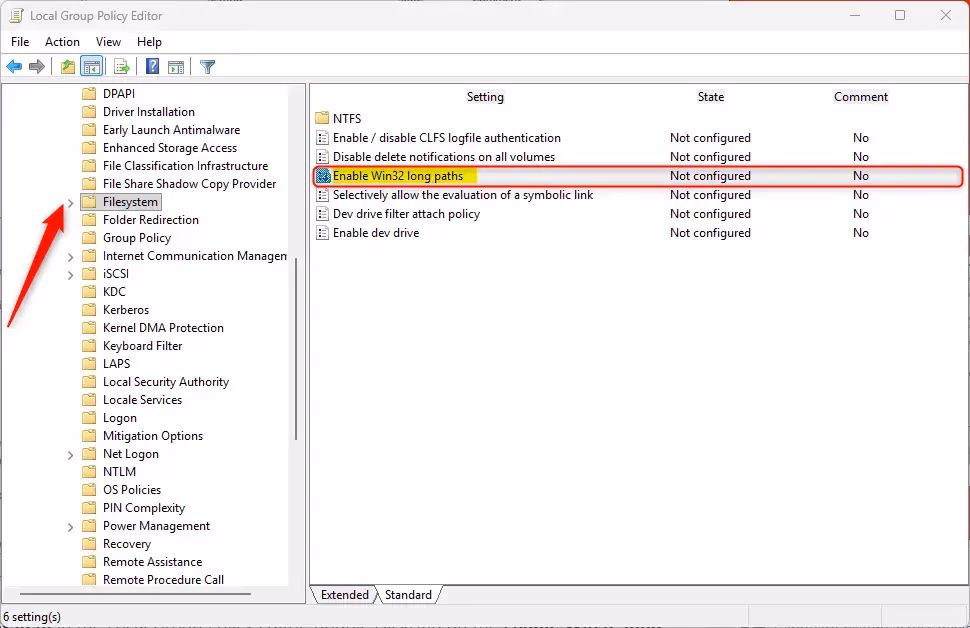
gpedit.mscin the Start menu. - Navigate to this folder path:
Computer Configuration > Administrative Templates > System > Filesystem - In the right panel, find Enable Win32 long paths and double-click it.
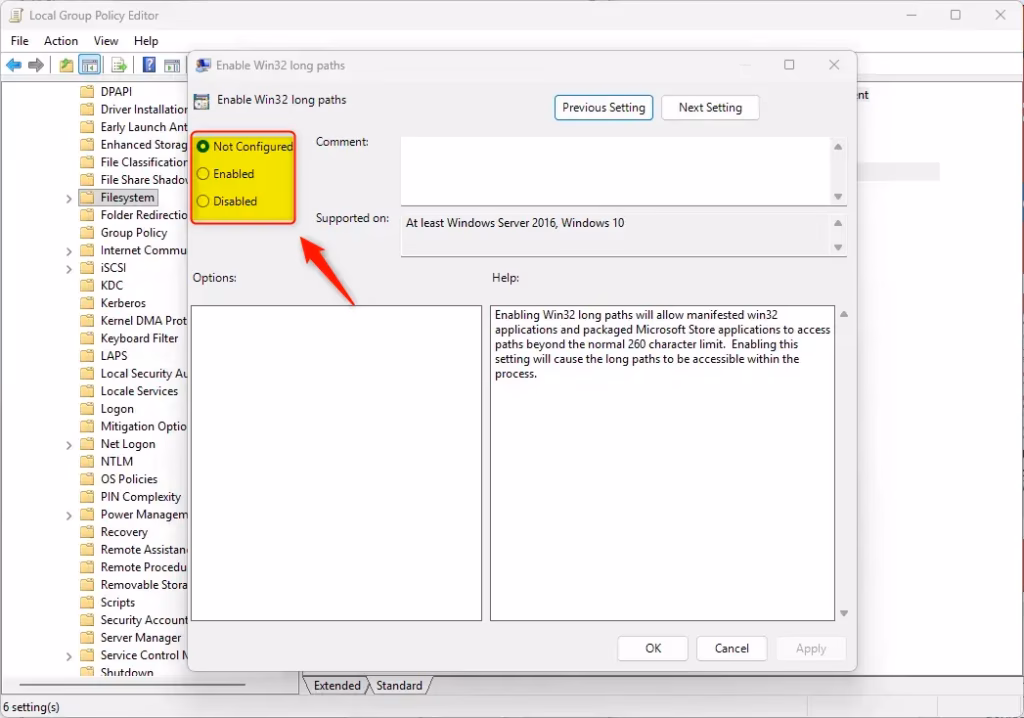
- Choose one of these options:
- Not Configured (default) — The feature is not set.
- Enabled — Long paths will work in apps that support them.
- Disabled — Turn off Win32 Long Paths.
- Click OK to save.
Method 3Enable Win32 Long Paths Using Registry Editor
For an advanced method, you can turn on Win32 long paths using the Registry Editor. Open it, go to the FileSystem folder, and change a specific value. Remember to back up your registry first, or create a System Restore point.
Important: [ADMIN] Settings app before you make any changes. Or create a System Restore point to be safe.
- [ADMIN] Open the Registry Editor. Search for
regeditin the Start menu. - Navigate to this path:
Computer\HKEY_LOCAL_MACHINE\SYSTEM\CurrentControlSet\Control\FileSystem - Right-click the FileSystem folder on the left.
- Select New > DWORD (32-bit) Value.
- Name it
LongPathsEnabled. - Double-click the new value to open it.
- Set it to 1 to enable long paths for all users. Or set it to 0 to disable it .

- Click OK.
- You may need to restart your computer for the changes to take effect.
Summary
Win32 Long Paths lets your apps handle file paths up to 32,767 characters long, a big jump from the old 260-character limit. This feature is really helpful if you often work with many nested folders or very long file names.
Why enable it ? If you work with complex folder structures or long file names, you’ll avoid hitting the old character limit.
What happens when enabled? Only apps designed to support long paths will use this feature. Regular apps won’t be affected.
How to enable it ? You have three choices:
- Settings app — Easiest method. Just toggle a switch.
- Group Policy Editor — For advanced users with admin access.
- Registry Editor — Most technical method. Always back up first.
Key tips to remember:
- Always back up the registry before making changes.
- You may need to restart your computer after making changes.
- Only apps coded to support long paths will benefit from this feature.
Should I enable Win32 long paths?
Managing file paths can be challenging because of restrictive character limits. There's a solution to this: Enabling Win32 long paths can allow you to go beyond the default limit and avoid other issues in complex directories, like coding projects or large datasets.
What does enable long paths?
What does the change do? By enabling LongPathsEnabled, programs can use paths that are longer than 260 characters, which is the Windows default limit for file paths. This setting is particularly useful if you need to work with deeply nested folder structures.
Was this guide helpful?

About the Author
Richard
Tech Writer, IT Professional
Richard, a writer for Geek Rewind, is a tech enthusiast who loves breaking down complex IT topics into simple, easy-to-understand ideas. With years of hands-on experience in system administration and enterprise IT operations, he’s developed a knack for offering practical tips and solutions. Richard aims to make technology more accessible and actionable. He's deeply committed to the Geek Rewind community, always ready to answer questions and engage in discussions.

No comments yet — be the first to share your thoughts!