How to Install sysPass Password Manager on Ubuntu

This guide explains how to install the sysPass password manager on Ubuntu 24.04 LTS. sysPass is a free, open-source tool that keeps your passwords safe using strong encryption.
Why: Using a dedicated password manager like sysPass prevents password reuse and protects your sensitive credentials with advanced security features.
What happens when done: You will have a secure, private web portal where you can store, organize, and share passwords for your team or personal use.
Install the Apache HTTP server
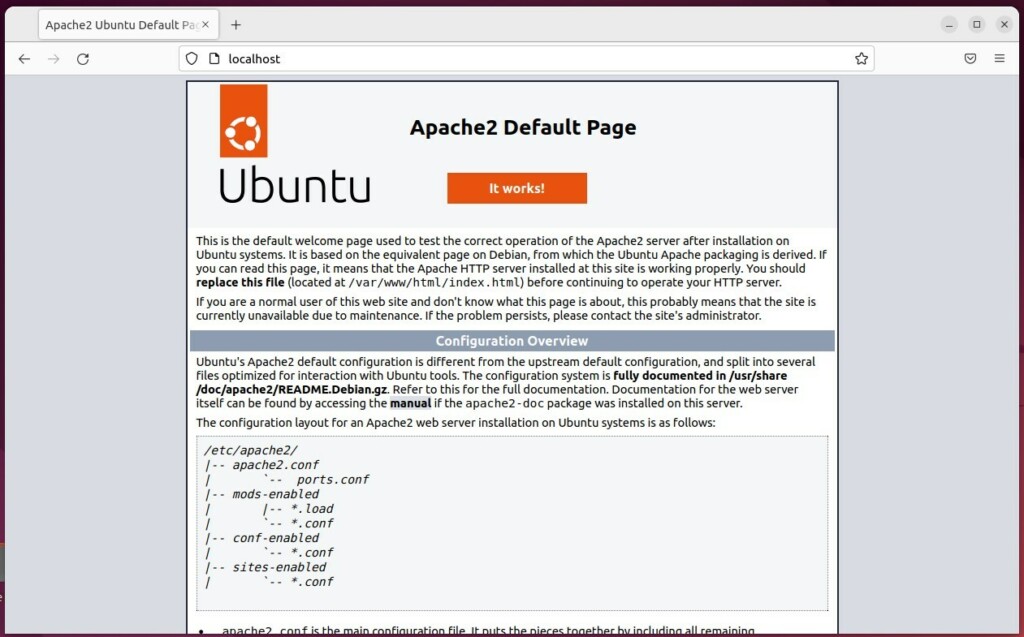
We use Apache HTTP web server to serve the sysPass web interface. Run these commands to install it:
sudo apt update
sudo apt install apache2
Enable Apache to start automatically with your system:
sudo systemctl enable --now apache2
Open your web browser and go to your server’s IP address to verify it works.
Install the mariadb-master-slave-replication-on-ubuntu-16-04-18-04/" class="sal-link" rel="noopener" target="_blank" data-sal-id="16383">MariaDB database server
sysPass needs a database to hold your data. We use MariaDB database server for this:
sudo apt install mariadb-server
sudo systemctl enable --now mariadb
Run sudo mysql_secure_installation to set a root password and remove insecure default settings.
Install PHP
sysPass 2026 requires PHP 8.2 or 8.3. Run these commands to install the required modules:
sudo apt install php8.3 php8.3-mysql php8.3-xml php8.3-mbstring php8.3-curl php8.3-gd php8.3-intl php8.3-bcmath libapache2-mod-php8.3 git
General: Composer and SSL Configuration
Composer is used to manage sysPass software dependencies. Install it with these commands:
php -r "copy('https://getcomposer.org/installer', 'composer-setup.php');"
sudo php composer-setup.php --install-dir=/usr/local/bin --filename=composer
Securing your connection: Never use a password manager over unencrypted HTTP. Install Certbot to get a free SSL certificate:
sudo apt install certbot python3-certbot-apache
sudo certbot --apache
Follow the prompts to secure your domain. This creates an encrypted “Virtual Host” for your site.
Create a database for sysPass
Log into MariaDB to create the storage area:
sudo mysql -u root -p
Inside the database prompt, run:
CREATE DATABASE syspassdb;
CREATE USER 'syspassdbuser'@'localhost' IDENTIFIED BY 'your_password';
GRANT ALL ON syspassdb.* TO 'syspassdbuser'@'localhost';
FLUSH PRIVILEGES;
EXIT;
Install sysPass
Download the files and set them up:
git clone https://github.com/nuxsmin/sysPass.git /var/www/html/syspass
sudo chown -R www-data:www-data /var/www/html/syspass
cd /var/www/html/syspass
sudo composer install --no-dev
Create the Apache configuration file:
sudo nano /etc/apache2/sites-available/syspass.conf
Add your server details, enable the site, and restart Apache:
sudo a2ensite syspass
sudo systemctl restart apache2
Finally, visit your domain in your browser to finish the setup via the web portal.
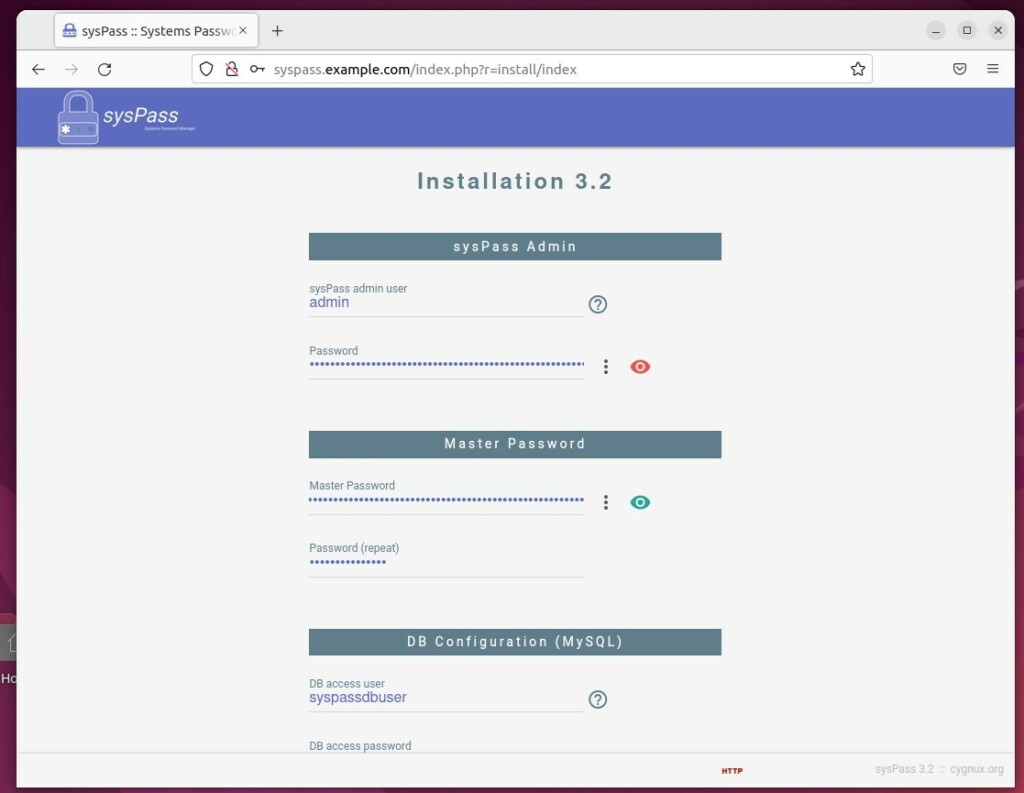
Enter your database details, create an admin account, and click Install. You are now ready to manage your passwords securely.
[Y/n] [Y/n] [Y/n] [Y/n] [Y/n] [Y/n]
Was this guide helpful?

Leave a Reply