You allow a website to use your microphone and camera in Microsoft Edge by responding to a permission prompt when the site requests access.
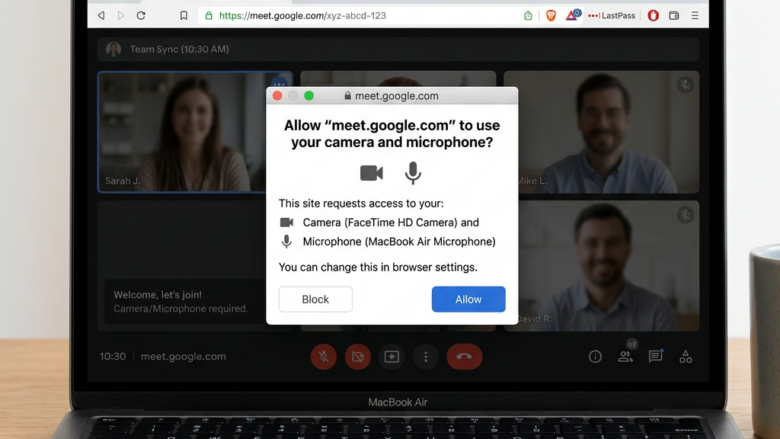
This permission prompt appears when a website needs to interact with your hardware, such as for video calls or online tests, and Microsoft Edge gives you direct control over these requests.
For instance, when you click a button like “Start Video Call,” Edge will typically present a small pop-up at the top of the window asking for your permission.
You simply select “Allow” to grant access to your camera and microphone for that specific website, or “Block” if you wish to deny it.
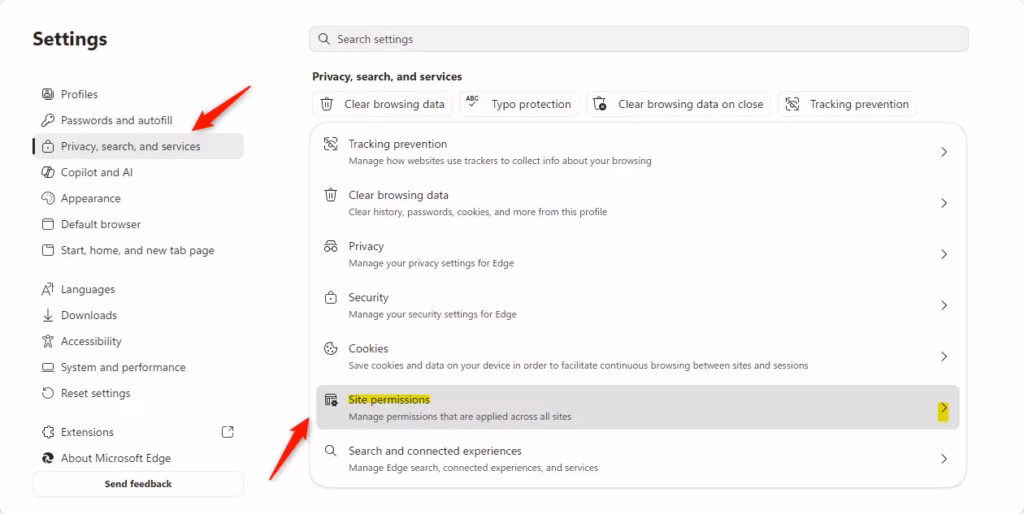
When a website asks to use your mic or camera in Edge, click “Allow” in the pop-up box. You can manage these permissions later by going to Edge Settings, then Site permissions, and selecting Camera or Microphone.
Step 1Go to the Website Asking for Access
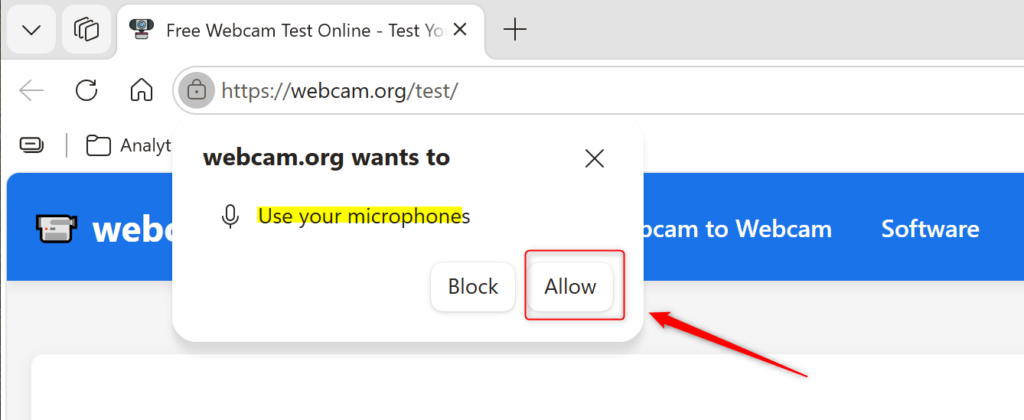
When you visit a website that needs to use your mic or camera in Edge, a pop-up will appear asking for your permission.
- Go to the website that needs your camera or microphone.
- Look for something on the site that starts the request. This could be a button like “Start Video Call,” testing your mic, or using a camera feature.
Why does this happen? This pop-up doesn’t appear randomly. It’s triggered by specific actions you take on the website. For example, if you click ‘Start Video Call,’ you’ll see the prompt.
Step 2Give Permission
When a website asks to use your microphone or camera, a small box will pop up at the top of your Edge browser window, giving you the choice to allow or block access.
- When the box asks if you want to let the website use your camera or microphone, choose Allow.
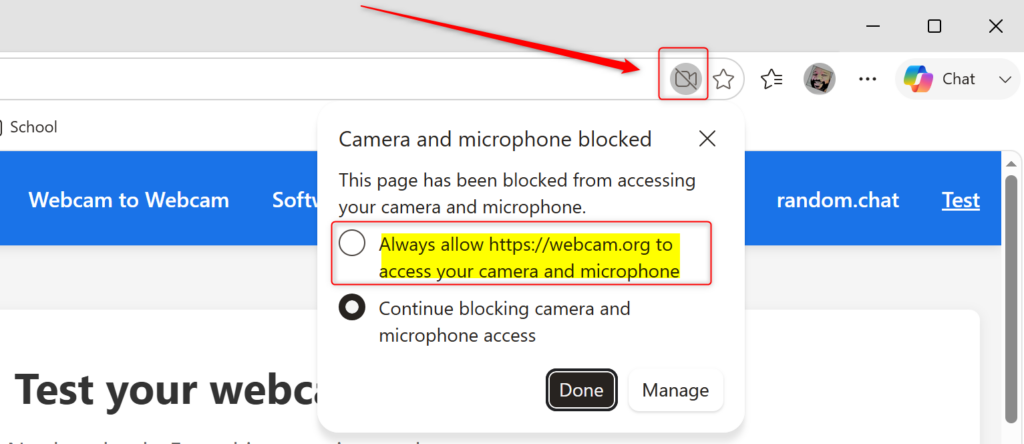
- If you don’t want it to have access, you can choose Block. You can also just close the box without choosing. If you close it, it usually blocks access for that visit.
Step 3Block or Allow Specific Websites
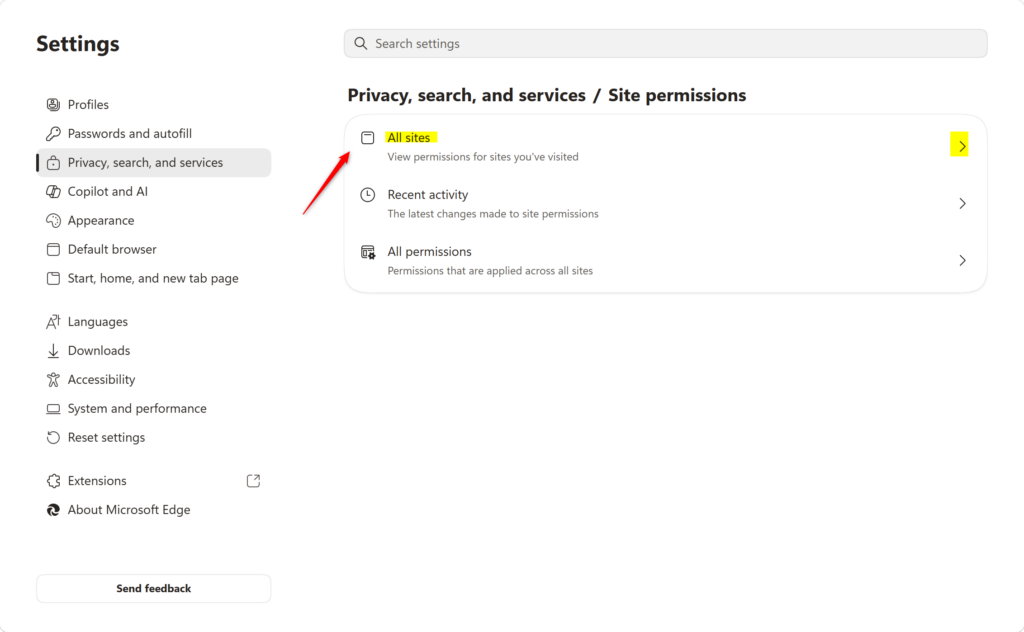
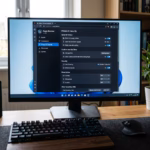
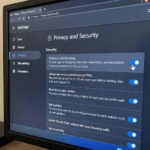
You can easily manage which websites have permission to use your mic and camera in Edge by going to the Site permissions settings.
- Go back to Site permissions and click on Camera or Microphone (whichever you want to change).
- All sites – these are sites you have visited.
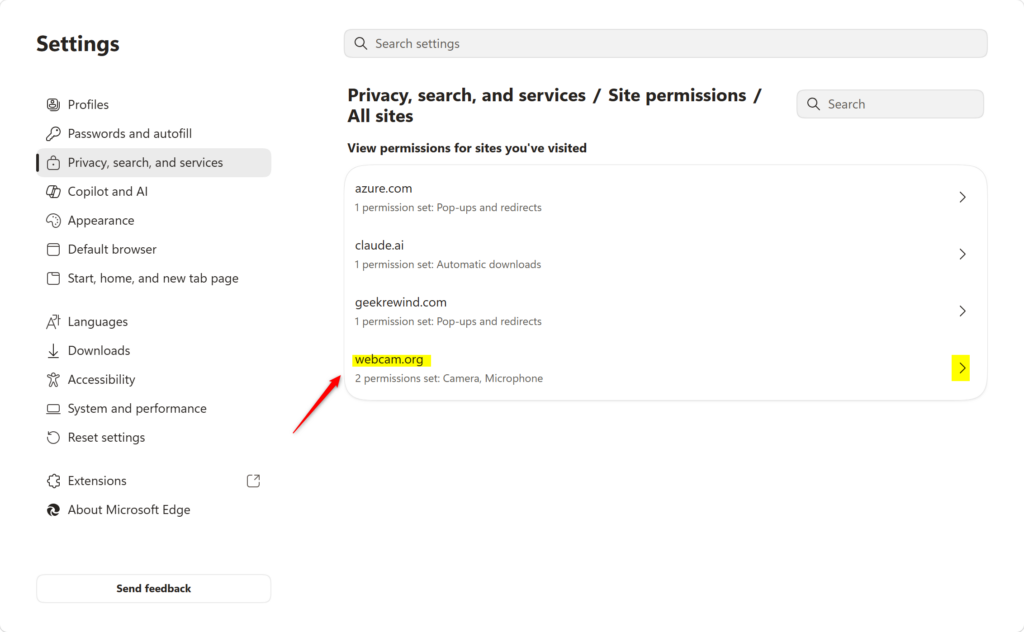
- Find the website you want to adjust in the list.
- To the right of the website name, click the dropdown menu.
- You can choose Allow, Block, or sometimes Ask (this will prompt you every time).
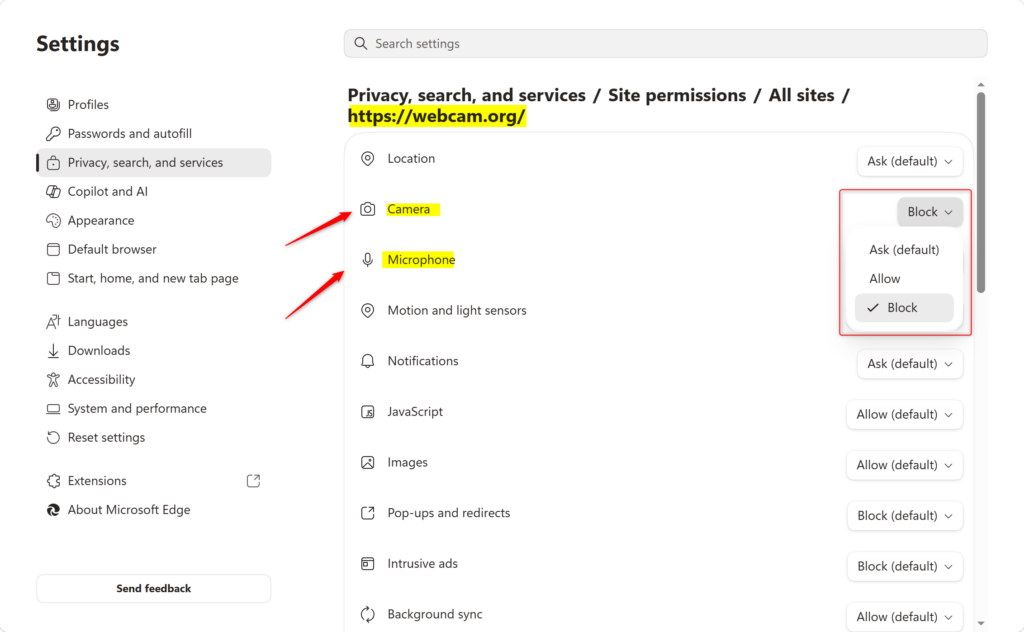
What happens when you change a specific site’s permission? If you change a site from Block to Allow, it can now use your camera or microphone the next time it asks. If you change it from Allow to Block, it will be stopped from using your camera or microphone.
Reference:
Summary
This guide showed you how to let websites use your mic and camera in Microsoft Edge, from granting permission when asked to managing those settings later.
Was this guide helpful?

About the Author
Richard
Tech Writer, IT Professional
Richard, a writer for Geek Rewind, is a tech enthusiast who loves breaking down complex IT topics into simple, easy-to-understand ideas. With years of hands-on experience in system administration and enterprise IT operations, he’s developed a knack for offering practical tips and solutions. Richard aims to make technology more accessible and actionable. He's deeply committed to the Geek Rewind community, always ready to answer questions and engage in discussions.

No comments yet — be the first to share your thoughts!