How to Mount a Folder as a Drive in Windows 11
Sometimes you want to open a folder quickly without clicking through many menus. Mounting a folder as a drive gives it a drive letter (like D: or E:). Then it shows up just like a real hard drive in Windows.
Windows 11 has a simple tool called subst that lets you do this easily. This guide shows you how to set it up step-by-step.
What You Will Need
- A Windows 11 computer
- Access to Windows Terminal, PowerShell, or Command Prompt
- The folder you want to mount
Steps to Mount a Folder as a Drive
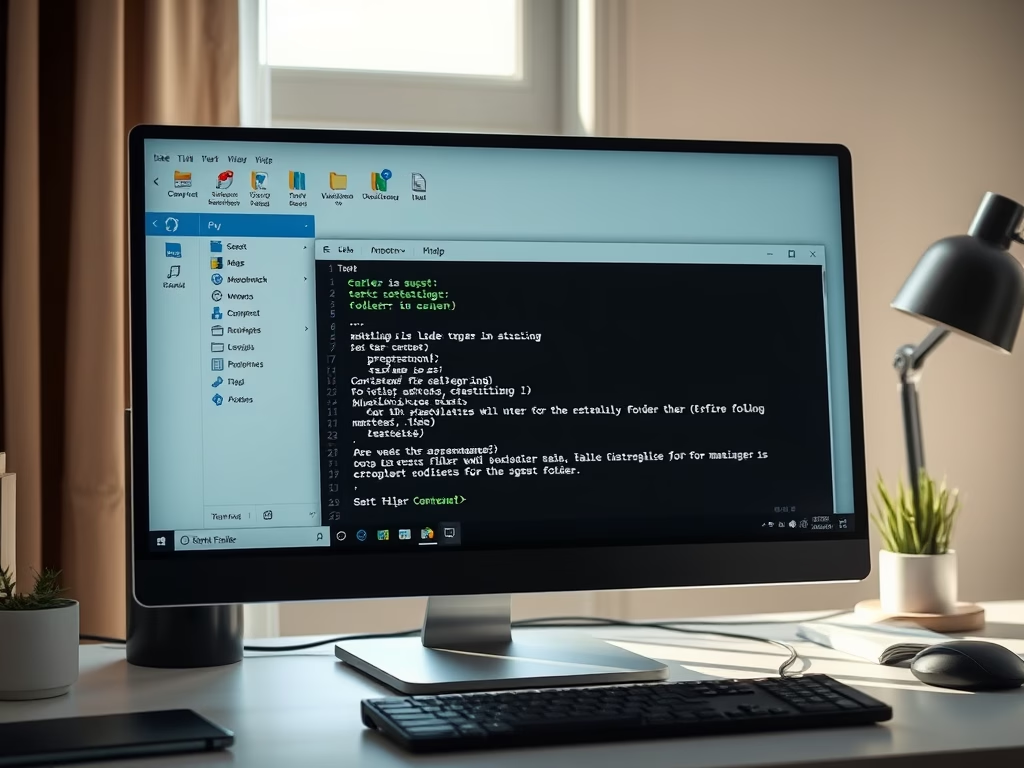
Step 1: Open Windows Terminal
Click the Start button. Type Windows Terminal. Open it. You can also use PowerShell or Command Prompt.
Step 2: Check Existing Mounted Drives
Type the command below. Press Enter. This shows if you have any folders already mounted as drives:
substStep 3: Mount Your Folder as a Drive
Type this command. Press Enter:
subst X: C:\PathToYourFolderNote: Replace X: with the drive letter you want (like B: or G:). Make sure the letter is not already used by another drive.
Also replace 📁C:\PathToYourFolder with the full path to your folder. For example:
subst B: "C:\Users\UserName\Documents\Business"Step 4: Access Your New Drive
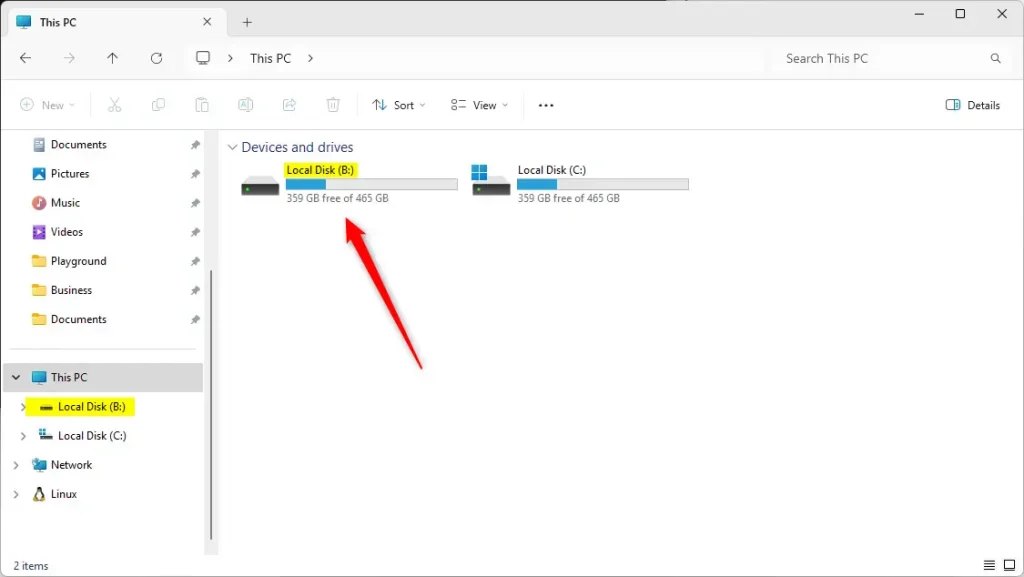
Open File Explorer. Look under This PC. You should see the new drive letter you chose. Click it. You go directly to your folder.
Step 5: Remove the Mounted Drive (If Needed)
Do you want to remove the mounted drive later? Open Windows Terminal again. Type:
subst B: /DReplace B: with the letter of the drive you want to remove.
Summary
Mounting a folder as a drive gives you quick access to important files. The subst command is an easy way to do this in Windows 11. You can create and remove these virtual drives anytime using simple commands. If you have questions or want to share your experience, please leave a comment below!
Was this guide helpful?

About the Author
Richard
Tech Writer, IT Professional
Richard, a writer for Geek Rewind, is a tech enthusiast who loves breaking down complex IT topics into simple, easy-to-understand ideas. With years of hands-on experience in system administration and enterprise IT operations, he’s developed a knack for offering practical tips and solutions. Richard aims to make technology more accessible and actionable. He's deeply committed to the Geek Rewind community, always ready to answer questions and engage in discussions.


No comments yet — be the first to share your thoughts!