How to Use Storage Sense in Windows 11
Storage Sense in Windows 11 automatically frees up disk space by deleting temporary files and unnecessary items.
It’s a built-in Windows feature designed to manage your storage efficiently, ensuring your PC runs smoothly and maintains ample free space.
Storage Sense can remove files from your Downloads folder and empty your Recycle Bin, typically running on a schedule you set or when your drive space gets low.
For example, you can configure Storage Sense to run every week, or even more frequently if you tend to accumulate files quickly.
You can also trigger a manual cleanup anytime to reclaim space immediately.
Run Storage Sense by opening Settings, navigating to System > Storage, clicking Storage Sense, and then clicking “Run Storage Sense now.” This automatically frees up disk space by deleting temporary files and emptying the Recycle Bin.
How to Run Storage Sense Now
Follow these simple steps to clean up your disk immediately:
- Open the Settings app: Click the Start menu (the Windows icon in the bottom-left corner), then click Settings. Or press
Windows key + Ion your keyboard to open Settings quickly. Learn more about opening Settings - In the Settings window, click System on the left side.
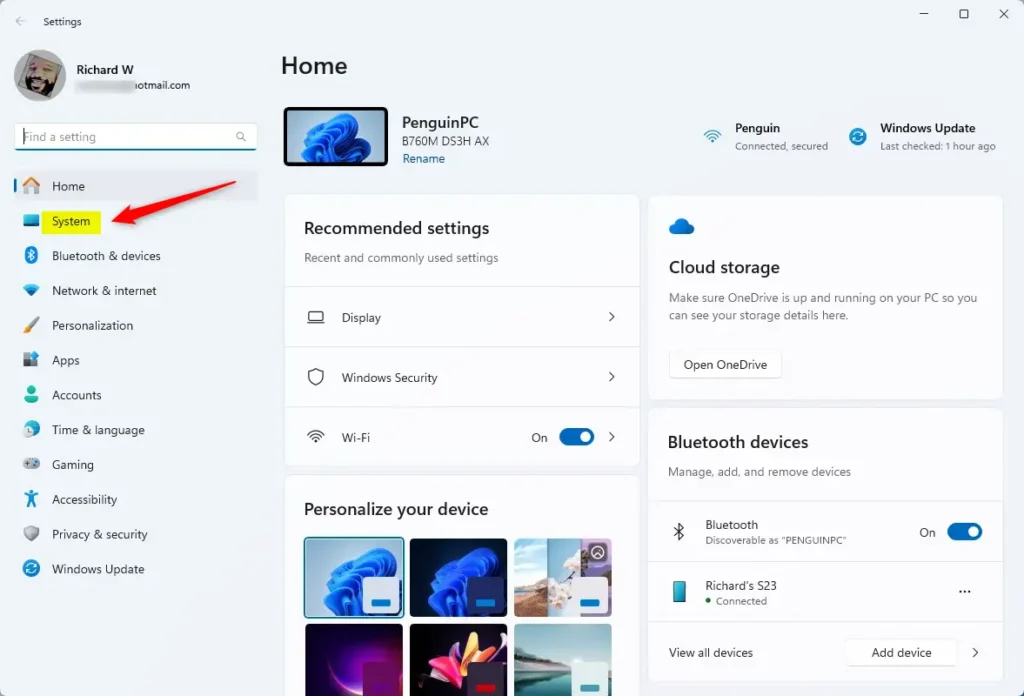
System in the Settings app - On the right side, click Storage.
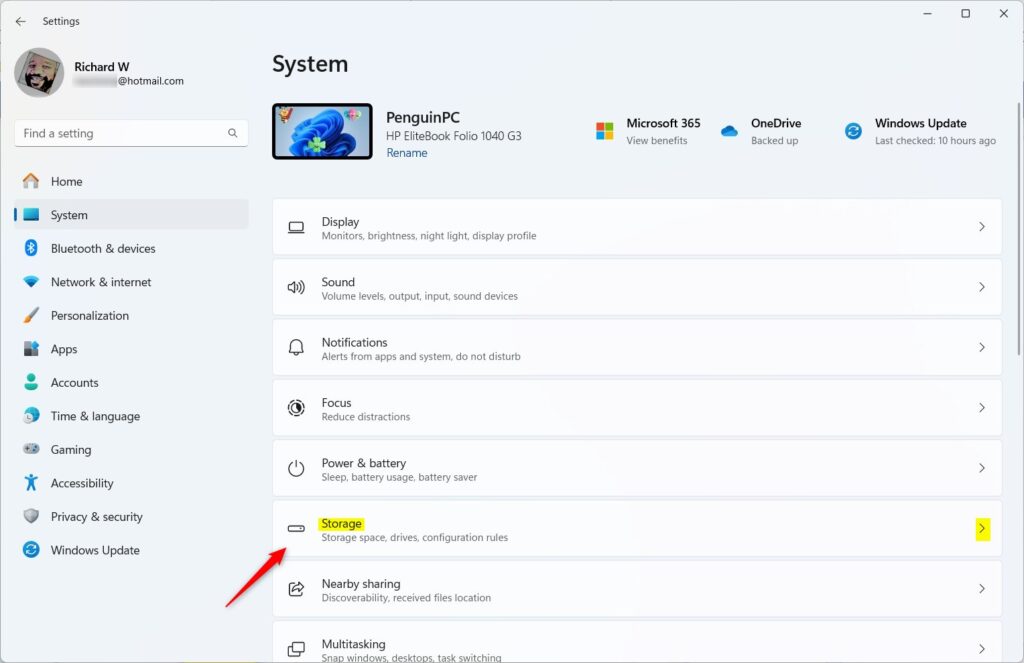
Windows 11 Storage settings tile in the Settings app - Scroll down and find Storage Sense, then click it.
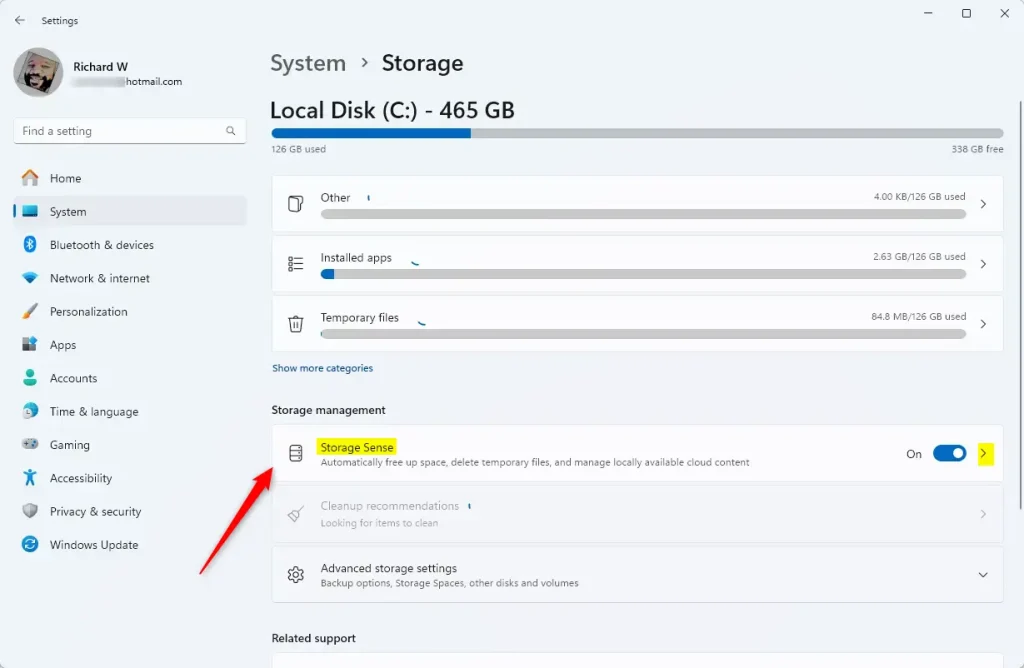
Storage Sense tile in Settings - Click the Run Storage Sense now button to start cleaning up your disk.
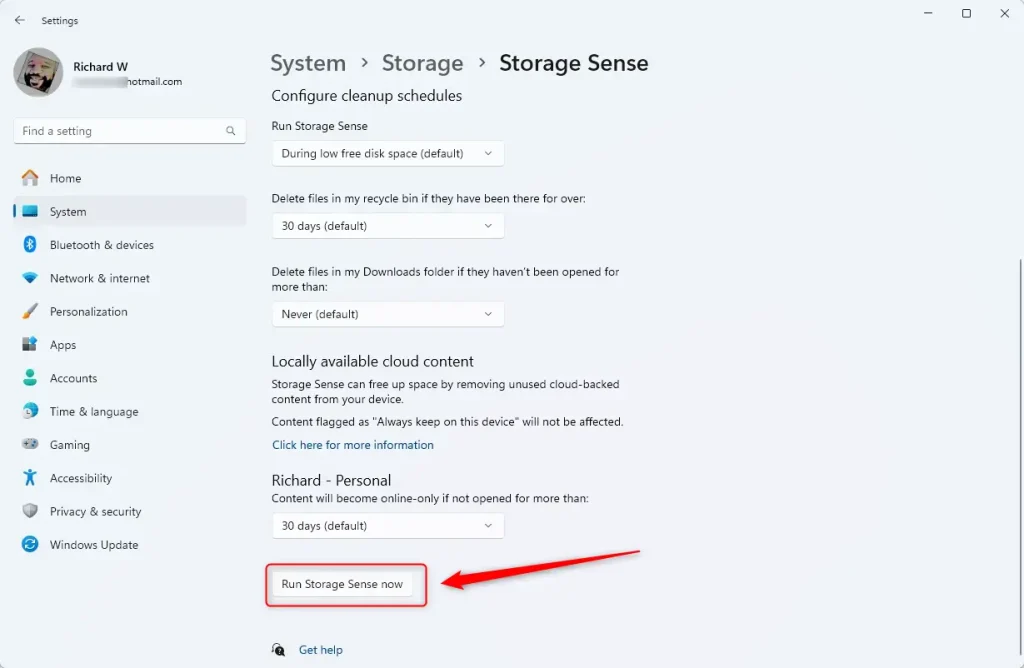
Run Storage Sense now button - Wait a moment. Windows will show you how much space it cleared.
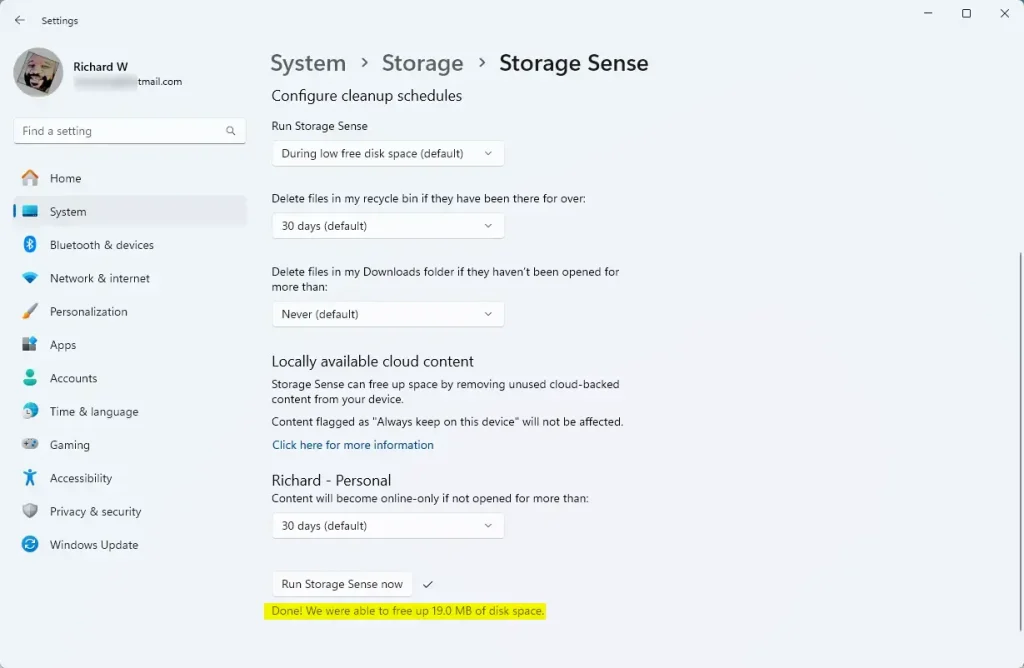
Storage Sense results showing freed space - When finished, you can close the Settings window.
Summary
Storage Sense is a simple tool that frees up space by deleting files your computer doesn’t need anymore. You can let it run automatically on a schedule, or run it yourself anytime using the steps above. Using Storage Sense regularly keeps your PC running smoothly and prevents your storage from getting full. Learn more about Storage Sense and other Windows 11 tips at Geek Rewind.
Where is storage sense in 🪟 Windows 11?
Turn on Storage Sense Go to Start > Settings > System > Storage .
How often should I run storage Sense?
Click Storage Sense (or “Configure Storage Sense or run it now”) to open configuration. Choose the cadence: Only when low on disk space, Every day, Every week, or Every month. Many users prefer Weekly or Monthly as a balanced choice.
Was this guide helpful?

About the Author
Richard
Tech Writer, IT Professional
Richard, a writer for Geek Rewind, is a tech enthusiast who loves breaking down complex IT topics into simple, easy-to-understand ideas. With years of hands-on experience in system administration and enterprise IT operations, he’s developed a knack for offering practical tips and solutions. Richard aims to make technology more accessible and actionable. He's deeply committed to the Geek Rewind community, always ready to answer questions and engage in discussions.

No comments yet — be the first to share your thoughts!