
This article explains how to turn “Spell checker” on or off in the Telegram app on Windows 11.
Telegram is a cross-platform instant messaging app that focuses on speed and security. It allows users to send text and voice messages, make voice and video calls, and share photos and videos with end-to-end encryption to help ensure user privacy and security.
When you install and set up Telegram on Windows, you can choose to start it up automatically when signing into Windows. Another setting you can configure in the Telegram app is turning the “Spell checker” feature on or off.
The “Spell checker” feature in Telegram can be useful for those who want their messages to be error-free and grammatically correct. However, the spell checker may be distracting or unnecessary for some users.
Turning it off can help streamline the messaging experience and allow users to focus on the content of their messages. On the other hand, turning the spell checker on can help catch mistakes before sending messages and ensure that messages are clear and easy to understand.
Ultimately, it is up to the user to decide whether to turn the spell checker feature on or off based on their preferences and needs.
Turn the Spell-checker feature on or off in Telegram
As mentioned above, users can turn on the “Spell checker” feature on or off in the Telegram app on Windows 11.
Here’s how to do that.
First, launch the app by clicking the Start menu and selecting it on the All Apps list.

You can also launch the app from the Taskbar or Taskbar overflow.

When the app opens, click the Menu button at the top left of your screen.

On the Menu pane, select the Settings (gear) button.

On the Settings page, select the Advanced menu to expand it.

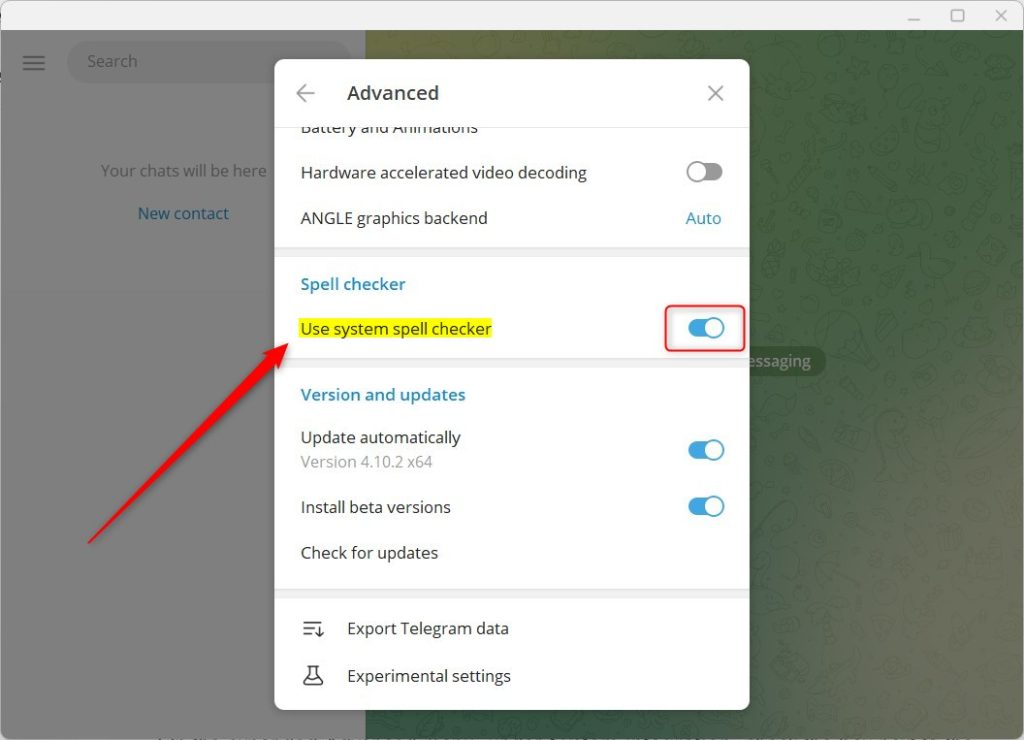
On the expanded Advanced menu, under Spell checker, select the line “Use system spell checker,” then toggle the switch button to the On position to enable the system spell checker.
To disable it, toggle the switch button to the Off position.
That should do it!
Conclusion:
- Enabling the spell checker can help ensure message clarity and accuracy
- Disabling the spell checker streamlines the messaging experience and eliminates potential distractions
- Users have the flexibility to customize their Telegram experience based on individual preferences and needs


Leave a Reply