How to Show or Hide Administrator Accounts in Windows 11 UAC Prompt
You can show or hide administrator accounts in the Windows 11 User Account Control (UAC) prompt to control how you provide elevated permissions.
The UAC prompt is a security feature that appears when Windows needs administrator privileges to make system-wide changes, like installing software or modifying settings.
By default, Windows 11 shows a list of administrator accounts. You can then select the one you need and enter its password.
This setting lets you control how your PC asks for administrative access. You can choose a more streamlined or a more secure experience, whatever works best for you.
To show or hide administrator accounts in the UAC prompt, use the Local Group Policy Editor or Registry Editor. In Group Policy, set “Enumerate administrator accounts on elevation” to Enabled to show or Disabled to hide. In the Registry, create or modify the “EnumerateAdministrators” DWORD value to 1 to show or 0 to hide.
What is UAC?
Let’s start by understanding User Account Control (UAC). It’s a security feature built into Windows. It helps stop unwanted changes to your PC. When you try to do something that needs admin permission, Windows shows a pop-up asking for the admin password.
Why Use This Feature?
Hiding administrator accounts adds an extra layer of security. This means someone would need to know both the admin username and password to gain access. If you already know which admin account to use, showing the accounts can make entering the password faster.
Method 1Using Local Group Policy Editor (🪟 Windows 11 Pro, Enterprise, or Education)
Windows 11 Pro, Enterprise, and Education users can choose to show or hide administrator accounts on the UAC prompt using the Local Group Policy Editor.
- Open the Local Group Policy Editor %📂%ADMIN%%
Press Windows key + R to open the Run box. Typegpedit.mscand press Enter. - Navigate to the correct folder
In the window that opens, go to:Computer Configuration > Administrative Templates > Windows Components > Credential User Interface - Click on the Credential User Interface folder
You’ll see it listed on the left side. - Find and open the setting
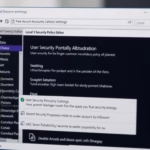
On the right, find and double-clickEnumerate administrator accounts on elevation. - Choose your option
You’ll see three choices:- Enabled: Shows all administrator accounts in the UAC prompt.
- Disabled: Hides the admin accounts. You must type the admin username and password.
- Not Configured: Same as Disabled. Admin accounts are hidden.
- Save your changes
Click OK to save. - Restart your computer
Your PC needs to restart for the changes to work.
Method 2Using Registry Editor (All 🪟 Windows 11 Editions)
All Windows 11 users, including those with the Home edition, can control whether administrator accounts appear on the UAC prompt by editing the Windows Registry.
Be careful when editing the registry, as mistakes can cause system issues. Follow each step precisely. Consider backing up your registry first if you’re not comfortable with this.
- Open the Registry Editor %📂%ADMIN%%
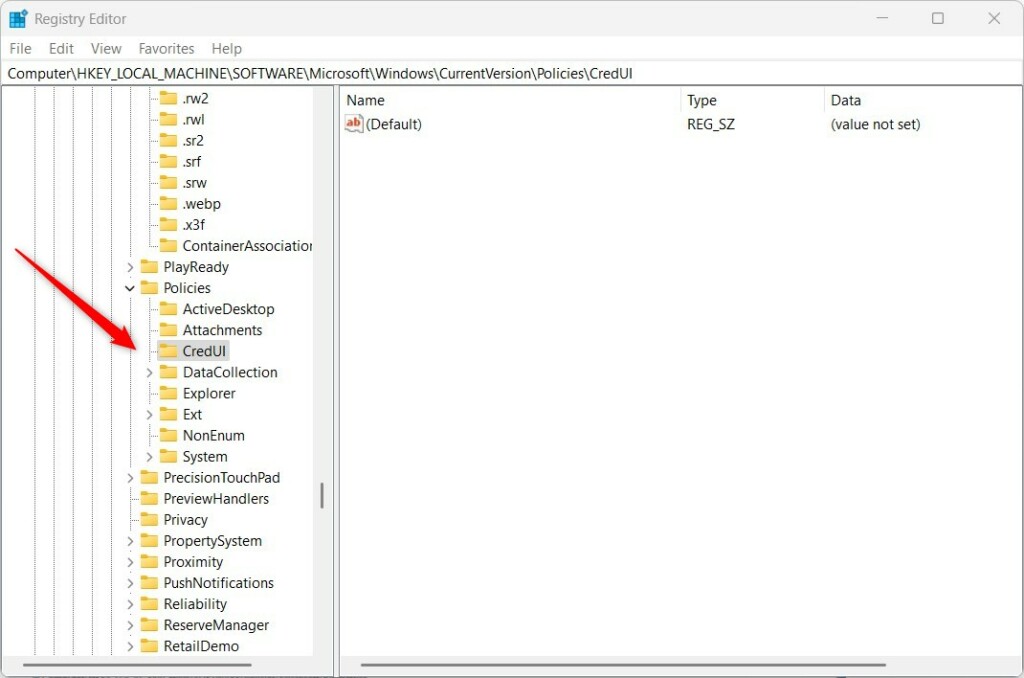
Press Windows key + R. Typeregeditand press Enter. - Navigate to the correct location
Go to this path:HKEY_LOCAL_MACHINE\SOFTWARE\Microsoft\Windows\CurrentVersion\Policies\CredUI - Create the folder if needed
If the CredUI folder doesn’t exist, you need to create it. Right-click onPolicies. ChooseNew > Key. Name itCredUI. - Create a new value
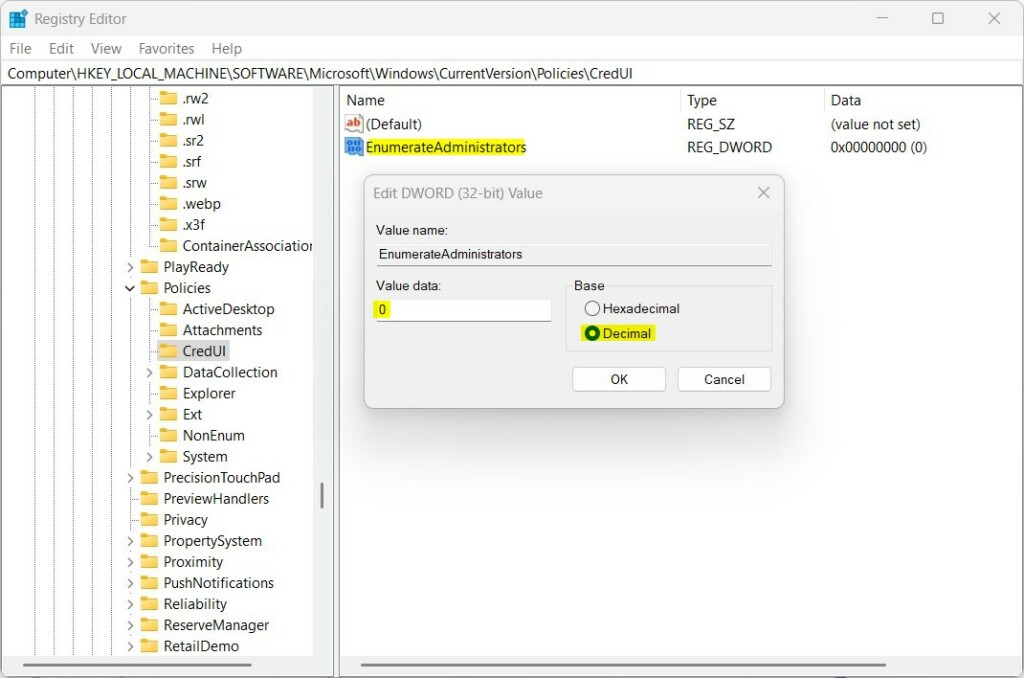
Right-click on the right side of the CredUI folder. ChooseNew > DWORD (32-bit) Value. - Name the new value
Name itEnumerateAdministrators. - Set the value
Double-click the newEnumerateAdministratorsvalue. Set Base to Decimal. Then enter one of these numbers:0to hide administrator accounts in the UAC prompt.1to show administrator accounts in the UAC prompt.
- Save and close
Click OK and close the Registry Editor. - Restart your computer
Your PC needs to restart to see the changes.
What Happens When You Change This Setting?
Changing the setting for the Windows 11 UAC prompt determines if you’ll see a list of admin accounts to choose from or a blank field where you must type the username.
If you set the value to 0 (hide accounts), the next time UAC asks for permission, you’ll see a blank field. You need to type the full admin account name and password yourself.
Summary
You can easily manage whether the Windows 11 UAC prompt displays administrator accounts or requires you to enter the username manually.
- Use the Local Group Policy Editor for Windows 11 Pro and above.
- Use the Registry Editor for all Windows 11 editions, including Home.
- Always restart your PC after making these changes for them to work.
Want to learn more about UAC or how to run apps as an administrator? Check out these helpful guides:
Change UAC Behavior for Standard Users in Windows 11
How to Run an App as Administrator in Windows 11
How to Open the Registry Editor in Windows 11
If you have questions or want to share tips, feel free to leave a comment below!
How to enable UAC prompt?
You can change the UAC behavior by opening the Control Panel > System and Security > Change User Account Control settings. Move the slider to your desired level of notification and select OK to save your changes.
Was this guide helpful?

About the Author
Richard
Tech Writer, IT Professional
Richard, a writer for Geek Rewind, is a tech enthusiast who loves breaking down complex IT topics into simple, easy-to-understand ideas. With years of hands-on experience in system administration and enterprise IT operations, he’s developed a knack for offering practical tips and solutions. Richard aims to make technology more accessible and actionable. He's deeply committed to the Geek Rewind community, always ready to answer questions and engage in discussions.

No comments yet — be the first to share your thoughts!