
Sometimes, Windows hides certain files, folders, and drives to keep your computer safe or tidy. These hidden items don’t show up when you browse your files.
In this guide, you’ll learn simple ways to show or hide these hidden files, folders, and even important system files on your Windows 11 computer.
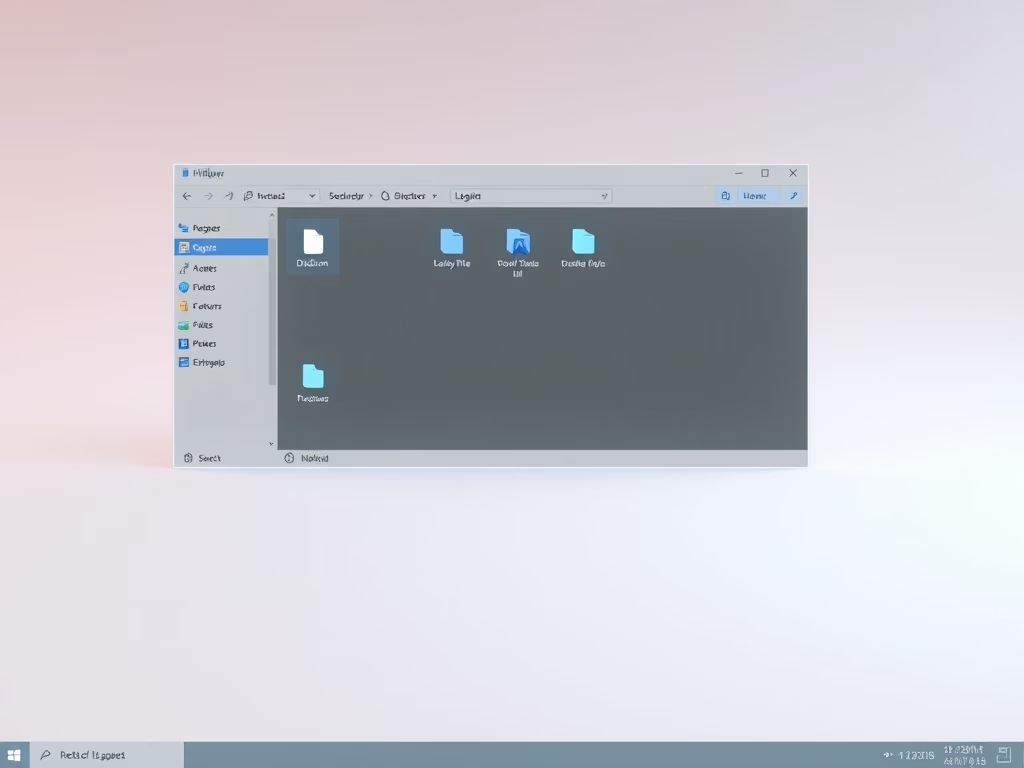
Quick note: Hidden files are usually dimmed (faded) when you make them visible, so you can tell they are normally hidden.
What Are Hidden and Protected Files?
- Hidden files, folders, and drives are marked by Windows to not show up by default.
- Protected operating system files are even more important and hidden by default to prevent accidental changes that could harm your system.
If you want to see these files, follow the easy steps below.
Option 1: Show Hidden Files Using File Explorer
- Open File Explorer. You can press
Windows + Eon your keyboard to open it quickly. - At the top, click on the View menu.
- Hover over or click Show.
- Click on Hidden items to check it. This will show hidden files and folders. Uncheck it to hide them again.

Option 2: Show Hidden Files Using Folder Options
- Open Folder Options:
- Press
Windows + S, type Folder Options or File Explorer Options and select it.
- Press
- Click the View tab.
- Under “Hidden files and folders,” choose Show hidden files, folders, and drives to see hidden items, or Don’t show to hide them.
- Click OK to save your changes.

Option 3: Show or Hide Protected Operating System Files
To see protected system files, you first need to show hidden files (see Option 2), then:
- Open Folder Options and go to the View tab.
- Find Hide protected operating system files (Recommended) and uncheck it to show these files.
- You will see a warning — click Yes to continue.
- Click OK to apply the changes.

Be careful: These files are important for Windows to work properly. Don’t change or delete them unless you know what you’re doing.
Option 4: Use a Registry File to Show or Hide Hidden Files
Note: This method is for advanced users and won’t work if your computer has administrator protection turned on.
To show hidden files, run the command below.
reg add "HKCU\Software\Microsoft\Windows\CurrentVersion\Explorer\Advanced" /v Hidden /t REG_DWORD /d 1 /f
To hide hidden files again, run the command below.
reg add "HKCU\Software\Microsoft\Windows\CurrentVersion\Explorer\Advanced" /v Hidden /t REG_DWORD /d 0 /f
Option 5: Use a Registry File to Show or Hide Protected Operating System Files
This method also shows or hides hidden files, so use it only if you want to manage both at the same time.
To show protected system files, run the commands below.
reg add "HKCU\Software\Microsoft\Windows\CurrentVersion\Explorer\Advanced" /v Hidden /t REG_DWORD /d 1 /f

reg add "HKCU\Software\Microsoft\Windows\CurrentVersion\Explorer\Advanced" /v ShowSuperHidden /t REG_DWORD /d 1 /f
To hide the protected system files again, run the commands below.
reg add "HKCU\Software\Microsoft\Windows\CurrentVersion\Explorer\Advanced" /v ShowSuperHidden /t REG_DWORD /d 0 /f
Follow the same steps as Option 4 to apply these changes.
Option 6: Turn On or Off Hidden and System Files in Windows Settings
- Open Settings by pressing
Windows + I. - Click System on the left side.
- On the right, click Advanced (you can also open it quickly by clicking this link).
- Click on File Explorer.
- Turn On or Off the toggle for Show hidden and system files depending on what you want.


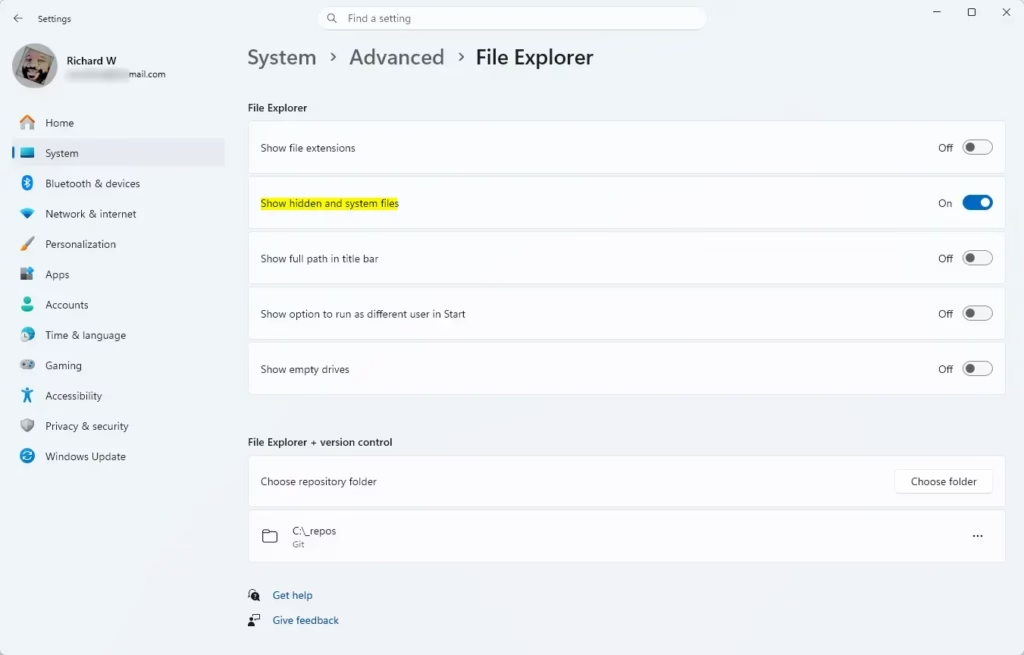
Close Settings when done.
Summary
To sum it up:
- You can easily show or hide files that Windows normally hides.
- There are several ways to do it: through File Explorer, Folder Options, Registry files, or Settings.
- Hidden files look dimmed so you know they are normally hidden.
- Be extra careful with protected system files — they keep Windows running smoothly.
- Choose the method that feels easiest and safest for you.
If you want to learn more, visit the official Microsoft guide here: View Hidden Files and Folders in Windows.


Leave a Reply